Homemade Vanilla Ice Cream Without Machine
- Time: 10 min active + 6 hrs chilling
- Flavor/Texture Hook: Rich, smooth, and creamy
- Perfect for: A quick dessert fix for guests
- Homemade Vanilla Ice Cream
- Quick Recipe Specs
- Why This Method Works
- Essential Ingredient List
- Necessary Kitchen Tools
- Ingredient Details & Substitutes
- Main Preparation Steps
- Troubleshooting Common Issues
- Creative Flavor Ideas
- Scaling Guidelines
- Truths About Frozen Desserts
- Storage and Freezing
- Garnish and Serving
- Recipe FAQs
- 📝 Recipe Card
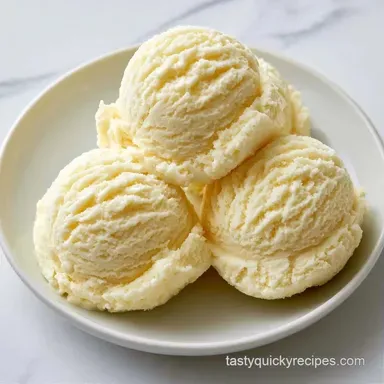
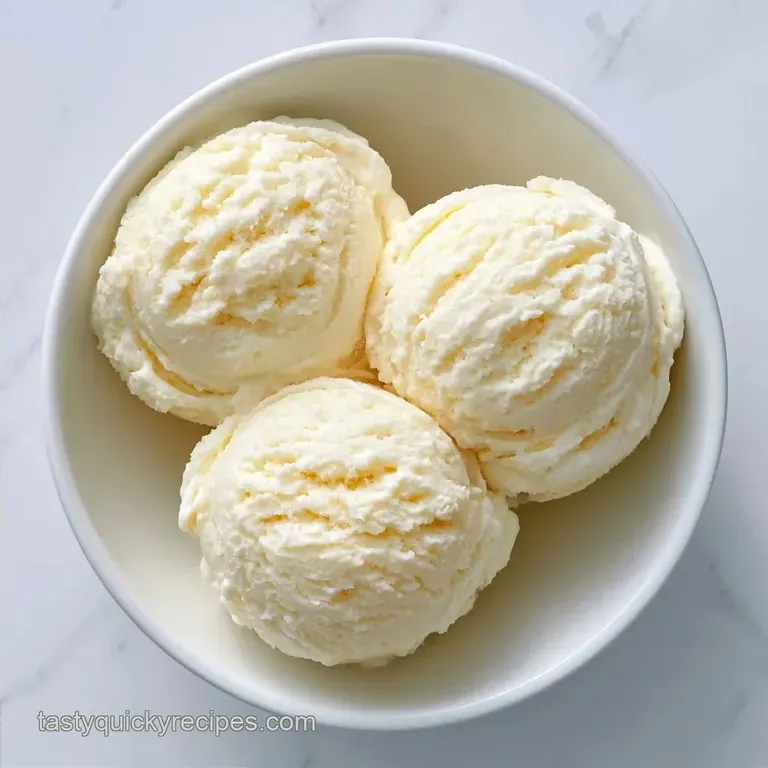
Homemade Vanilla Ice Cream
The sound of an electric mixer hitting high speed is where the magic starts for this dessert. I remember the first time I tried skipping the churn machine, thinking the texture would be like a frozen block of milk. Instead, I got a scoop that felt just like the high end stuff from a local creamery.
You get a result that is incredibly rich but takes barely any effort to put together. This Vanilla Ice Cream doesn't require you to monitor a machine for hours or worry about salt ice baths.
The payoff is a sweet treat that looks and tastes polished. Whether you are serving it with a warm brownie or eating it straight from the container, it satisfies that craving for something cold and creamy without the stress.
Quick Recipe Specs
This version is designed for those who want the reward without the long process. By using a reduced sugar condensed milk, we keep the sweetness balanced so the vanilla can actually shine through.
The process is straightforward. You spend ten minutes prepping and then let the freezer do the heavy lifting. It is a reliable way to keep a dessert on hand for any occasion.
Why This Method Works
- Whipped Cream: Beating the cream traps tiny air bubbles, which prevents the mixture from freezing into a solid brick.
- Condensed Milk: The low water content in the milk means fewer ice crystals form, keeping the scoop smooth.
- Chilled Tools: Keeping the bowl and cream cold ensures the fat stabilizes quickly for a firmer peak.
| Feature | Fresh Custard Method | Shortcut Method |
|---|---|---|
| Prep Time | 45+ minutes | 10 minutes |
| Equipment | Stove + Churner | Bowl + Mixer |
| Texture | Dense and chewy | Light and airy |
Essential Ingredient List
Understanding what each part does helps you avoid mistakes. For instance, the fat in the cream is what carries the vanilla flavor to your taste buds.
| Ingredient | What It Does | Best Swap |
|---|---|---|
| Heavy Cream | Provides air and structure | Full fat coconut cream |
| Condensed Milk | Adds sweetness and silkiness | Evaporated milk + sugar |
| Vanilla Extract | Primary flavor profile | Vanilla bean paste |
Necessary Kitchen Tools
You don't need a professional studio to make this. A standard electric hand mixer or a stand mixer such as KitchenAid works great.
I suggest using a metal mixing bowl. Metal holds the cold better than plastic, which helps the cream peak faster. You will also need a rubber spatula for folding and a 9x5 inch loaf pan for freezing.
Ingredient Details & Substitutes
- 2 cups heavy whipping cream, chilled Why this? High fat content is required for stiff peaks (Substitute: Coconut cream)
- 3/4 cup sweetened condensed milk (reduced sugar version) Why this? Prevents ice crystals without over sweetening (Substitute: Honey and cream blend)
- 2 tsp pure vanilla extract Why this? Provides the classic aromatic base (Substitute: Vanilla bean paste for a more intense flavor)
- 1 pinch sea salt Why this? Cuts through the sugar for balance (Substitute: Kosher salt)
Main Preparation Steps

- Pour the chilled heavy cream into a cold mixing bowl. Note: A cold bowl prevents the fat from melting.
- Beat the cream on medium high speed until stiff peaks form.
- Whisk the sweetened condensed milk, vanilla extract, and sea salt in a separate medium bowl.
- Gently fold the condensed milk mixture into the whipped cream using a rubber spatula.
- Use a cut and fold motion until the color is uniform to maintain the air.
- Transfer the mixture into a freezer safe loaf pan.
- Smooth the top with your spatula.
- Cover the surface directly with parchment paper or plastic wrap.
- Freeze for at least 6 hours until firm and scoopable.
Troubleshooting Common Issues
If your mixture feels off, it usually comes down to temperature or aeration. The most common issue is over mixing, which can turn your cream into butter.
Grainy Texture Causes
Graininess usually happens if the cream is over beaten or if the freezer is too warm. If the cream separates, you've gone too far.
Lack of Firmness
If the scoop is too soft, the cream might not have been chilled enough before whipping. Always ensure your ingredients are cold.
| Problem | Root Cause | Solution |
|---|---|---|
| Butter like bits | Over beating cream | Stop as soon as peaks are stiff |
| Icy crystals | Air gaps in container | Press wrap directly onto the surface |
| Bland flavor | Low quality extract | Use a pure extract per Serious Eats |
Creative Flavor Ideas
You can easily turn this base into a variety of treats. If you want a little crunch, fold in some Easy Cookie Dough pieces just before freezing.
For a more sophisticated vibe, try adding a swirl of raspberry jam or a pinch of cinnamon. To make a Churn Vanilla Ice Cream style result, you can actually put this finished mixture into a machine for a second cycle, though it is not necessary.
If you prefer a Churn Vanilla Ice Cream flavor but without the effort, adding a tablespoon of malt powder creates a similar depth.
Scaling Guidelines
Adjusting the size is simple since there is no baking involved.
- Scaling Down: Use 1 cup cream and 3/8 cup condensed milk. Use a smaller container to avoid too much surface area.
- Scaling Up: Double the ingredients. Work in batches if your mixer bowl is small to ensure you get those stiff peaks.
If you want a denser result, reduce the whipping time by 30 seconds. If you want it lighter, whip the cream slightly longer before folding.
Truths About Frozen Desserts
Some people think you need a machine to get a professional texture. That is not true. Aeration via whipping provides a similar experience to churning.
Another common belief is that more sugar makes the ice cream softer. While sugar does lower the freezing point, the fat from the heavy cream is what actually prevents the "ice block" effect.
Storage and Freezing
Keep your Vanilla Ice Cream in an airtight container in the back of the freezer. It stays fresh for about 2 months. To prevent freezer burn, ensure the parchment paper is touching the ice cream.
To avoid waste, if you have a bit of leftover whipped cream before adding the milk, use it to top your morning coffee.
Garnish and Serving
To make this look high end, focus on color balance. The pale cream needs contrast to pop. Use deep red fresh raspberries, a bright green mint leaf, or golden mango cubes.
Add these accents just before serving so they stay fresh. This dessert pairs beautifully with a slice of toasted Cinnamon Applesauce Bread for a cozy contrast of temperatures.
Chef's Tip: Freeze your scooper for 5 minutes before serving. It glides through the cream much easier and gives you those perfect, round spheres.
Recipe FAQs
How to make vanilla ice cream without an ice cream maker?
Beat chilled heavy cream to stiff peaks, then gently fold in a mixture of sweetened condensed milk, vanilla extract, and sea salt. Freeze the mixture for at least 6 hours in a covered container.
What is the simplest recipe of ice cream?
The no-churn method using only four ingredients. This approach uses heavy whipping cream, sweetened condensed milk, vanilla, and sea salt to avoid complex equipment.
How to make vanilla ice cream?
Whip chilled heavy cream until stiff peaks form, fold in whisked condensed milk, vanilla, and salt, and freeze for 6 hours or overnight.
Is it true that an ice cream maker is required for a creamy texture?
No, this is a common misconception. Beating the heavy cream first incorporates enough air to ensure the final result is smooth and creamy without a machine.
Can I make no-churn ice cream without condensed milk?
No, the condensed milk is mandatory for this method. It provides the necessary sugar and stability to prevent the ice cream from becoming icy or granular.
How to prevent ice crystals from forming on the surface?
Cover the surface directly with parchment paper or plastic wrap. This creates a physical barrier that stops air from contacting the ice cream during the freezing process.
What does this vanilla ice cream pair well with?
Serve it alongside warm baked goods. This ice cream pairs perfectly with cinnamon applesauce muffins for a balanced dessert.
No Churn Vanilla Ice Cream