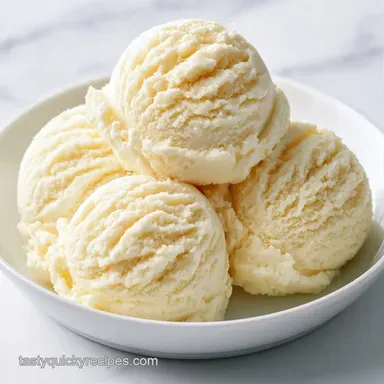
Vanilla Ice Cream Without Machine
- Time: 10 min active + 6 hr chilling
- Flavor/Texture Hook: Dense, creamy, and rich
- Perfect for: Summer gatherings or a quick weekend treat
I remember a sticky August Sunday a few years back. The porch was humming with bees, the kids were covered in watermelon juice, and we were all craving something cold. I didn't have a churner, but I had a bowl of heavy cream and a hand mixer.
That's how this recipe became a staple in my house. It's an irresistible way to get a high end dessert without the expensive gear. You just whip, pour, and wait.
This Vanilla Ice Cream tastes like those old school parlors. It's smooth and heavy, making it a great base for any topping you can think of.
Easy Homemade Vanilla Ice Cream
Right then, let's talk about why this works. I've found that you don't need a machine to get that professional feel. You just need to manipulate the air and the fat.
Air Pockets: Whipping the cream traps tiny bubbles. These bubbles stop the mixture from freezing into a solid, un scoopable block.
Sugar Balance: The sugar does more than sweeten. It lowers the freezing point, which keeps the texture soft enough for a spoon.
| Method | Time | Texture | Best For |
|---|---|---|---|
| No Churn | 10m prep / 6h freeze | Dense & Creamy | Quick cravings |
| Classic Churn | 30m prep / 24h freeze | Airier & Lighter | Traditionalists |
I've noticed that different people prefer different levels of sweetness. If you're serving this to kids, the current sugar level is great. For adults, you might want to add a pinch more salt to cut through the richness.
Quick Recipe Specs
If you're in a rush, here is the a quick look at the numbers. The total time is mostly waiting, so plan ahead.
- Prep time: 10 minutes
- Cook time: 0 minutes
- Total time: 6 hours 10 mins
- Yield: 6 servings
For those who want a shortcut, here is a quick decision guide: - If you want a denser feel, whip the cream to very stiff peaks. - If you want it softer, add a tablespoon of vodka or corn syrup. - If you have no loaf pan, any shallow freezer safe container works.
Nailing the Texture
The trick is all in the temperature. If your bowl is warm, the cream won't hold air. Put your mixing bowl and beaters in the freezer for 10 minutes before you start. It makes a huge difference.
Another thing I've learned is to watch the peaks. You want them to stand straight up when you lift the beater. If they start to look grainy, you've gone too far and it'll turn into butter.
Since we're focusing on the look, consider your garnish colors. I love adding red raspberries, bright green mint leaves, or yellow mango cubes on top. These pops of color make the white cream look professional.
Necessary Ingredients
I keep it simple here. Use the highest fat cream you can find to ensure it doesn't get icy.
| Ingredient | What It Does | Best Swap |
|---|---|---|
| Heavy Cream | Provides fat and structure | Full fat coconut cream |
| Sugar | Sweetens and softens | Powdered sugar |
| Vanilla Extract | Adds the core flavor | Vanilla bean paste |
- 2 cups heavy whipping cream, cold Why this? High fat content ensures a thick texture. (Sub: Coconut cream)
- 1/2 cup granulated sugar Why this? Dissolves quickly into the cream. (Sub: Powdered sugar)
- 1 tbsp pure vanilla extract Why this? Strong, classic aroma. (Sub: Vanilla bean paste)
- 1/4 tsp fine sea salt Why this? Balances the sweetness. (Sub: Table salt)
Essential Kitchen Tools
You don't need much, but the right tools save time. A metal bowl is better than plastic because it stays colder.
- Hand mixer: A stand mixer such as KitchenAid works too.
- Metal loaf pan: This helps the ice cream freeze evenly.
- Rubber spatula: Essential for folding without popping the air bubbles.
- Chilled bowl: Keeps the fat stable.
Step-by-step Method

Let's crack on. Follow these steps closely to get that smooth finish.
- Pour the cold heavy whipping cream into a chilled mixing bowl.
- Beat on medium high speed for 2 minutes until the cream begins to thicken.
- Slowly add the granulated sugar and salt.
- Continue whipping until stiff peaks form. Stop immediately once they stand firm.
- Reduce the mixer speed to low.
- Pour in the pure vanilla extract and mix for 15 seconds until just incorporated.
- Use a rubber spatula to gently fold the mixture. Ensure no sugar pockets remain at the bottom.
- Transfer the mixture into a metal loaf pan and smooth the top.
- Cover with foil and freeze for 6 hours until firm.
Fixing Common Issues
Even with a simple recipe, things can go sideways. Most of the time, it's a temperature issue.
Troubleshooting Common Issues
| Issue | Solution |
|---|---|
| Why is it grainy | This usually happens if the sugar didn't dissolve or if you over whipped the cream. Over whipping breaks the fat globules, making it feel like butter. |
| Why won't it stiffen | If your cream or bowl was too warm, the air won't stay trapped. You'll just have sweet soup. Start over with a frozen bowl. |
| Why is it too hard | Home freezers are often colder than professional ones. Let the container sit on the counter for 5 minutes before scooping. |
If you find yourself with extra cream after making this, try using it in my Cinnamon Applesauce Bread for a rich, moist crumb.
Fun Flavor Variations
Once you have the base for this Ice Cream Without Machine, you can go wild. The base is a blank canvas.
For a "Cookies and Cream" vibe, fold in crushed Oreos during the final folding step. For Mint Chip, add a drop of peppermint extract and a handful of mini chocolate chips.
If you want something a bit more tart, this pairs beautifully with a Rhubarb Crunch topping. The acidity of the fruit cuts through the heavy cream perfectly.
Storage and Waste
Store your Vanilla Ice Cream in the loaf pan with a tight lid. It stays fresh for about 2 weeks. After that, it can start to pick up "freezer smells."
To avoid waste, don't throw away the cream residue in the bowl. Scrape it out and stir it into your morning coffee for a little treat.
According to Freezer safety guidelines, keeping your freezer at 0°F or lower is key. This prevents large ice crystals from forming in your Cream Without Machine.
Best Serving Pairings
This recipe is rich, so it loves contrast. I suggest serving it with a warm drizzle of salted caramel or a handful of toasted almonds.
Fresh berries are another great option. The bright red of a strawberry looks stunning against the white cream. If you're feeling fancy, a sprig of fresh mint adds a professional touch.
Whether you call it an Easy Vanilla Ice Cream Without Machine or just a quick treat, it's a winner every time. Just remember to chill your bowl, and you're set.
Recipe FAQs
How to make vanilla ice cream without an ice cream maker?
Beat cold heavy whipping cream in a chilled bowl until it thickens, whip in sugar and salt until stiff peaks form, and fold in vanilla before freezing.
How to make 3 ingredient vanilla ice cream?
Omit the salt and combine only the heavy whipping cream, granulated sugar, and vanilla extract using the standard whipping method.
How long should I freeze the mixture for a scoopable texture?
Freeze for at least 6 hours. Letting the mixture set overnight in a metal loaf pan ensures the most consistent, scoopable consistency.
How long will this homemade vanilla ice cream last in the freezer?
About 2 weeks. Keep the container sealed with a tight lid to prevent the ice cream from picking up unwanted freezer odors.
Can I add mix-ins like chocolate chips without a machine?
Yes, fold them in by hand. Use a rubber spatula to gently incorporate mix-ins after adding the vanilla; this pairs perfectly with warm peanut butter cookies.
Do I need to use sweetened condensed milk?
No, granulated sugar is used here. The combination of whipped heavy cream and sugar creates the necessary richness and sweetness without needing condensed milk.
Can I make no-churn ice cream with low-fat milk?
No, you must use heavy whipping cream. low-fat milk lacks the fat globules required to trap air, meaning the mixture will not thicken into a scoopable texture.
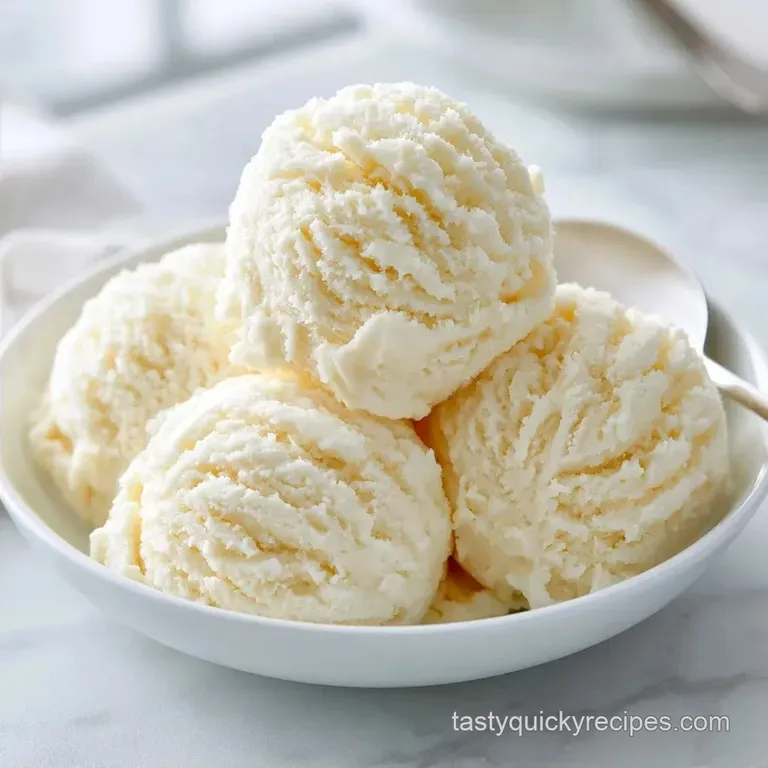
No Churn Vanilla Ice Cream 2