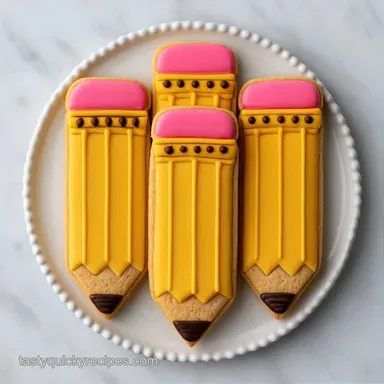
Pencil Cookies for Back to School: Crispy Vanilla
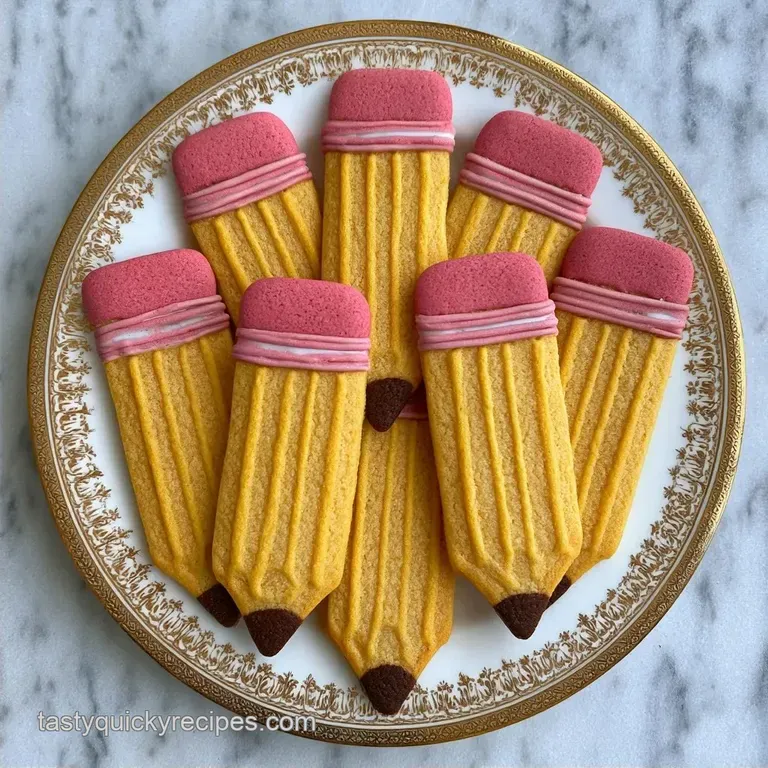
- Time: 20 min active + 60 min chilling
- Flavor/Texture Hook: Crispy vanilla crunch with a smooth candy shell
- Perfect for: Teacher gifts or classroom parties
I remember the first time I tried these. I rushed the melting process, blasting the chocolate in the microwave for too long. It seized into a thick, grainy mess that looked more like wet cement than candy. I ended up with blobs of yellow wax instead of clean pencil lines, and I almost tossed the whole batch.
The trick is patience with the heat and a steady hand with the dips. Once you get the rhythm, these are a breeze to put together. You don't need a fancy kitchen setup, just a few bowls and some parchment paper.
You can expect a treat that looks like a classic No. 2 pencil but tastes like a vanilla chocolate dream. These Pencil Cookies for Back to School are great because they provide that visual "wow" without requiring you to spend four hours tempering chocolate.
The Texture Trick
Pre baked Wafers: Wafers provide a light, stable crunch that easily supports the weight of the candy coating.
Compound Wafers: Because these don't need tempering, they set solidly at room temperature and won't melt immediately when handled.
Layered Dipping: Coating the yellow body first provides a foundation that helps the eraser and tip colors adhere more securely.
| Method | Time | Texture | Best For |
|---|---|---|---|
| Fast Dip | 20 mins | Smooth & Crisp | Quick gifts |
| Classic Pipe | 60 mins | Detailed | Fancy platters |
Here is everything you will need to get started.
Essential Tool List
You'll want two large baking sheets and plenty of parchment paper to prevent sticking. Use microwave safe glass or ceramic bowls for the candy wafers. A small offset spatula or a fork helps in lifting the cookies without smudging the colors.
Ingredient Deep Dive
The vanilla wafers provide the structural snap and a light sweetness. I prefer the standard store-bought kind because they're consistent in size. The yellow candy wafers make up the bulk of the "pencil," while the pink and white add the iconic details.
Mini chocolate chips are the only way to get that tiny, precise "lead" look at the tip.
Recipe Specs
For this batch, you'll need: - 24 vanilla wafer cookies (200g) Why this? Provides the crisp, neutral base - 10 oz yellow candy melting wafers (280g) Why this? The classic pencil body color - 1/2 cup pink candy melting wafers (90g) Why
This? Creates the eraser end - 1/2 cup white candy melting wafers (90g) Why this? Forms the sharpened tip - 12 mini semi sweet chocolate chips (15g) Why this? Mimics the pencil lead
Substitutes:
- Vanilla Wafers: Shortbread fingers (makes them denser)
- Candy Wafers: White chocolate with oil based food coloring (requires more stirring)
- Chocolate Chips: A tiny dot of melted dark chocolate (takes longer to set)
From Prep to Plate
- Line two large baking trays with parchment paper. Arrange the 24 wafers in neat rows, ensuring they aren't touching.
- Put the yellow, pink, and white wafers into three different microwave safe bowls.
- Heat each bowl using 30-second intervals. Stir well between bursts until the chocolate is velvety and smooth.
- Dip the middle of a wafer into the yellow chocolate, leaving a small space at both ends.
- Immediately dip one end into the pink chocolate to create the eraser.
- Dip the other end into the white chocolate for the pencil tip.
- Press one mini chocolate chip into the wet white chocolate to represent the lead.
- Place the cookies on the parchment. Let them set for 60 minutes until the coating is hard and doesn't smudge.
Chef: If the chocolate becomes too thick while cooling, just microwave it for 5 to 10 seconds to loosen it.
Pro Tips & Pitfalls
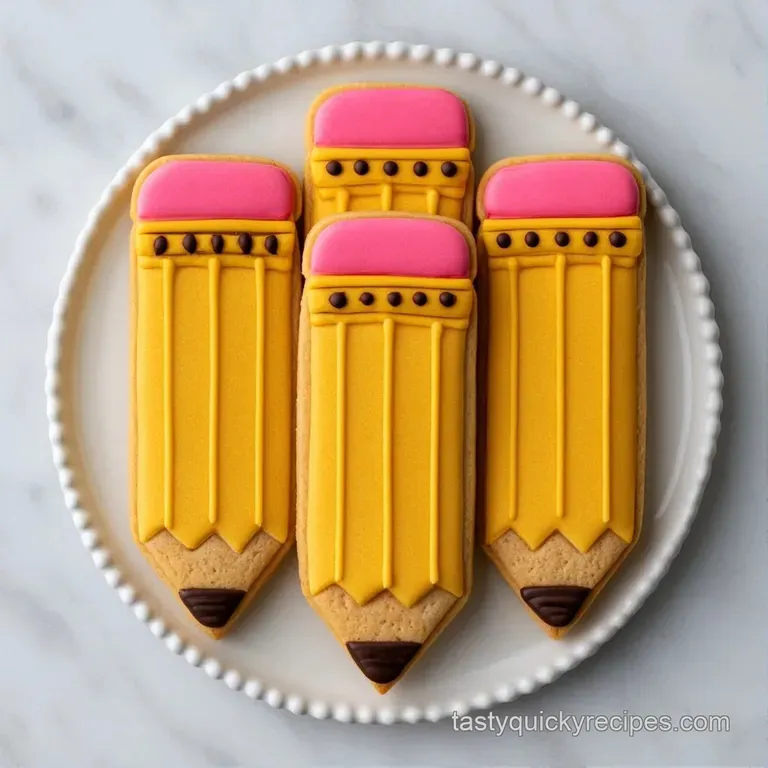
Fixing Grainy Chocolate
If your chocolate seizes or looks clumpy, don't add water. Stir in a teaspoon of coconut oil or vegetable oil and microwave for 10 seconds. This restores the flow without ruining the flavor.
Preventing the Slide
Sometimes the coating slides off the wafer. This happens if the wafer is too cold or the chocolate is too hot. Keep your wafers at room temperature and let the chocolate cool for a minute before dipping.
Avoiding Wafer Breakage
Wafers are fragile. Hold them by the very ends when dipping rather than gripping the middle. This prevents the cookie from snapping under the pressure of the candy.
Adjusting the Batch Size
For a single teacher's gift, you can easily halve the recipe. Use a single small tray and reduce the amount of candy wafers by 50%.
If you need 48 pencils for a large classroom event, double the ingredients. I suggest working in batches of 12 to keep the chocolate from hardening in the bowl. When doubling, only increase the chocolate chips to 20-24 units, as you may not need one for every pencil.
| Goal | What to change |
|---|---|
| Brighter Colors | Use neon candy wafers |
| More Crunch | Use toasted almond wafers |
| Less Sweet | Use dark chocolate for lead |
Don't stress about the dipping; it's okay if your lines aren't perfectly straight.
Debunking Candy Myths
Some say you must use a double boiler for all chocolate. For candy wafers, a microwave is actually better because you can control the heat in short bursts.
Another myth is that real couverture chocolate is the only way to get a professional look. Actually, for these cookies, compound wafers are superior because they set faster and don't melt as easily in your hand.
Storage and Waste Tips
Keep these in a cool, dry place in a container. They stay fresh for about 7 days. If your house is warm, put them in the fridge to keep the colors from bleeding. They also freeze well for up to 2 months, just let them thaw for 10 minutes before serving.
To avoid waste, melt any leftover candy wafers and drizzle them over some Alphabet Sugar Cookies for a colorful snack. You can also use the remaining chocolate to pipe little stars or dots on the parchment paper to fill out a gift box.
Color and Flavor Twists
You can easily turn these into "colored pencils" by swapping the yellow wafers for blue, green, or purple. If you want a more sophisticated taste, use almond wafers instead of vanilla. For a different treat entirely, you might like these Peanut Butter Cookies if you're craving something salty.
Perfect Complements
These Back to School Pencil Cookies pair wonderfully with a chilled glass of milk or a hot cup of coffee for the teachers. I suggest serving them on a platter with fresh strawberries to balance the sweetness of the candy coating.
They also look charming tucked into a mason jar with a few real pencils and a handwritten note.
Recipe FAQs
Are these cookies good for a middle school bake sale?
These are a huge hit for school events because they look professional and are easy to handle.
Tip: Pack them in clear cellophane bags with ribbons for a more polished look.
How to melt the candy wafers without burning them?
Heat the wafers in 30-second bursts in the microwave and stir vigorously between intervals.
Tip: Stop heating when a few small lumps remain and stir until they melt from residual heat.
Do the colors bleed if stored in the fridge?
Colors may bleed if the environment is too humid or warm.
Tip: Keep them in a cool, dry place and only use the fridge if your kitchen is very hot.
Is it true I need to bake the wafers after dipping them?
That's a myth. These cookies are no-bake and only need to set for 60 minutes at room temperature or in the fridge.
Tip: Use the fridge to harden the coating faster if you are short on time.
Can I use a different cookie base instead of vanilla wafers?
Any long, thin, sturdy cookie works for this design.
Tip: If you enjoyed the quick prep nature of this treat, see how that same efficiency works in our chicken vegetable skillet.
Pencil Cookies For Back To School