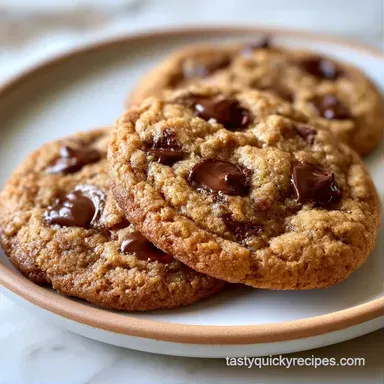
Backtoschool Chocolate Chip Cookies: Gooey Centers
- Time: 10 min active + 12 min bake
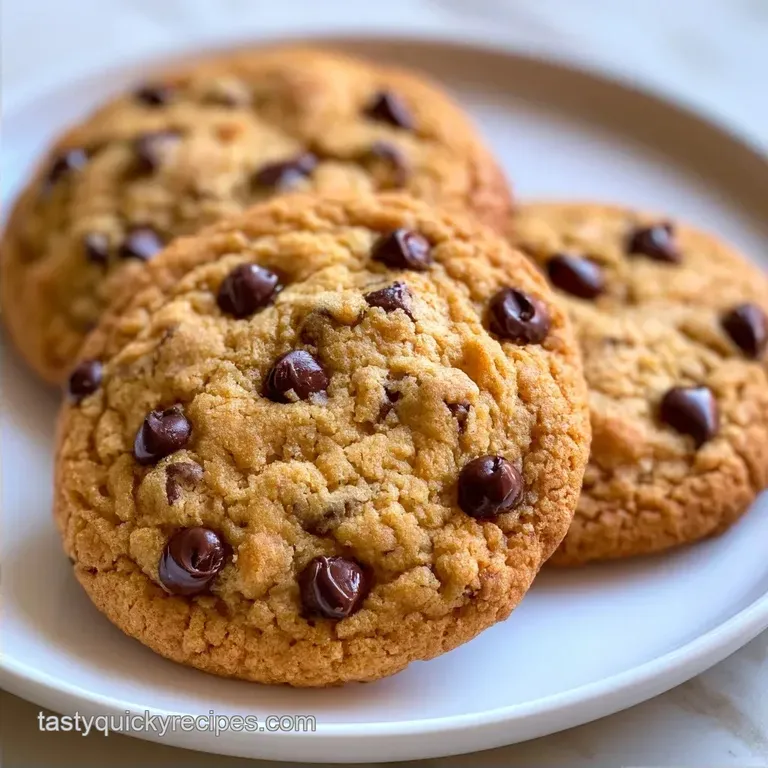
- Flavor/Texture Hook: Deep mahogany edges with gooey centers
- Perfect for: School lunches and after school snacks
The smell of bubbling butter and vanilla always hits me first. It's that specific, warm aroma that makes the whole house feel cozy before the kids even walk through the door.
You can get a huge batch of these done in just 22 minutes. It's a quick win for anyone who needs to stock the pantry without spending the whole afternoon in the kitchen.
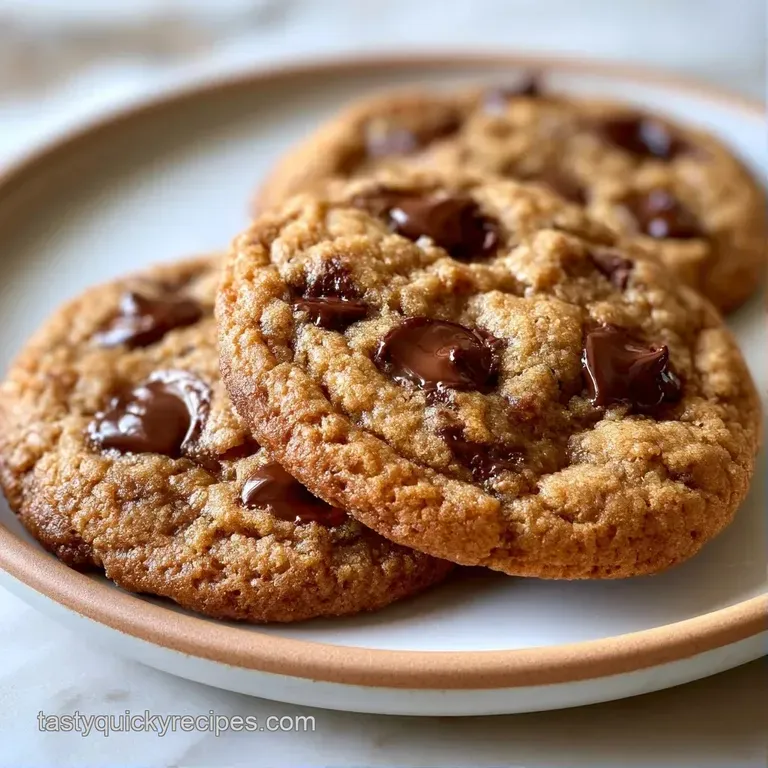
These BacktoSchool Chocolate Chip Cookies deliver that classic, thick texture without any fuss. We're aiming for a specific look here: deep brown edges, a golden center, and dark, glossy chocolate pools.
Why These Cookies Stay Chewy
- Brown Sugar Ratio: The brown sugar holds onto moisture, which prevents the center from drying out.
- Room Temp Butter: Using softened butter instead of melted butter keeps the cookies from spreading into flat pancakes.
Since we are going for a specific look, we focus on three color accents. The edges should be a deep mahogany, the center a pale gold, and the chips a dark, rich brown. These colors happen naturally when you pull them out just as the edges darken but the middle still looks slightly wet.
| Method | Time | Texture | Best For |
|---|---|---|---|
| Fast Bake (This) | 22 mins | Crispy edge, gooey center | Weeknight snacks |
| Classic Chill | 24 hours | Denser, chewier, spreads less | Gourmet parties |
What Each Ingredient Does
| Component | Purpose | Substitute Notes |
|---|---|---|
| Brown Sugar | Adds chew and color | Coconut sugar: Similar color but less molasses flavor |
| Baking Soda | Creates lift and browning | Baking powder: Cookies will be puffier and paler |
| Semi sweet Chips | Provides sweetness/structure | Dark chocolate: More intense, less sweet |
| Walnuts/Peanuts | Adds a salty crunch | Pecans: Richer, buttery taste |
Ingredients and Swaps
- 1 cup (225g) unsalted butter, softened Purpose: This creates the air pockets needed during creaming
- Substitute: Salted butter (exclude the extra salt listed).
- ¾ cup (150g) granulated sugar
- Substitute: Castor sugar for a slightly more delicate crumb.
- ¾ cup (165g) packed brown sugar
- Substitute: Dark brown sugar for a deeper caramel flavor.
- 2 large eggs (100g)
- Substitute: 1 egg and 1 egg white for a slightly crispier finish.
- 2 tsp (10ml) pure vanilla extract
- Substitute: Almond extract for a nutty twist.
- 2 ¼ cups (280g) all purpose flour
- Substitute: White whole wheat flour (you may need 1 more tbsp of milk).
- 1 tsp (5g) baking soda
- Substitute: None.
- ½ tsp (3g) salt
- Substitute: Sea salt for more distinct flavor.
- 2 cups (340g) semi sweet chocolate chips
- Substitute: Chopped chocolate bars for melty, irregular pools.
- 1 cup (125g) chopped walnuts or peanuts
- Substitute: Pumpkin seeds for a nut-free ish crunch.
Essential Recipe Specs
- 1. Butter Temp
- Should be 65°F (18°C), meaning it dents when pressed but doesn't slide.
- 2. Oven Temp
- Exactly 375°F (190°C). If it's too low, the cookies spread before they set.
- 3. Pull Time
- 11 minutes is usually the sweet spot for a 2 inch cookie.
| Goal | What to change |
|---|---|
| More Gooey | Reduce bake time by 1 minute |
| Extra Crisp | Increase bake time by 2 minutes |
| Nut Free | Replace walnuts with extra chips |
Tools for the Job
While you can get by with basic gear, a few items simplify the process. I prefer a stand mixer to cream the butter and sugar until light and airy, though a hand mixer works just as well.
Parchment paper is essential to prevent the bottoms from burning and to make cleanup quick. I also suggest using a cookie scoop for uniform sizing, which ensures every piece bakes evenly.
Key Steps for Success
Phase 1: Prepping the Base
- Warm your oven to 375°F (190°C) and cover your baking trays with parchment paper. Note: This stops sticking and ensures more even heating.
Phase 2: Mixing the Batter
- Beat the softened butter with the granulated and brown sugars in a large mixing bowl. Continue until the mixture is light and airy.
- Incorporate the eggs one by one, then stir in the vanilla extract.
- In another bowl, whisk together the all purpose flour, baking soda, and salt.
- Slowly fold the dry mixture into the wet ingredients, stirring until just blended. Note: Avoid overmixing to keep the cookies tender.
- Fold in the semi sweet chocolate chips and chopped walnuts or peanuts.
Phase 3: Baking to Perfection
- Place rounded tablespoons of dough on the lined sheets, leaving 2 inches of space between each.
- Bake for 10 to 12 minutes until the edges reach a deep golden brown while the middles remain slightly soft.
- Take the pan out of the oven and let the cookies set for 5 minutes before moving them to a wire rack to cool.
What Can Go Wrong
If your cookies didn't come out right, it usually comes down to temperature or mixing. For example, if the butter is too warm, the fat melts instantly in the oven, causing the dough to collapse.
Fixing Flat Cookies
This happens when the butter is too soft or you over beat the batter. The structure breaks down, and the cookies spread.
Avoiding Burnt Edges
If the edges are dark but the middle is raw, your oven might be running hot. Try moving the rack to the center position.
Stopping Cakey Textures
Too much flour is the main culprit here. Make sure you spoon the flour into the measuring cup rather than scooping it directly, which packs it down.
| Problem | Fix |
|---|---|
| Too Flat | Chill dough for 30 mins before baking |
| Burnt Edges | Lower oven rack or check oven temp |
| Cakey Middle | Measure flour by weight or spoon and level |
Freezing and Reheating Guide
Store them in a lidded container at room temperature for about 5 days. To keep them softer for longer, I recommend adding a slice of white bread; the cookies absorb the moisture from the bread to stay tender.
For the freezer, flash freeze the dough balls on a tray for 1 hour, then move them into a freezer bag. They will keep for 3 months. When you're ready, bake them directly from the freezer, adding 2 extra minutes to the cooking time.
To reheat, microwave one for 10 seconds. This makes the chocolate glossy again and restores that "freshly baked" sensation.
What to Serve This With
The most classic pairing is a cold glass of whole milk. The fat in the milk cuts through the richness of the chocolate. If you're serving these for adults, a dark roast coffee or a cold brew works well.
For a more indulgent treat, try serving a warm cookie with a scoop of vanilla bean ice cream. Since these have walnuts, they also pair well with a slice of crisp apple or some fresh berries to add a bit of acidity.
Flavor Variations to Try
If you're looking for a variation, it's easy to customize the add-ins. For a double chocolate experience, swap a quarter cup of flour for cocoa powder; this gives the BacktoSchool Chocolate Chip Cookies a brownie like appearance.
To get that salty sweet contrast, add a sprinkle of coarse sea salt as soon as they come out of the oven. If you want another kid-approved option, my Peanut Butter Cookies recipe is always a winner.
Alternatively, replace the chocolate chips with butterscotch or white chocolate. For a more sophisticated party treat, these Graduation Sugar Cookies are a wonderful choice.
That's the secret to the BacktoSchool Chocolate Chip Cookies. Just remember to keep an eye on the edges so they don't overbake. They might look a little underdone when you pull them out, but that's how you ensure a gooey center. Happy baking!
Recipe FAQs
How long does the total process take?
The entire process takes 22 minutes from start to finish.
Tip: Line your baking sheets with parchment paper while the oven preheats to save time.
How to achieve the best texture?
Cream the softened butter and sugars until the mixture is pale and fluffy.
Tip: If you enjoy this moisture balance, the same principle is used in our cafeteria cookies.
Will these cookies stay soft in a lunchbox?
These stay soft for days thanks to the moisture retaining brown sugar.
Tip: Store them in a cool, dry place to maintain that chewy center.
Is it true I should bake them until the centers are fully brown?
Not true.
Tip: Remove them when the edges are deep mahogany but the centers still look slightly wet.
Can I use peanuts instead of walnuts?
Yes, both chopped walnuts and peanuts work perfectly in this recipe.
Tip: Use salted nuts to balance the sweetness of the semi sweet chocolate chips.
Backtoschool Chocolate Chip Cookies