School Day Cereal Cookies in 20 Minutes
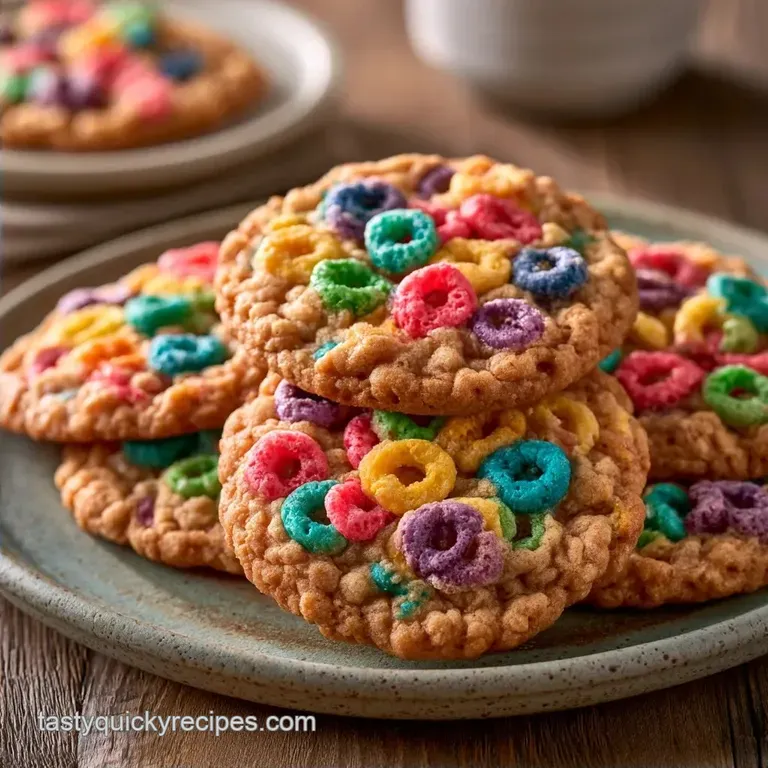
- Time: 10 min active + 10 min bake
- Flavor/Texture Hook: Toasty cereal crunch with deep chocolate
- Perfect for: Quick lunchbox additions or after school snacks
The smell of toasted corn and melting dark chocolate hits you the second these come out of the oven. I used to spend way too much time making elaborate treats, but honestly, the kids just want something that tastes like their favorite bowl of cereal in cookie form.
You can get these on the table in 20 minutes total. No long chilling times or fancy equipment needed. These School Day Cereal Cookies give you that "bakery style" result without the stress of a three hour project.
Expect a cookie that stays chewy in the middle but has a distinct, crispy edge. It's a fast win for anyone who needs a reliable, sweet treat that doesn't require a culinary degree to pull off.
The One Thing That Changes Everything
Cereal Structure: Cereal pieces act like tiny scaffolds, creating air pockets that keep the cookies from becoming too dense.
Wheat Pastry Flour: Using this instead of all purpose flour keeps the crumb tender while still giving it a bit of heartiness.
| Method | Time | Texture | Best For |
|---|---|---|---|
| Fast (This) | 20 mins | Crispy/Chewy | Weekdays |
| Classic | 3+ hours | Soft/Spread | Weekend baking |
The Building Blocks
For these School Day Cereal Cookies, we're focusing on a balance of flavors. The brown sugar provides a molasses like depth that pairs well with the toasted notes of the cereal. Whole wheat pastry flour is a great choice here because it's lighter than regular whole wheat but more nutritious than white flour.
The cereal is the star. Whether you use cornflakes, rice puffs, or something colorful, it adds a structural crunch that chocolate chips alone can't provide. I find that dark chocolate helps cut through the sweetness of the cereal.
Equipment Needed
Standard kitchen tools will work just fine. A basic electric mixer, like a KitchenAid, is ideal, but a hand mixer is just as effective. You'll also want a sturdy spatula for folding and a parchment lined baking sheet to avoid any sticking.
Ingredients & Substitutes
- 1/2 cup (115g) unsalted butter, softened Why this? Creates a creamy foundation and ensures easy mixing (Substitute: Coconut oil, though it may result in a softer texture)
- 1/2 cup (100g) packed light brown sugar Why this? Contributes a caramel note and a chewy texture (Substitute: Coconut sugar for a nuttier profile)
- 1 large egg, room temperature Why this? Acts as the primary binder (Substitute: A flax egg for a vegan alternative)
- 1 tsp (5ml) pure vanilla extract Why this? Enhances and balances the sweetness (Substitute: Almond extract for a distinct aroma)
- 1 1/4 cups (150g) whole wheat pastry flour Why this? Ensures a tender crumb while adding nutritional value (Substitute: All-purpose flour)
- 1/2 tsp (3g) baking soda Why this? Promotes browning and lift (Substitute: 1.5 tsp baking powder)
- 1/4 tsp (1.5g) fine sea salt Why this? Offsets the sugary tones (Substitute: Kosher salt)
- 2 cups (60g) cereal Why this? Adds the essential crunch (Substitute: Any preferred dry breakfast cereal)
- 1/4 cup (35g) dark chocolate chips Why this? Provides a deep, bittersweet contrast (Substitute: White chocolate chips or raisins)
How to Make It
Phase 1: Creaming and Aerating
- Use an electric mixer on medium high to beat the softened butter and brown sugar for 3 minutes until the texture is pale and fluffy. Note: This incorporates air for a lighter cookie.
- Mix in the egg and vanilla extract on medium speed for 60 seconds until smooth and fully combined.
Phase 2: Folding the Dry Ingredients
- Gradually stir in the flour, baking soda, and salt using a spatula, folding until just a few streaks of flour remain. Note: Stop here to avoid a tough cookie.
- Carefully fold in the cereal and dark chocolate chips by hand until evenly distributed. Note: Use a light touch so you don't crush the cereal.
Phase 3: Baking to Perfection
- Arrange rounded tablespoons of batter on a baking sheet lined with parchment, spacing them 2 inches apart.
- Bake for 8–10 minutes at 350°F (175°C) in a preheated oven until edges are light mahogany brown.
- Let the cookies rest on the pan for 5 minutes until they set.
- Transfer them to a wire rack to cool completely.
Avoiding Kitchen Disasters
If your cookies aren't coming out right, it's usually a temperature issue. Butter that's too soft will cause the dough to run, while butter that's too cold won't cream properly with the sugar.
Fixing Excessive Spreading
This happens when the butter is too warm or the oven isn't quite at 350°F. Chill the dough for 15 minutes before scooping.
Handling a Tough Texture
Overmixing the flour develops too much gluten, which makes the cookies bready. Only fold until the flour disappears.
Dealing with Burnt Bottoms
Some baking sheets absorb heat more than others. Try lining the pan with two layers of parchment paper.
| Problem | Fix |
|---|---|
| Flat cookies | Chill dough for 15 mins |
| Tough crumb | Fold flour by hand |
| Burnt bottoms | Use double parchment |
Mix It Up
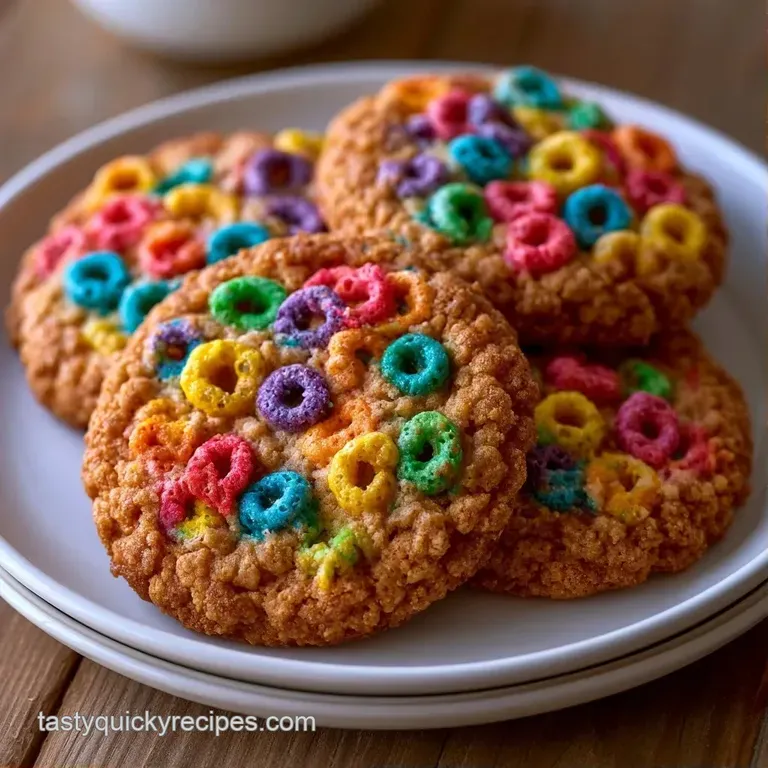
To get a great look, focus on color balance. I love adding a sprinkle of flaky sea salt on top immediately after baking for a white pop against the golden cereal. If you use a colorful cereal like Froot Loops, the cookies look like confetti.
For a deeper contrast, add a few extra dark chocolate chunks on top of the dough balls before they go in the oven.
If you want a different style of snack, you might like these trail mix freezer cookies for something you can grab quickly from the freezer.
For a nuttier version, swap some of the cereal for crushed walnuts or pecans. You can also add a tablespoon of cinnamon to the flour mix to give the cookies a warm, autumnal vibe.
| Goal | What to change |
|---|---|
| More Crunch | Increase cereal to 2.5 cups |
| Chewier Center | Use 100% brown sugar |
| Less Sweet | Use 70% dark chocolate |
Storage & Reheating
Keep these in a glass jar or a container with a lid for up to 5 days. If you're keeping them on the counter, make sure they are completely cool first, or the steam will make the cereal soggy.
For longer storage, you can freeze the baked cookies for 2 months. Just wrap them individually in foil. To refresh them, pop a cookie in the oven at 300°F for 3 minutes. It brings back that just baked smell and crispness.
To reduce waste, if you have leftover cereal crumbs at the bottom of the bag, fold them into the dough along with the whole pieces. They add extra toasted flavor without changing the texture.
What to Serve This With
While tasty on their own, these cookies really stand out when served as part of a variety platter. I enjoy plating them on a wooden board with fresh apple slices and a glass of cold milk.
If you're crafting a dessert spread, these go great with peanut butter cookies to add contrasting flavors and textures.
For a more luxurious treat, serve these warm with a small scoop of vanilla bean ice cream. The warmth of the School Day Cereal Cookies gently melts the ice cream into a rich sauce that pairs beautifully with the crunch.
Recipe FAQs
How long does it take to bake these cereal cookies?
Bake for 8 10 minutes at 350°F (175°C). Remove them from the oven as soon as the edges turn a light mahogany brown to ensure the centers stay soft.
How to prevent the cereal from crushing in the dough?
Fold the cereal and dark chocolate chips in by hand. Avoid using the electric mixer for this final step to keep the cereal pieces whole and crunchy.
Is it true I must use all-purpose flour for the right texture?
Surprisingly, no. Whole wheat pastry flour creates a tender crumb while adding a nuttiness that pairs well with toasted cereal.
Can these cookies be stored on the counter?
Yes, but ensure they are fully cooled. Storing them while warm creates steam that makes the cereal soggy. If you enjoyed controlling cookie spread here, the same fat ratio logic applies to our sprinkle sugar cookies.
School Day Cereal Cookies