Failure-Proof Backtoschool Sugar Cookies
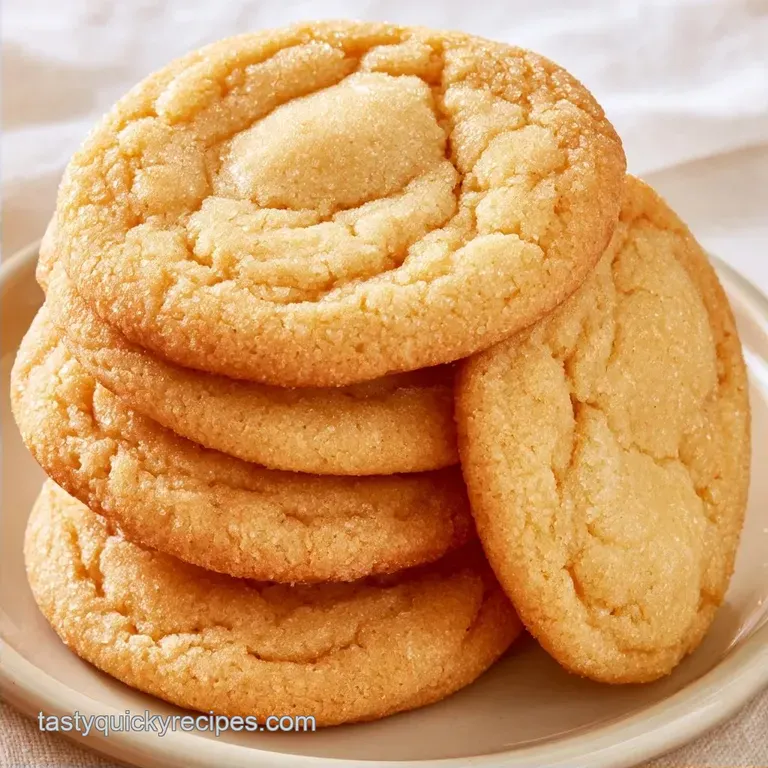
- Time: 20 minutes hands-on + 60 minutes resting
- Taste and Feel: Classic buttery vanilla with a tender, cloud-like interior
- Great for: First-day snacks and teacher appreciation gifts
Opening the oven to the scent of toasted vanilla and melted butter is the ultimate way to welcome the new school term. I remember one August morning when I tried to shortcut a batch for a classroom party. By skipping the refrigeration, my cookies flattened into sweet pancakes that fused into one massive sheet.
That failure proved that patience is essential for achieving those crisp, defined edges.
It's all about the right equilibrium. You need a treat firm enough to maintain a pencil shape without becoming hard as a rock. These BacktoSchool Sugar Cookies create a flawless surface for frosting and remain moist for several days a huge plus for those prepping early.
The result is a bakery quality treat with a homemade heart. Because the dough resists spreading, your cut-out shapes remain intact. Now, let's dive into the steps so you don't repeat my pancake disaster.
BacktoSchool Sugar Cookies for the Classroom
These treats are designed for stability. By controlling the temperature of the fats, we ensure that the cookies hold their shape during the 12 minutes they spend in the oven. They have a classic, sweet flavor that kids love and a polished look that makes them a hit with teachers.
The prep is fast, but the resting period is where the magic happens. Don't be tempted to skip it. The result is a soft, chewy bite that doesn't crumble when you take a mouthful.
What Goes Into the Dough
This base relies on a high fat butter and a precise balance of sugar and flour to maintain its integrity. By using all-purpose flour, the gluten remains low enough to keep the cookies tender.
The icing is a simple blend of powdered sugar and milk for a high shine finish. I recommend gel food coloring over liquid to keep the icing thick, ensuring your detailed lines don't bleed. For a different base, my cookie dough is another fantastic option for fast desserts.
Dough Ingredients:
- 1 cup (225g) unsalted butter, softenedPurpose: Creates a rich base and maintains structure.
- 1 cup (200g) granulated sugarPurpose: Adds sweetness and helps crisp the edges.
- 1 large egg, room temperaturePurpose: Binds the ingredients and adds moisture.
- 2 tsp (10ml) pure vanilla extractPurpose: Gives the dough a classic bakery aroma.
- 2 ½ cups (310g) all purpose flourPurpose: Helps the cookies keep their shape.
- ½ tsp (3g) baking powderPurpose: Provides a light lift without excessive spreading.
- ¼ tsp (1.5g) saltPurpose: Balances the sugar's sweetness.
Glaze Ingredients:
- 2 cups (240g) powdered sugar, siftedPurpose: Ensures a smooth, pipeable consistency.
- 2 tbsp (30ml) milkPurpose: Turns the sugar into a workable glaze.
- 1 tsp (5ml) vanilla extractPurpose: Enhances the taste of the topping.
- Gel food coloringPurpose: Provides bold color without thinning the mixture.
Tools for the Job
While you don't need an industrial setup, certain equipment can streamline the process. A stand mixer like a KitchenAid is excellent for the creaming step, though a hand mixer is equally effective.
You'll definitely need a rolling pin and some parchment paper. Without parchment, your cookies may stick to the tray, ruining those crisp edges. For the final decorations, a small piping bag or a plastic bag with a trimmed corner works perfectly for the pencil lines.
Step by step Baking
Adhere to these instructions for a polished, professional look for your BacktoSchool Sugar Cookies.
- Cream the softened butter and granulated sugar on medium high speed for about 3 minutes until the mixture is light and airy. Note: This process adds air to ensure a softer bite.
- Stir in the vanilla extract and egg, beating on medium speed until the batter is smooth.
- Combine the flour, salt, and baking powder in a separate mixing bowl.
- On low speed, slowly blend the dry ingredients into the wet mixture. Stop mixing as soon as the flour is just combined. Note: Mixing too much can result in tough cookies.
- Shape the dough into two discs, wrap them securely in plastic, and chill in the fridge for at least 1 hour.
- Bring your oven to 350°F (175°C) and prepare baking sheets with parchment paper.
- Roll the dough on a surface dusted with flour to a ¼ inch thickness, then cut out your shapes.
- Arrange cookies on the trays 2 inches apart and bake for 10–12 minutes until the edges just start to turn golden.
- Leave the cookies on the baking sheet for 5 minutes before moving them to a wire rack to cool.
- Mix the milk, powdered sugar, and vanilla until smooth. Split the glaze into bowls and stir in gel food colors.
- Decorate the cooled cookies with pencil designs using the icing.
- Let the glaze set for 30 minutes before you pack the cookies.
Why These Stay Thick
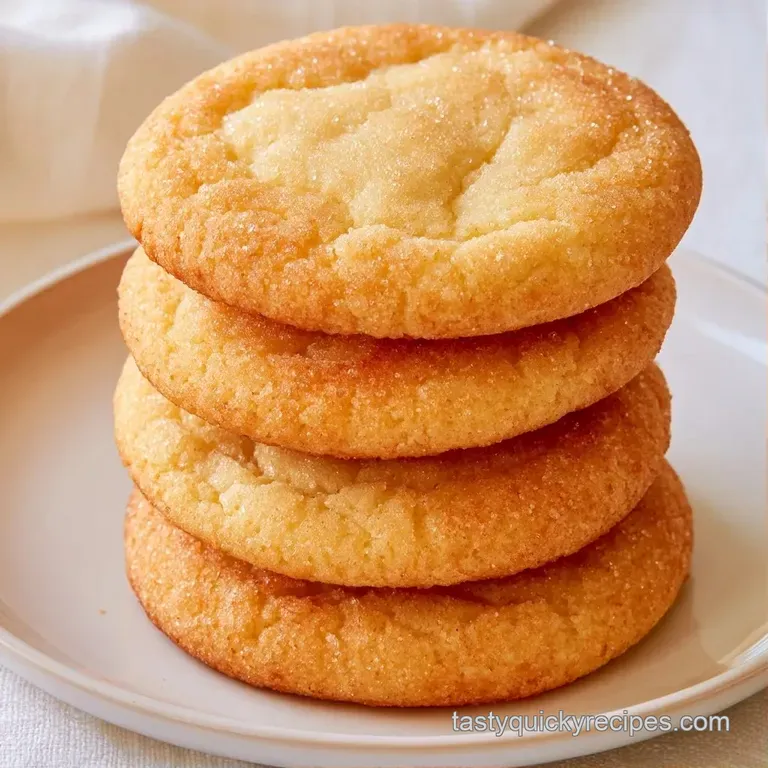
Success depends on temperature control and how the fats respond to the heat.
- Cold Butter: Chilling the dough ensures the butter stays firm. This allows it to melt more slowly in the oven, giving the flour time to set and hold the cookie's shape.
- Room Temp Egg: Using a room temperature egg keeps the butter from seizing during mixing, which ensures a smooth consistency.
| Method | Time | Texture | Best For |
|---|---|---|---|
| Fast (No Chill) | 30 mins | Flat/Spread | Casual snacking |
| Classic (Chilled) | 92 mins | Thick/Soft | Decorated shapes |
Trust me, that hour in the fridge is the difference between a cookie that stays slender and one that melts into a yellow blob.
Fix Common Cookie Issues
When things go wrong with sugar cookies, it usually comes down to heat or moisture. If your cookies are coming out too thin, it's almost always because the dough was too warm when it hit the oven.
Another common issue is the icing. If it's too runny, your colors will bleed, and your pencil tips will disappear. The fix is simple: more powdered sugar. Just add it a tablespoon at a time until the icing holds a peak.
Fixing Too Much Spread
If the dough feels soft after rolling, the butter has started to melt again. Put the cut cookies back in the freezer for 10 minutes before baking.
Correcting Runny Icing
Liquid food coloring adds too much moisture. Always use gels to keep the consistency thick and the colors vibrant.
Preventing Hard Cookies
Overbaking by even two minutes can turn a soft cookie into a hard biscuit. Pull them out the moment the edges turn a pale gold.
| Problem | Root Cause | Solution |
|---|---|---|
| Cookies spread too much | Butter too warm or no chill | Freeze shaped cookies 10 mins |
| Icing is bleeding/runny | Too much milk or liquid dye | Add 1 tbsp powdered sugar |
| Cookies are too hard | Overbaked in the oven | Reduce bake time by 2 mins |
If you're looking for more shape stable treats, my graduation sugar cookies use a similar logic to keep their form.
Adjusting the Batch Size
Scaling these is pretty straightforward, but baking requires some precision. If you're doubling the recipe for a whole class, don't just double the baking powder, as it can make the cookies taste slightly metallic.
For a double batch, I recommend increasing the baking powder to only 1.5x the original amount. Also, since your oven will be fuller, the temperature might drop. Lower the heat to 325°F and extend the time by 2-3 minutes to ensure they cook evenly without browning too much.
| Goal | What to change |
|---|---|
| Chewier bite | Add 1 tbsp brown sugar |
| Crispier edge | Bake 2 mins longer |
| Brighter colors | Use gel coloring only |
If you only need a few for a small gift, you can halve the recipe. Just beat one egg in a small bowl first and use exactly half of it by weight.
Keeping Cookies Fresh
To keep your BacktoSchool Sugar Cookies soft, you need to keep air out. Store them in a sealed plastic tub. I like to put a small piece of white bread in the container with them; the cookies absorb the moisture from the bread, which keeps them from drying out.
They stay fresh at room temperature for about 3 to 5 days. If you're making them a week in advance, you can freeze the baked and cooled cookies. Just wrap them tightly in foil and a freezer bag. When you're ready to serve, let them thaw at room temperature for an hour.
For zero waste, don't toss the leftover icing. You can freeze the remaining gel colored glaze in small silicone molds. Next time you make a treat, just pop a cube out and melt it slightly in the microwave.
Flavor and Shape Swaps
While pencils are the classic look, you can get creative with the designs. I love making small apples for teachers or notebooks for the students.
If you want to change the flavor, try adding a pinch of almond extract. It gives the cookies a more sophisticated, nutty taste that pairs well with the vanilla. You can also swap the granulated sugar for a mix of white and light brown sugar for a deeper, more caramel like flavor.
For those with dietary needs, you can use a 1:1 gluten-free flour blend. According to King Arthur Baking, these blends often need a bit more resting time to hydrate, so let the dough sit in the fridge for 2 hours instead of one.
This ensures the flour doesn't leave a gritty texture in your BacktoSchool Sugar Cookies.
Plating Your Treats
Since these are often gifts, how you present them matters. I've found that a few small tweaks to the presentation can make a simple cookie feel like a professional gift.
For a simple approach, just stack them on a colorful plate. For something more polished, place them in a clear cellophane bag with a ribbon. If you want a restaurant style presentation, arrange them on a slate board with a few fresh raspberries and a light dusting of powdered sugar.
| Level | Presentation | Detail |
|---|---|---|
| Simple | Plate stack | Casual home style |
| Polished | Cellophane bag | Tied with a yellow ribbon |
| Restaurant | Slate board | Added berries and powder |
Whether you're sending these in a lunchbox or handing them to a teacher, these BacktoSchool Sugar Cookies are a sweet way to start the year. They prove that with a little bit of chilling and a few gel colors, anyone can make a treat that looks like it came from a boutique bakery. Now, go get those pencils piped!
For more info on the nutritional breakdown of the ingredients, you can check USDA FoodData Central.
Recipe FAQs
How to make sugar cookies from scratch?
Beat softened butter and sugar until fluffy, then incorporate the egg and vanilla. Gradually mix in the flour, baking powder, and salt before chilling the dough for one hour.
Why do the cookies need to be chilled?
Chilling the dough for at least one hour prevents the butter from melting too quickly in the oven. This ensures the cookies hold their shape and do not spread too much.
Is it true that overmixing the dough creates a better texture?
Actually, no. Overmixing develops too much gluten, which results in a tough cookie rather than a tender one.
What's the secret to keeping shapes crisp?
Roll the dough to exactly 1/4 inch thickness on a floured surface. Bake at 350°F for 10 to 12 minutes, removing them just as the edges turn barely golden.
Can I use milk in the icing?
Use milk and vanilla to create a smooth, sweet glaze for decorating. If you enjoyed mastering the dough consistency here, see how the same precision applies to our classic white bread.
Should I bake the cookies until they are deeply browned?
Surprisingly, no. Bake them for only 10 to 12 minutes until the edges are barely golden to maintain a soft, professional texture.
Backtoschool Sugar Cookies