Rich and Creamy Vanilla Ice Cream
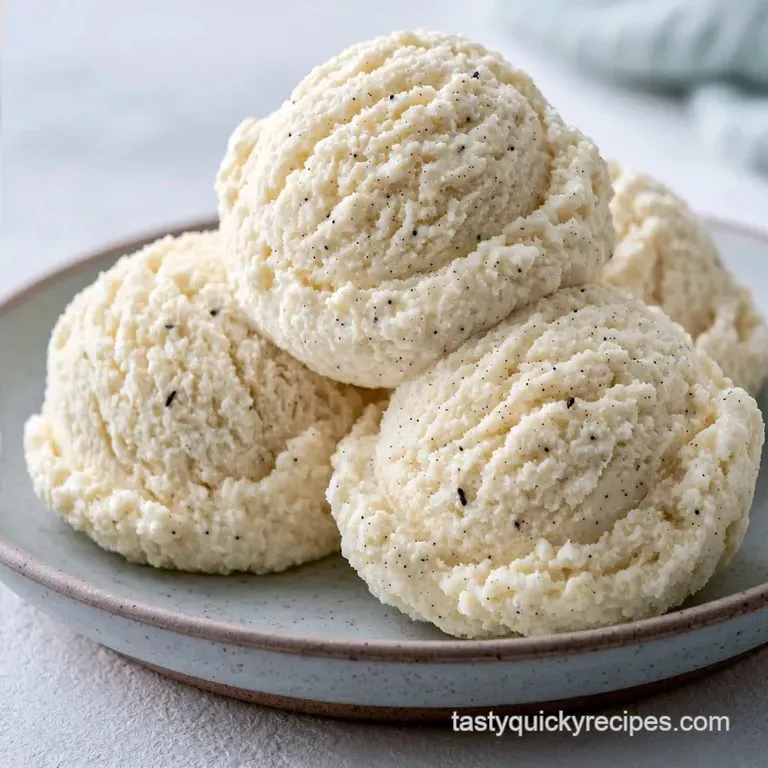
- Time: 15 min active + 8 hrs chilling
- Flavor/Texture Hook: Rich, creamy, and fragrant
- Perfect for: A crowd-pleasing dessert or summer treat
The smell of warm sugar and pure vanilla hitting the air is enough to make any kitchen feel like a professional creamery. I used to think you needed a chemistry degree and a thousand dollar machine just to get that dense, store-bought consistency at home. Forget that idea.
You actually don't need a machine to create the base, and the "fancy" part is mostly just patience.
This recipe focuses on the base, which is where the real flavor lives. By heating the milk and sugar, we ensure everything is fully dissolved, leaving you with a smooth, glossy liquid. It's about getting the ratios right so the fat protects the water from freezing into shards.
You can expect a treat that tastes like those old school parlors. It's not too sweet, just rich and fragrant. This Vanilla Ice Cream works as a standalone dessert or a base for anything from fresh berries to warm brownies.
Why the Chill Matters
Fat Ratio: Using both heavy cream and whole milk prevents the dessert from becoming a block of ice.
Cold Base: Chilling for 8 hours ensures the smallest possible ice crystals for a smooth glide.
| Goal | What to change |
|---|---|
| Richer Taste | Use 2.5 cups cream, 0.5 cup milk |
| Sweeter Profile | Add 2 tbsp extra sugar |
| More Vanilla | Add 1 tsp vanilla bean paste |
The Gear You Need
You don't need fancy equipment to get great results, though a few key tools simplify the process. A medium saucepan is required for the heating stage. A fine mesh strainer is helpful for removing lumps, and you'll need a large bowl that fits comfortably in your refrigerator.
When it comes to freezing, an ice cream maker is ideal, but you can alternatively use the "freeze and stir" technique every 30 minutes for a more rustic finish. If you opt for the machine, ensure the bowl has been freezing for at least 24 hours.
What These Ingredients Do
| Ingredient | What It Does | Best Swap |
|---|---|---|
| Heavy Cream | Provides fat for stability | Mascarpone (makes it denser) |
| Whole Milk | Balances the richness | Evaporated milk (increases creaminess) |
| Granulated Sugar | Lowers freezing point | Honey (adds floral notes, slightly softer) |
| Vanilla Extract | Primary flavor profile | Vanilla bean pod (more speckles) |
Picking Your Vanilla
For a deep flavor, I prefer a high-quality Madagascar Bourbon extract. If you want those little black dots, scrape a real pod into the milk. According to Serious Eats, the quality of your vanilla significantly impacts the final aromatic profile of the frozen treat.
Substitutions
- Heavy Cream: Use chilled coconut cream for a dairy-free version. Note: This changes the flavor to be more tropical.
- Whole Milk: 2% milk works, but the result is slightly icier.
- Sugar: Maple syrup works if you reduce the milk by 2 tablespoons.
Essential Tools List
- Medium saucepan
- Fine mesh strainer
- Mixing bowl
- Plastic wrap
- Whisk or spoon
Chef's Tip: Chill your mixing bowl in the freezer for 10 minutes before adding the heavy cream. It keeps the fat stable and prevents the mixture from warming up too quickly.
Bringing It Together
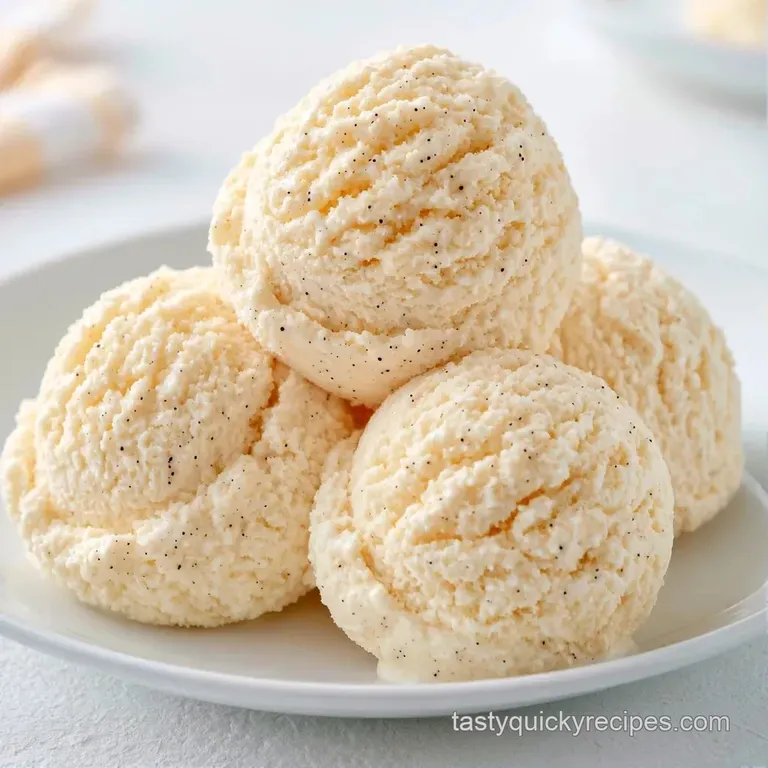
Phase 1: Infusing the Base
- Stir the whole milk, sugar, and salt in a medium saucepan.
- Heat over medium low until the mixture is steaming and a small ring of foam forms around the edges. Do not let it boil. Note: Boiling can change the milk flavor.
- Remove from heat and stir in the vanilla extract.
- Let the mixture sit for 10 minutes. Note: This allows the vanilla to fully bond with the fats.
- Strain the liquid through a fine mesh strainer into a bowl.
- Stir in the chilled heavy cream until the mixture is smooth and uniform.
Phase 2: The Critical Chill
- Cover the bowl with plastic wrap, pressing it directly onto the liquid. Note: This stops a skin from forming on top.
- Refrigerate for 8 hours or overnight.
Phase 3: The Final Freeze
- Pour the chilled base into your ice cream maker.
- Churn until it reaches the consistency of soft serve (usually 20-25 minutes).
- Transfer to a container and freeze for 2 more hours to firm up.
Fixing Texture Issues
If your treat feels like a popsicle, it typically indicates too much water or a lack of fat. This frequently occurs when using skim milk or skipping the extended chill. The liquid must be ice cold before it enters the churner to ensure the crystals stay small.
For a buttery consistency, check that your freezer isn't set to "ultra cold," which can freeze the edges too quickly. If the dessert is too firm, allow it to soften for 5 minutes before scooping.
Solving Common Problems
| Problem | Root Cause | Solution |
|---|---|---|
| Icy Texture | Base was too warm | Chill for full 8 hours next time |
| Grainy Feel | Sugar didn't dissolve | Stir constantly over heat |
| Too Soft | Not enough fat | Increase heavy cream ratio |
Fun Flavor Twists
Transform this Vanilla Extract Ice Cream into various desserts by adding just one ingredient. For a nutty flavor, stir in 1/2 cup of toasted pecans after churning. If you prefer something fruity, swirl in a bit of raspberry jam.
This versatile base pairs perfectly with a Rhubarb Crunch for a balance of tart and sweet. For a cozy alternative, serve it with a butter-toasted slice of Cinnamon Applesauce Bread.
Quick Flavor Guide
- Minty: Mix in 1 tsp peppermint extract.
- Honey: Replace the sugar with honey and add an extra pinch of salt.
- Chocolate Chip: Fold in mini chips during the final 2 minutes of churning.
Storing Your Treat
Keep your Vanilla Ice Cream in a freezer safe container. To prevent freezer burn, place a piece of parchment paper directly on the surface of the ice cream before putting the lid on. It stays fresh for about 2 weeks, though it's best eaten within 7 days for that silky feel.
If you have leftover base that hasn't been frozen , it keeps in the fridge for 48 hours. You can also use it as a rich creamer for your morning coffee if you don't want to churn it.
Serving Suggestions
Your plating choice depends on the occasion. A basic bowl works perfectly for a relaxed evening, but if you're looking to wow your guests, consider these options.
| Level | Presentation | Extra Touch |
|---|---|---|
| Basic | Standard scoop in a bowl | Fresh berries |
| Refined | Cold coupe glass | A mint leaf and shaved chocolate |
| Gourmet | Sophisticated quenelle | Raspberry coulis and a wafer |
Now you're all set to whip up some Vanilla Extract Ice Cream that far surpasses any store-bought version. Just make sure to give it plenty of time to freeze. Trust me, that patience is what creates the luxurious texture. Let's get started and start churning!
Recipe FAQs
How do I make homemade vanilla ice cream?
Stir whole milk, sugar, and salt over medium-low heat until steaming. Mix in vanilla extract and chilled heavy cream, then refrigerate the base for at least 8 hours.
Can vanilla extract replace vanilla beans?
Use pure vanilla extract for a convenient and consistent flavor. It integrates perfectly into the milk mixture without requiring extra straining.
Is it true that skipping the overnight chill won't affect quality?
No, this is a common misconception. Refrigerating the base for at least 8 hours is necessary to ensure a small ice crystal size and luxury texture.
What is the best way to prevent freezer burn?
Place a piece of parchment paper directly on the surface of the ice cream before sealing the lid. This barrier preserves the silky feel for up to two weeks.
Which snacks pair well with this vanilla dessert?
Serve a scoop alongside warm brownies or my chewy classic peanut butter cookies. The cold cream balances the rich, nutty flavor of the baked goods.
Vanilla Ice Cream: Creamy and Rich