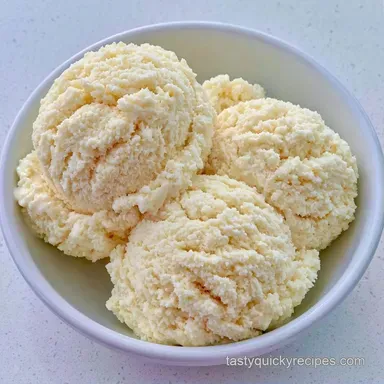
Classic Homemade Vanilla Ice Cream: Rich and Creamy
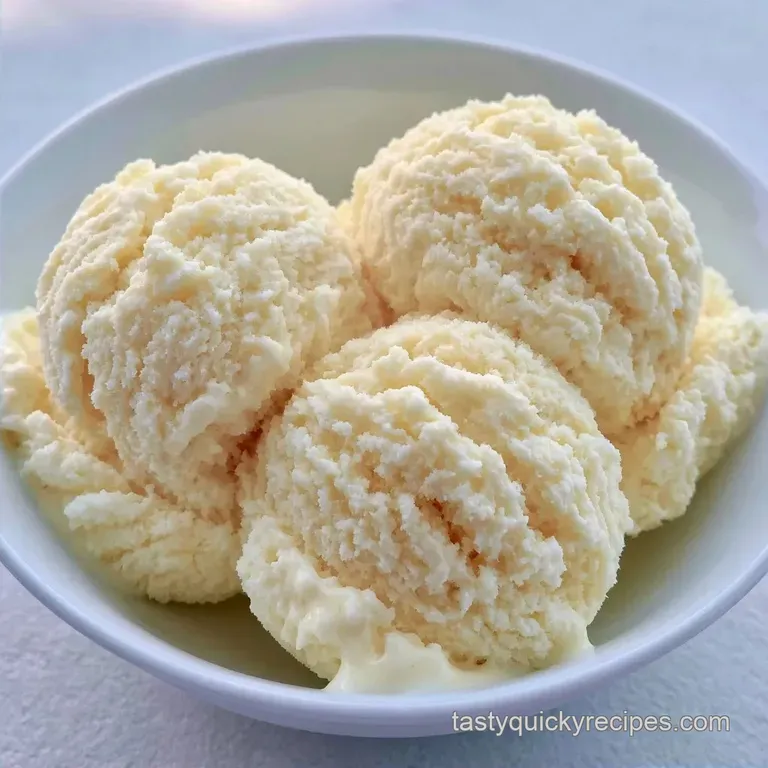
- Time: 10 min active + 6 hours 20 mins chilling
- Flavor/Texture Hook: Rich, dense, and creamy
- Perfect for: Summer parties or a simple late night treat
Classic Vanilla Ice Cream for Home
There is something magical about the scent of pure vanilla meeting chilled cream. My earliest attempts without a machine often resulted in a texture closer to a popsicle than a creamy dessert. I spent a full afternoon whisking the base every thirty minutes, but the payoff was well worth the physical effort.
You don't need high-end equipment to achieve that dense, professional consistency. The secret is maintaining a high fat-to-water ratio, which is the most effective way to stop ice crystals from forming.
Believe me, once you compare this to a grocery store tub, you'll be hooked. Our goal here is a rich, velvety base that holds its shape perfectly on the plate.
The Trick Behind the Texture
- High Fat Content: The cream blocks water molecules from joining together. This creates a silky mouthfeel and stops the ice from feeling grainy.
- Dissolved Sugar: Whisking the sugar into the milk first prevents a gritty texture. Sugar lowers the freezing point, according to Serious Eats, which keeps the scoop soft.
| Method | Time | Texture | Best For |
|---|---|---|---|
| Machine | 20 mins | Airier and light | Quick results |
| No Machine | 3 hours | Denser and richer | No equipment |
Gear You'll Need
You'll need a large mixing bowl and a sturdy whisk for the base. If you have an ice cream maker, make sure the bowl has been in the freezer for at least 24 hours. Otherwise, a shallow plastic container works best for the hand churn method because it freezes faster.
A hand mixer can save you a lot of effort if you're doing the no machine version. I also recommend having a piece of parchment paper or plastic wrap ready for the final freeze to keep the top from getting frosty.
Gathering the Essentials
Ingredient Breakdown
| Ingredient | Purpose | Alternative |
|---|---|---|
| Heavy Cream | Creates a smooth, velvety texture | Mascarpone (thinned with milk) |
| Whole Milk | Offsets the overall richness | Evaporated milk (use a smaller quantity) |
| Granulated Sugar | Sweetens and improves softness | Honey (introduces a distinct flavor) |
| Vanilla Extract | Core flavor profile | Vanilla bean paste |
| Sea Salt | Highlights the sweetness | Table salt |
Ingredients & Swaps
- 2 cups heavy cream Purpose: High fat prevents ice crystals (Alternative: Full fat coconut cream for a dairy-free version)
- 1 cup whole milk Purpose: Essential liquid for the churning process (Alternative: Almond milk, though it's less creamy)
- 3/4 cup granulated sugar Purpose: Vital for the final texture (Alternative: Caster sugar for quicker dissolving)
- 2 tbsp pure vanilla extract Purpose: Adds a rich, fragrant aroma (Alternative: Vanilla bean seeds)
- 1/4 tsp fine sea salt Purpose: Balances the richness of the fat (Alternative: Kosher salt)
The Quick Specs
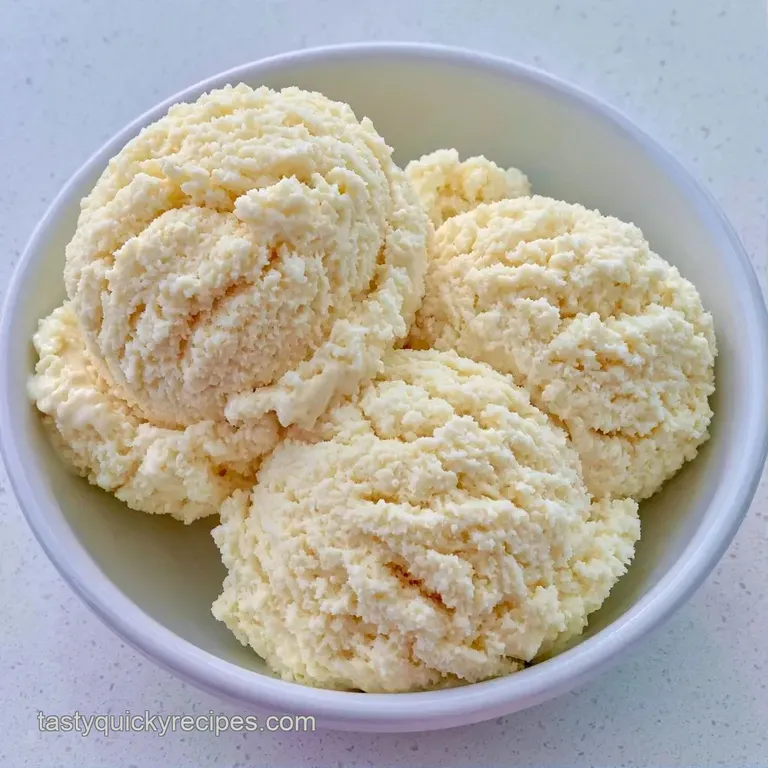
- Prep time: 10 minutes
- Cook time: 20 minutes
- Total time: 6 hours 30 mins
- Yield: 6 servings
- For a firmer set
- freeze overnight instead of 6 hours.
- For a softer scoop
- let sit 5 mins at room temp.
- For a richer taste
- use an extra tablespoon of vanilla.
Putting It All Together
Mixing the Base
- Pour the whole milk, granulated sugar, and salt into your large bowl.
- Whisk vigorously until the sugar crystals vanish and the liquid looks clear.
- Stir in the heavy cream and vanilla extract.
- Mix until combined, but don't over beat Note: too much air creates butter clumps.
The Machine Method
- Pour the mixture into your pre frozen ice cream maker bowl.
- Churn for 20 mins until it looks like soft serve.
The No Machine Way
- Pour the base into a shallow container and freeze for 45 minutes.
- Beat with a hand mixer until the edges are frozen and the middle is slushy.
- Repeat this every 30 minutes for 2-3 hours.
Final Hardening
- Transfer the Vanilla Ice Cream into a freezer safe container.
- Press parchment paper directly onto the surface Note: this blocks air contact.
- Freeze for 6 hours until firm.
Fixing Texture Problems
Fixing Icy Textures
If your scoop feels like a popsicle, it usually means it froze too slowly. This allows large ice crystals to grow. To fix this, use a shallower container next time and ensure your freezer is set to its coldest setting.
If it's already frozen, let it soften slightly and give it one last whip with a mixer before re freezing.
Handling Grainy Ice Cream
A sandy feel usually comes from sugar that didn't dissolve. You can't really "un grain" it once it's frozen, but you can mask it by adding a splash of cream and blending it in a food processor. For your next batch, whisk the sugar into the milk for an extra minute before adding the cream.
Dealing with Hard Scoops
If the container is like a rock, don't force the scoop. Let the Vanilla Ice Cream sit on the counter for 5 to 10 minutes. You can also dip your ice cream scoop in hot water between every scoop to glide through the frozen cream without breaking the container.
Storage and Waste
Store your treat in a freezer safe tub for up to 2 weeks. If you find the edges getting "frosty" or developing ice crystals, simply scrape that top layer off with a spoon.
To avoid waste, use any leftover cream or milk in your morning coffee. If you have a bit of vanilla base left that didn't freeze, it makes a great addition to a milkshake or as a pour over for a warm cake.
Flavor Variations
You can easily turn this into a different treat by folding in mix ins during the last 5 minutes of churning. I love adding chunks of Cookie Dough for a bit of chew.
For a fruity version, swirl in some raspberry jam or fresh mango puree. If you want something more sophisticated, add a pinch of cinnamon or a dash of almond extract. Just remember to fold these in gently so you don't deflate the air you've worked so hard to incorporate.
Plating Your Scoops
How you serve this makes a big difference. If you're feeling fancy, a quenelle (that elegant oval shape) looks great on a chilled plate. This Vanilla Ice Cream pairs beautifully with a warm Rhubarb Crunch for a contrast in temperature and texture.
| Level | Setup | Plating Tweak |
|---|---|---|
| Simple | Small bowl | Add a single mint leaf on top |
| Polished | Glass coupe | Top with three fresh raspberries |
| Restaurant | Chilled plate | Form a quenelle and drizzle berry sauce |
Right then, you've got a classic treat that beats anything from a store. It's all about that balance of fat and sugar. Enjoy your Homemade Vanilla Flavor Ice Cream and don't be afraid to experiment with the mix ins!
Recipe FAQs
How do I make homemade vanilla ice cream?
Whisk milk, sugar, and salt, then stir in heavy cream and vanilla extract. Churn the mixture in a pre-frozen bowl for about 20 minutes before freezing.
What is the secret to getting a strong vanilla flavor?
Use pure vanilla extract. Stir it into the heavy cream and milk base before churning to ensure the taste is evenly distributed throughout the batch.
Can I make this without an ice cream machine?
Yes, using the freeze-and-whisk method. Freeze the base in a shallow container for 45 minutes, then whisk or beat it every 30 minutes for 2-3 hours.
Is it true that you need eggs for a creamy texture?
Actually, no. This recipe achieves a rich and smooth consistency using only heavy cream and whole milk.
Which option is safest for heart patients?
Limit portions of full-fat versions. Since this contains heavy cream and whole milk, those monitoring heart health should consult a physician or use lower-fat alternatives.
Why do ice crystals form on top?
Air contact causes surface freezing. Press parchment paper or plastic wrap directly onto the surface before the final freeze to create a seal.
Do I have to use heavy cream?
Yes, for the correct fat ratio. If you enjoyed mastering the rich emulsion in classic eggnog, you'll see the same principle applied here to create a stable structure.
Where should I store the finished dessert?
Use a freezer-safe tub. The ice cream stays fresh for up to 2 weeks, though you may need to scrape off frosty edges before serving.
Easy Vanilla Ice Cream for 6