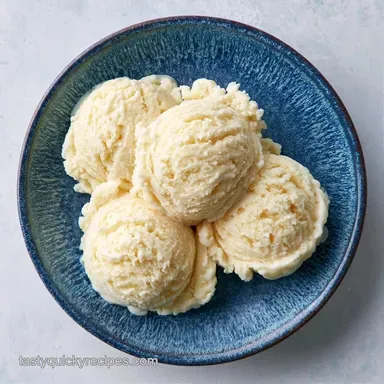
Homemade Vanilla Ice Cream: Dense and Creamy
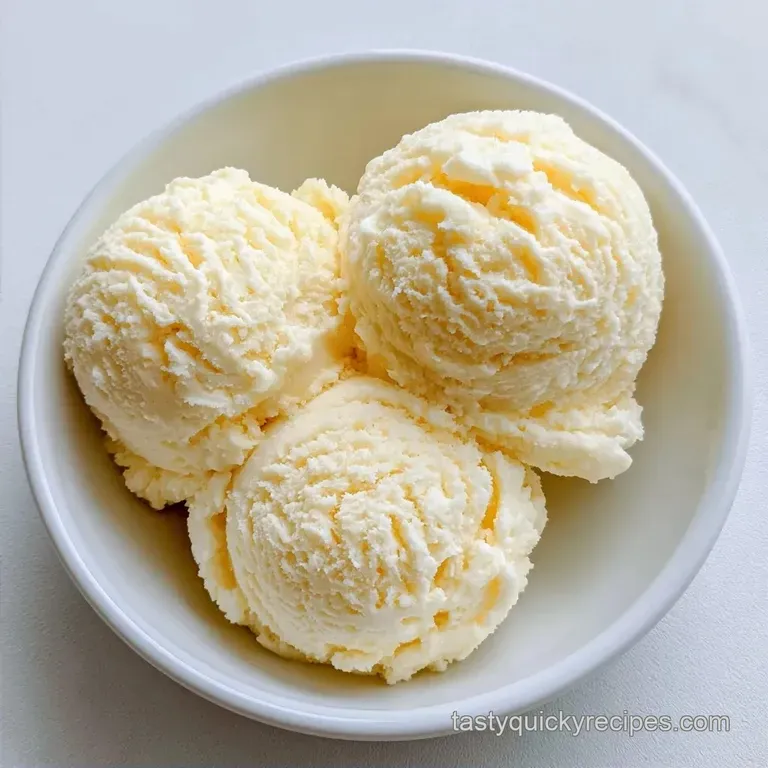
- Time: 20 min active + 4 hours 20 mins chilling/freezing
- Flavor/Texture Hook: Dense, silky, and creamy
- Perfect for: Summer parties, dessert platters, or a quick treat
Homemade Vanilla Ice Cream
Ever pulled a tub of homemade treat out of the freezer only to find it has the texture of a frozen brick , worse, feels like you're eating tiny grains of sand? That grit happens when sugar doesn't dissolve properly, and the "brick" effect comes from too much water in the mix.
It's a total mood killer when you're expecting a smooth scoop.
This version fixes both. We're using a specific ratio of fats and a tiny bit of acid to keep things smooth. This Standard Cream and Milk Ice Cream relies on a cold process method, meaning no stovetop cooking is required.
You can expect a dense, rich result that doesn't melt instantly. It's honest, simple, and works every time, even if your freezer is a bit temperamental.
The Basic Specs
Right then, let's look at the numbers. This makes about 1 quart, which is plenty for a small group.
| Detail | Value |
|---|---|
| Prep Time | 20 minutes |
| Cook Time | 0 minutes |
| Total Time | 4 hours 40 mins |
| Yield | 1 quart (10 servings) |
Why the Texture Works
Achieving the ideal texture isn't a mystery; it's simply a matter of how the ingredients react as they freeze.
The Air Factor: By churning or whisking, you incorporate tiny air bubbles into the Cream and Milk Ice Cream, which prevents the dessert from freezing into a solid mass.
Sugar's Role: Sugar prevents the water in the milk from freezing completely. This ensures the mixture stays soft and scoopable, even at very low temperatures.
Base Method Comparison
Since this version is uncooked, it's useful to see how it stacks up against cooked custard bases.
| Method | Heat Used | Texture | Best For |
|---|---|---|---|
| Cold Process | None | Light & Fresh | Quick prep, clean vanilla |
| Custard | Stovetop | Dense & Rich | Heavy flavors, egg rich treats |
The Ingredient List
Trust me on the chilled ingredients. If the cream is warm, you'll lose that air we're trying to build.
| Ingredient | Role | If You Don't Have It |
|---|---|---|
| Heavy Cream (480ml) | Provides fat for smoothness | Full fat coconut milk (adds coconut flavor) |
| Whole Milk (240ml) | Balances richness | Half and half (reduces total volume) |
| Granulated Sugar (150g) | Sweetens and softens | Honey (makes it denser/stickier) |
| Sea Salt (1.5g) | Enhances vanilla notes | Table salt (use a pinch less) |
| Vanilla Extract (10ml) | Primary flavor | Vanilla bean paste (adds black specks) |
| Lemon Juice (5ml) | Brightens the heavy fats | A tiny pinch of cream of tartar |
Why this? Heavy whipping cream is essential because the fat prevents the Milk Ice Cream from becoming icy.
The Gear Needed
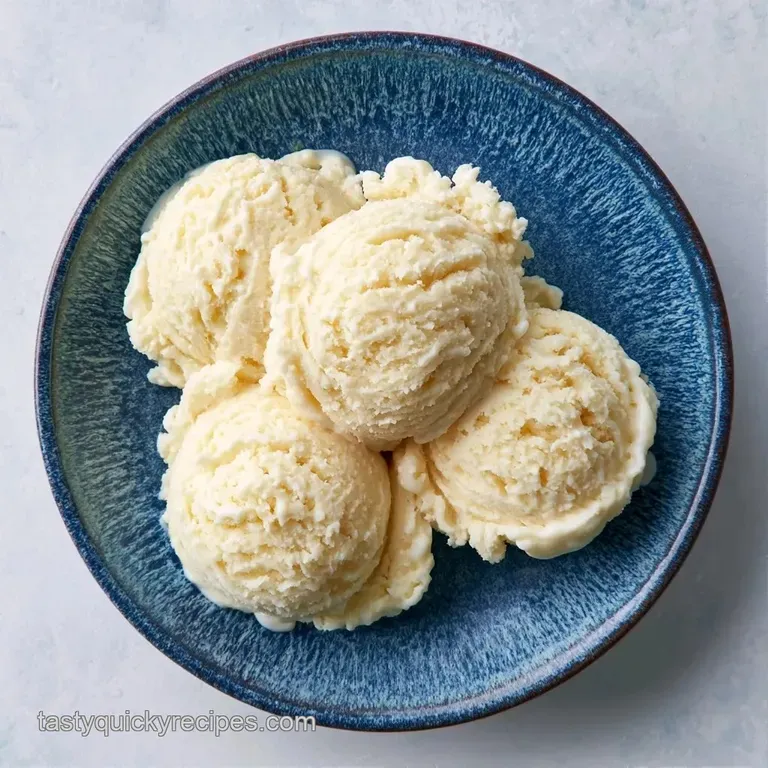
You don't need a professional setup, but a few things make it easier.
- Large mixing bowl (metal or glass is best)
- Sturdy whisk
- Ice cream maker (or a shallow metal pan for the manual method)
- Airtight container (plastic or stainless steel)
- Parchment paper
Making the Base
Begin here. Adhere to these directions to prevent any unwanted graininess.
- Combine the whole milk, granulated sugar, and sea salt in a large bowl.
- Whisk the mixture briskly for 3 minutes until the sugar crystals are fully dissolved. Note: Keep whisking if you still feel granules.
- Slowly stir in the heavy whipping cream.
- Use a folding motion to incorporate the vanilla extract and lemon juice.
- Pour the liquid into your ice cream maker.
- Churn for 20-25 minutes until it reaches a thick soft-serve consistency.
- If you're working without a machine, pour the mix into a shallow dish and freeze.
- Whisk the manual batch every 30 minutes for 3 hours until it thickens and starts to clump.
- Transfer the ice cream into an airtight container.
- Lay parchment paper directly on the surface and freeze for 4 hours until firm and ready to scoop.
Fixing Common Issues
Mistakes can happen even with an easy process. Here is how to troubleshoot them.
Avoiding Ice Crystals
If your Milk Ice Cream contains icy shards, it is usually due to a lack of fat or a freezer that is too warm. To remedy a batch that has already become icy, allow it to soften slightly, whisk it vigorously, and then re-freeze.
To prevent this next time, store your container away from the freezer door to avoid the worst temperature fluctuations.
Eliminating Graininess
A gritty texture is caused by sugar that failed to dissolve. Once the ice cream is churned, you cannot remove the grains without melting the entire mixture. For your next batch, try whisking the sugar into the milk for an additional two minutes. For other recipes with similar texture challenges, like my Cinnamon Applesauce Bread, the secret is always in the initial blend.
Solving Runny Texture
If the Ice Cream refuses to set, check your sugar measurements, as too much sugar prevents the water from freezing. If the consistency is too soft, try stirring a tablespoon of powdered milk into the base next time to provide more structure and absorb excess moisture.
Freezing and Keeping
Store your Ice Cream in the back of the freezer, not the door. The constant opening and closing of the door causes the edges to melt and re freeze, which creates those annoying ice crystals.
Keep it in a sealed container for up to 2 weeks. If you're storing it longer, the flavor can start to pick up "freezer smell" from other foods. To prevent this, double wrap the container in foil.
For zero waste, if you have a little bit of melted base left in the bowl, don't rinse it down the drain. Pour it into a silicone mold and freeze it for a quick "frozen milk pop" for the kids.
Swaps and Flavour Twists
This base is like a blank canvas. You can change the vibe entirely with a few additions.
Adding Mix ins
For a chocolate version, stir in 50g of cocoa powder with the sugar. If you want something more indulgent, fold in some Easy 2026 Cookie Dough bits during the last 5 minutes of churning.
Diet Adjustments
For a lighter version, you can use a mix of whole milk and Greek yogurt. This changes the Cream and Milk Ice Cream into something more like a frozen yogurt, adding a nice tang.
The Mix in Guide
| For this goal: | Do this change: |
|---|---|
| For a firmer set: | Increase heavy cream by 1/4 cup |
| For less sweetness: | Reduce sugar to 1/2 cup |
| For a nuttier taste: | Swap vanilla for almond extract |
One trick for a more complex and Milk Ice Cream flavor is to steep a cinnamon stick in the milk for an hour before mixing.
Best Topping Ideas
The serving part is the most exciting. Since the vanilla base is clean and simple, you have total freedom with the toppings.
A drizzle of salted caramel or warm fudge is a perfect choice. For a refreshing touch, try toasted almonds or macerated strawberries. If you're hosting a gathering, consider a topping station with maraschino cherries, crushed Oreos, and sprinkles.
You can also enjoy this and Milk Ice Cream alongside a warm brownie; the interplay between the hot cake and cold scoop is fantastic. For more ideas, you can explore these ice cream toppings.
You now have everything you need to make the best homemade ice cream ever. Just remember to keep your ingredients chilled and be patient while it freezes. Once you've tried a scoop, you'll likely forget all about store-bought pints. Enjoy your dessert!
Recipe FAQs
What is the cream to milk ratio?
Use two parts heavy whipping cream to one part whole milk.
Tip: Chill both liquids thoroughly before mixing for a smoother texture.
Is it true that diabetics cannot eat ice cream?
No, this is a common misconception. sugar-free versions made with alternative sweeteners are an option.
Tip: Check labels for sugar alcohols which can impact glucose levels differently.
Can a heart patient eat this dessert?
Consumption depends on the individual's specific dietary limits regarding saturated fats.
Tip: Stick to a small serving size to keep fat intake within daily limits.
Does ice cream actually worsen a sore throat?
That's a myth. Cold treats often numb the throat and provide temporary relief from inflammation.
Tip: Avoid adding acidic ingredients or chunky mix-ins that could irritate the area.
How to make vanilla ice cream?
Whisk milk, sugar, and salt until dissolved, then fold in cream, vanilla, and lemon juice.
Tip: Let the mixture rest for 24 hours before churning to intensify the taste.
Which treats pair well with vanilla ice cream?
This dessert pairs beautifully with warm applesauce muffins.
Tip: Slice the muffins and toast them slightly for a temperature contrast.
Ice Cream in 20 Minutes