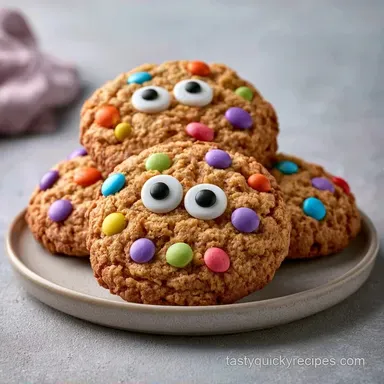
Halloween Monster Cookies in 25 Minutes
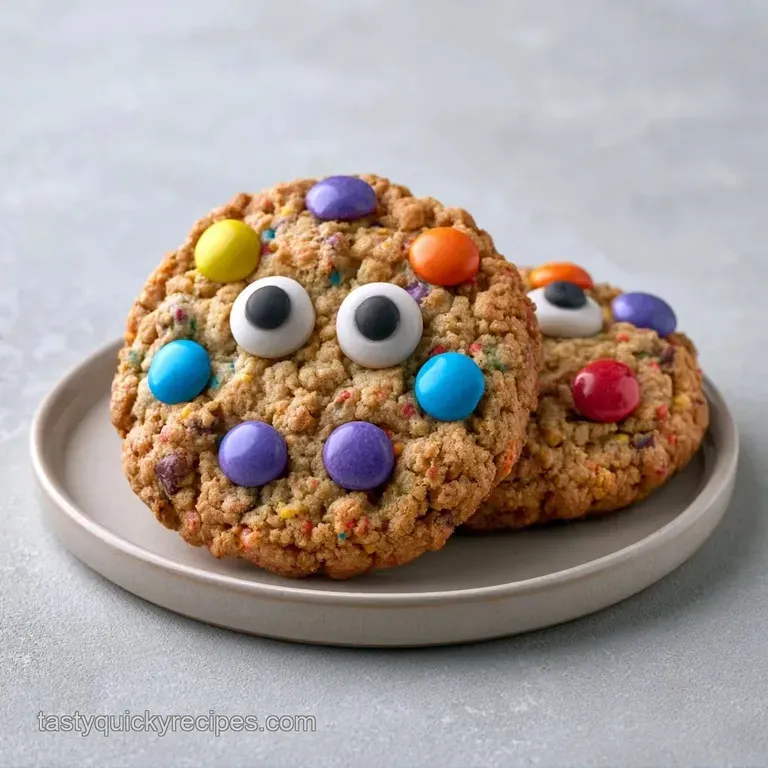
- Time: 15 min active + 10 min baking
- Flavor/Texture Hook: Chewy, chunky, and visually wild
- Perfect for: School parties, kid friendly baking, and quick spooky snacks
- Why These Cookies Work
- What Each Ingredient Does
- Gathering Your Essentials
- Baking Specs at a Glance
- Required Baking Tools
- The Mixing Process
- Fixing Common Cookie Issues
- Adjusting the Batch Size
- Debunking Baking Myths
- Storage and Waste Tips
- What to Serve Beside
- Ways to Switch It Up
- Recipe FAQs
- 📝 Recipe Card
The aroma of vanilla and browned butter instantly evokes an October vibe. In the past, attempting candy-heavy cookies for neighborhood gatherings often led to flat, sugary puddles. I learned the hard way that standard dough simply collapses under the weight of all those M&Ms and candy corn.
This recipe solves that problem by incorporating quick oats to build a sturdy foundation, ensuring the cookies remain thick and chewy. You get a visually stunning result without spending hours in the kitchen.
These Halloween Monster Cookies are ideal for the time-pressed baker who wants a high-impact treat that's surprisingly simple to assemble. The result is a colorful, chunky cookie that appeals to kids and adults alike.
Why These Cookies Work
Oat Structure: Quick oats act like a scaffold. This prevents the heavy candies from crushing the dough and keeps the center thick.
Brown Sugar Moisture: The molasses in brown sugar pulls moisture from the air, which keeps the texture chewy rather than crisp. According to King Arthur Baking, this hygroscopic property is what gives cookies that classic "bend" instead of a snap.
Temperature Balance: Using room temperature eggs prevents the softened butter from curdling during the mixing process.
| Method | Time | Texture | Best For |
|---|---|---|---|
| Stand Mixer | 12 min | Aerated & light | Large batches |
| Hand Mixing | 18 min | Denser & chewier | Small batches |
| Food Processor | 8 min | Very uniform | Fast prep |
What Each Ingredient Does
The balance of sugars is the deciding factor in how much these cookies spread. Overusing white sugar leads to flattening, while brown sugar provides the rich depth.
| Component | Purpose | Substitute Notes |
|---|---|---|
| Unsalted Butter | Fat and flavor | Salted butter is acceptable; just reduce the added salt by half |
| Quick Oats | Structure and chew | Rolled oats work, though they result in a chunkier, more rustic cookie |
| Brown Sugar | Chew and color | Dark brown sugar adds a more pronounced molasses taste |
| Baking Soda | Lift and browning | Baking powder can be used, but the cookies will be puffier |
Gathering Your Essentials
Here is everything you'll need. Ensure your butter is softened but not melted; otherwise, these Halloween Monster Cookies might flatten out too much during baking.
- 1 cup (225g) unsalted butter, softened The purpose: Creates a rich foundation and ensures a tender texture.
- ¾ cup (150g) packed light brown sugar The purpose: Contributes moisture and a deep, molasses-like taste.
- ½ cup (100g) granulated white sugar The purpose: Ensures the edges develop a slight crunch.
- 1 large (50g) egg, room temperature The purpose: Acts as a binder to keep the dough stable.
- 1 tsp (5ml) vanilla extract The purpose: Balances the sweetness with a warm, aromatic scent.
- 1 ½ cups (190g) all purpose flour The purpose: Provides the main structure for the cookies.
- 1 tsp (5g) baking soda The purpose: Works with the brown sugar to help the dough rise.
- ½ tsp (3g) salt The purpose: Balances the sugary flavors of the mix-ins.
- 2 cups (180g) quick oats The purpose: Gives the cookies their signature hearty texture.
- 1 cup (170g) M&Ms (Halloween colors) The purpose: Adds vibrant, festive splashes of color.
- ½ cup (85g) semi sweet chocolate chips The purpose: Offers a deep, cocoa-rich balance.
- ½ cup (60g) candy corn or autumn colored candies The purpose: Brings in that classic Halloween vibe.
- ½ cup (65g) salted peanuts or peanut butter chips The purpose: Introduces a savory, nutty element.
- 16-20 (approx. 30g) edible candy eyeballs The purpose: Gives the cookies their monstrous appearance.
- 2 tbsp (15g) orange and purple sanding sugar The purpose: Adds a decorative, shimmering finish.
Baking Specs at a Glance
When you're coordinating a party, timing is everything. These are fast, but you have to respect the cooling time. If you pull them off the tray too early, they might break.
- Prep time: 15 minutes
- Bake time: 10 minutes
- Total time: 30 minutes
- Yield: 16 cookies
- Oven Temp: 350°F (175°C)
- Pan: Parchment lined baking sheet
Required Baking Tools
Basic kitchen gear is all you need. A few bowls and a strong spoon will do just fine.
- Large mixing bowl (for the wet ingredients)
- Medium bowl (for whisking dry ingredients)
- Electric hand mixer or stand mixer (optional, but helps with fluffiness)
- Rimmed baking sheets (standard)
- Parchment paper (to keep the pans clean)
- Wire cooling rack
- Cookie scoop or tablespoon
The Mixing Process
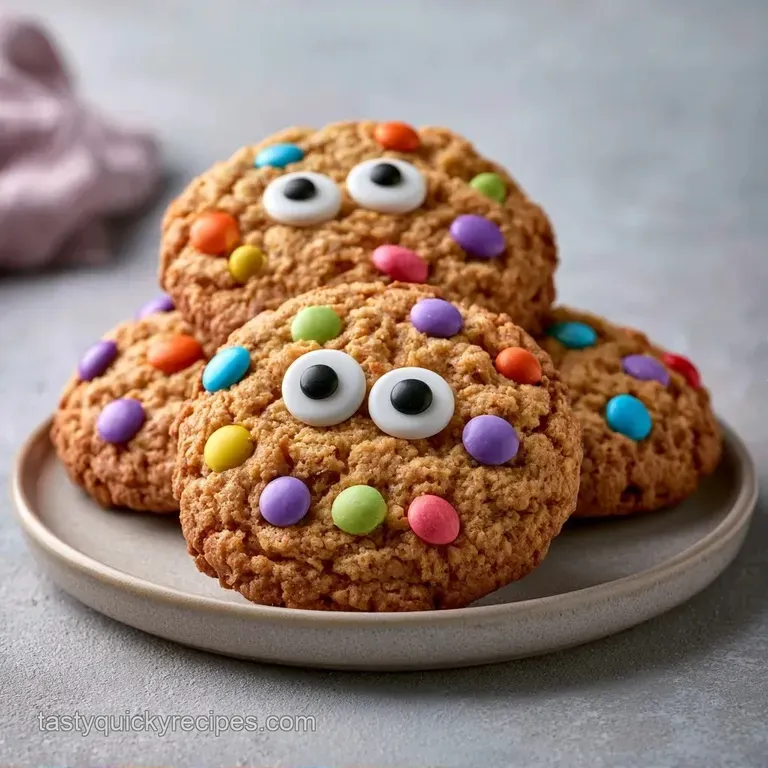
Time to get started. The key to success is avoiding overmixing after adding the flour, as overworking the dough will make the cookies tough.
1. Preparing the Base
Set your oven to 350°F (175°C) and line a baking sheet with parchment paper. In a large bowl, cream the softened butter and both sugars until the mixture is pale and fluffy. Mix in the egg and vanilla extract until fully combined.
2. Folding in the Bulk
In a medium bowl, whisk together the salt, baking soda, and flour. Gradually stir these into the wet ingredients, then fold in the quick oats. Stop mixing as soon as the flour streaks disappear. Now, stir in the chocolate chips, M&Ms, peanuts, and candy corn. The dough should be thick and heavy.
3. Sculpting the Monsters
Scoop rounded tablespoons of dough and place them 2 inches apart on the baking sheet. Lightly press down on the tops to flatten them. Press 1-3 candy eyeballs into each cookie and add a dash of sanding sugar for some extra sparkle.
4. The Final Bake
Bake for 10-12 minutes. Take them out once the edges are set but the centers are still slightly soft for a chewy texture. Let them firm up on the pan for 5 minutes before moving them.
Fixing Common Cookie Issues
Even straightforward bakes can run into trouble. Typically, the culprit is either the butter temperature or inaccurate oven heat. I've seen these cookies merge into one giant sheet when the butter was too warm.
If the candy eyes are sinking or melting, you may be baking them for too long. High temperatures can cause the sugar in the candy to liquefy. Rely on the visual cue of the set edges rather than just the timer.
For those finding their cookies too crumbly, it's often due to an excess of mix-ins and a lack of binder. Ensure you use a large egg and include the vanilla, as these help the oats stick together.
| Problem | Root Cause | Solution |
|---|---|---|
| Cookies spread too much | Butter was melted, not softened | Chill dough for 20 mins before baking |
| Eyeballs melted/sank | Oven too hot or overbaked | Check temp with oven thermometer; pull early |
| Dry or crumbly texture | Too much flour or overmixed | Measure flour by weight or stir less |
| Flat tops | Baking soda is expired | Test soda with vinegar to ensure it bubbles |
Adjusting the Batch Size
If you're baking for a whole classroom, you'll need to scale up. But be careful with the leavening agents.
For a half batch (8 cookies): Use half of everything. For the egg, crack it into a bowl, beat it, and use about 25g. Reduce the bake time by about 1-2 minutes since smaller batches sometimes heat differently.
For a double or triple batch: Work in batches. If you crowd the oven, the airflow changes and the cookies won't brown evenly. When doubling, only increase the salt and baking soda to 1.5x instead of 2x to avoid a metallic taste.
| Item | Original | For 32 Cookies | Note |
|---|---|---|---|
| Butter | 225g | 450g | Softened |
| Flour | 190g | 380g | Sifted |
| Candy Mix | ~300g | ~600g | Mix well |
| Bake Time | 10 min | 11-12 min | Larger tray mass |
Debunking Baking Myths
You'll hear people say that you must chill cookie dough for 24 hours to get the best flavor. While chilling helps with flavor depth, these Halloween Monster Cookies are designed for a quick win. The oats provide enough structure that you don't need a long rest to prevent spreading.
Another common myth is that "room temperature" eggs are just for show. In reality, cold eggs can seize the butter in your creamed mixture. This creates tiny clumps of fat that lead to an uneven bake.
Storage and Waste Tips
Keep these in a sealed container at room temperature for about 5 days. If you want them to last longer, the freezer is your friend. Wrap them individually in parchment and toss them in a freezer bag for up to 3 months.
To reheat, just pop them in a 300°F (150°C) oven for 3-5 minutes. This brings back that fresh from-the oven softness.
Regarding zero waste, if you have leftover candy corn or M&Ms, don't toss them. You can chop up the remaining candies and stir them into a batch of my Peanut Butter Cookies for a different kind of treat. Any leftover sanding sugar can be used to rim glasses for a spooky party punch.
What to Serve Beside
These are very sweet, so they pair well with things that have a bit of a bite or a creamy contrast. A cold glass of whole milk is the gold standard, but for a more autumnal vibe, try a warm apple cider.
If you're putting together a dessert platter, add some sliced Granny Smith apples. The tartness of the apple cuts through the sugar of the candy corn. For a drink, a spicy ginger beer with a lime wedge provides a refreshing zing that cleanses the palate between bites.
Ways to Switch It Up
Once you've nailed the base, you can get creative. The beauty of these is that the dough is a blank canvas for whatever candy you have in the house.
The Green Monster: Add a few drops of green food coloring to the butter and sugar mixture. This gives you a vivid, swampy look that's a hit with kids.
The Nut Free Version: Swap the peanuts for sunflower seeds or extra chocolate chips. If you use peanut butter chips, just make sure they are the soy based variety.
Halloween Monster Cookie Bars: Instead of scooping, press the dough into a 9x13 inch pan. Bake at 350°F (175°C) for 20-25 minutes. Press the eyeballs in during the last 5 minutes of baking so they don't melt into the bars. This is a great way to make 24+ servings at once. For another spooky option, you might like these Halloween Chocolate Chip Cookies.
The Dark Side: Replace the light brown sugar with dark brown sugar and use only dark chocolate chips and black M&Ms. It creates a moodier, more sophisticated look while keeping the same chunky texture.
Trust me on this, the more variety in the candy mix, the better the cookies look. Don't be afraid to add some crushed pretzels for an extra salty kick. Just remember to keep the total mix in volume around 3 cups so the dough can still hold everything together.
Right then, you're all set. These Halloween Monster Cookies are a fantastic way to bring some playfulness into the kitchen. They're not about being professional; they're about the joy of making something that looks wild and tastes even better. Happy baking!
Recipe FAQs
How do I make these monster cookies?
Beat softened butter and both sugars together until pale and fluffy. Mix in the egg and vanilla, then stir in the dry ingredients, quick oats, and festive candies.
What's a great dessert for Halloween?
These monster cookies are an ideal choice. They offer a satisfying mix of textures from salted peanuts and quick oats, topped with colorful candy eyeballs for a spooky effect.
Are candy eyeballs known to melt during baking?
Not true. These edible decorations are specifically designed to hold their shape and color in a 350°F oven.
Which treats work for teen parties?
Colorful monster cookies are always a hit. If you enjoyed controlling the cookie spread here, the same fat ratio logic applies to our graduation party cookies.
Can I substitute the quick oats?
No, stick with quick oats. They provide the specific chewy structure and thickness required to support the heavy M&Ms and candy corn without falling apart.
Why did my cookies spread too much?
Your butter was likely too soft. Ensure it is softened but not melting, and verify your oven is exactly 350°F to prevent the dough from liquefying too quickly.
Where should I store leftovers?
Keep them in a sealed container at room temperature. They stay fresh for about 5 days, or you can wrap them in parchment and freeze them for 3 months.
Is it true the dough needs chilling?
This one's false: You can scoop and bake these cookies immediately after mixing the ingredients for a faster treat.
Halloween Monster Cookies in 25 Minutes