Guilt-Free S'mores Bars: Gooey and Toasted
- Time:15 minutes active + 30 minutes cooling = Total 1 hour 10 mins
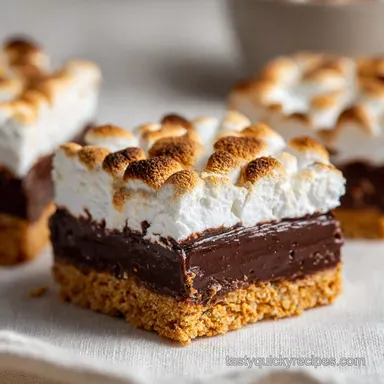
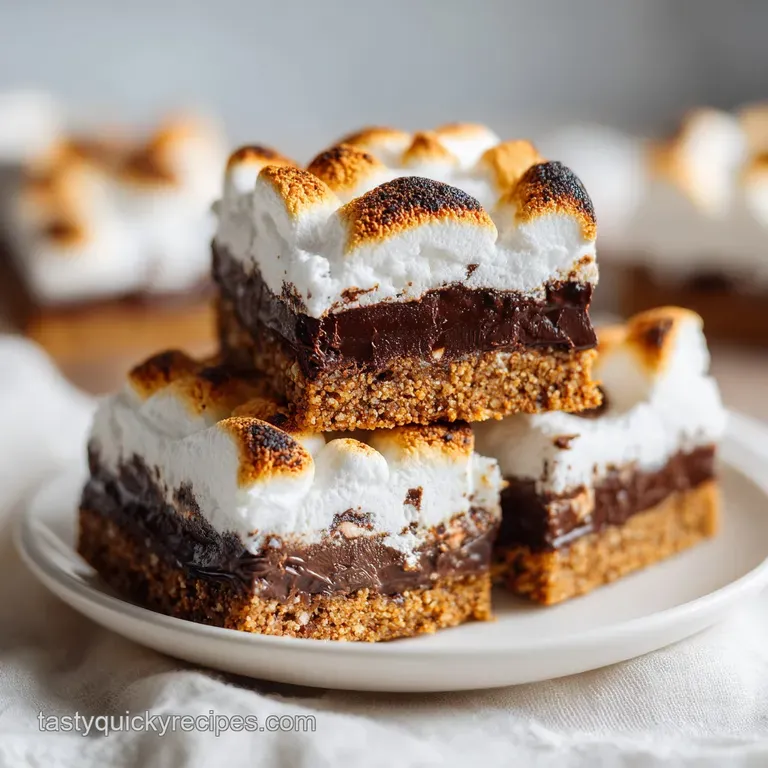
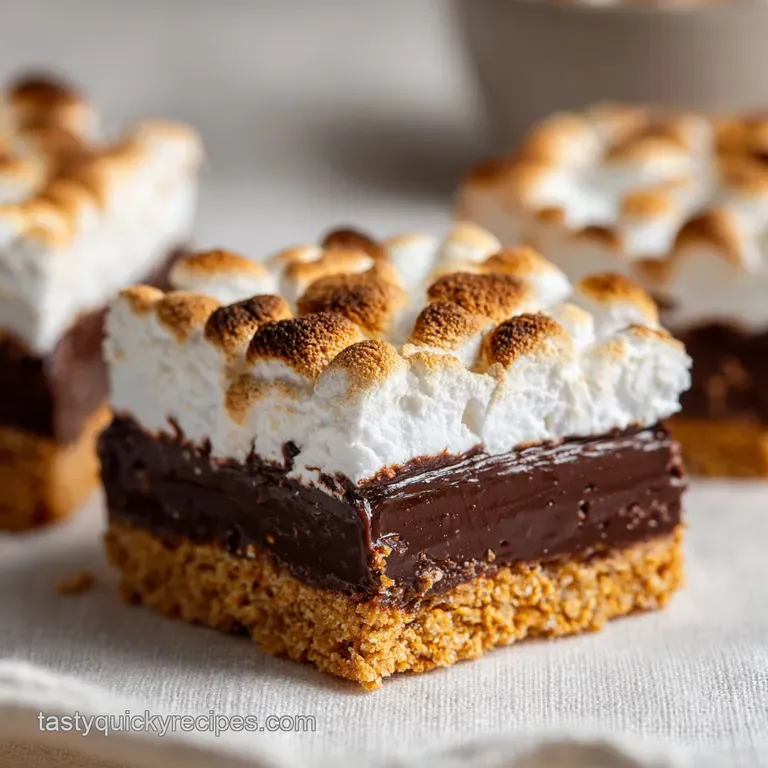
- Flavor/Texture Hook: Mahogany brown toasted tops with a velvety chocolate core
- Perfect for: Party platters, cozy movie nights, or a foolproof dessert for beginners
Get Gooey S'mores Bars Every Time
That smell, right? The second the broiler hits those marshmallows, the kitchen fills with this heavy, toasted sugar aroma that basically screams "summer campfire," even if it's snowing outside. I remember the first time I tried making these for a group of friends.
I skipped the honey in the crust, thinking it didn't matter, and the whole thing just shattered into a million pieces the moment I tried to slice it. It was a mess, but it taught me that the base is everything.
Now, we've got this dialed in. These aren't just some basic squares, they're a layered experience. You get that slight saltiness from the graham base, the deep bitterness of dark chocolate, and then that sticky, charred marshmallow finish. It's a total mood.
Trust me on this, the contrast between the cold, dense base and the warm, gooey top is what makes these irresistible.
We're going for a specific vibe here: high contrast colors and textures. I'm talking about a dark, velvety chocolate layer tucked under a cloud of mahogany brown toasted sugar. It's foolproof, stress free, and honestly, way better than fighting with a stick and a flame in the woods. Let's crack on.
The Secret To Chewy Layers
I used to wonder why some s'mores bars felt like dry crackers and others felt like a cohesive treat. It comes down to how the ingredients interact under heat.
- Honey Binding
- The honey acts as a liquid glue, creating a denser, more flexible crust that won't shatter when you cut it.
- Sugar Stability
- Dark chocolate has a higher cocoa butter content, which means it stays velvety and doesn't separate or become greasy at 350°F.
- Rapid Caramelization
- The broiler provides intense, direct heat that browns the marshmallow skins before the insides completely liquefy and disappear.
- Thermal Buffer
- The chocolate layer acts as a shield, preventing the crust from over baking while the marshmallows get their char.
| Method | Time | Texture | Best For |
|---|---|---|---|
| Classic Bake | 70 mins | Dense & Chewy | Party platters |
| No Bake Version | 30 mins | Soft & Pale | Kids/Quick cravings |
| Air Fryer | 15 mins | Extra Crispy | Single servings |
The Essentials For Better Treats
When picking your gear, don't overthink it, but do be picky about the chocolate. I always go for dark chocolate chips because the bitterness cuts through the sugar of the marshmallows. If you use milk chocolate, it can sometimes feel a bit too sweet, almost cloying.
Component Analysis
| Ingredient | Science Role | Pro Secret |
|---|---|---|
| Graham Crumbs | Structural Base | Pulse them coarsely for a bit of crunch |
| Honey | Moisture Barrier | Use clover honey for a neutral, floral sweetness |
| Dark Chocolate | Flavor Anchor | Use 60% cocoa or higher to avoid "sugar burn" |
| Mini Marshmallows | Aeration | Keep them cold until the last second for better lift |
The Shopping List
- 1.5 cups (180g) graham cracker crumbs Why this? Provides the classic toasted wheat flavor
- 4 tbsp (57g) unsalted butter, melted Why this? Adds richness and helps the honey bind
- 1 tbsp (21g) honey Why this? Prevents the crust from crumbling
- 1/4 tsp (1.5g) sea salt Why this? Balances the heavy sugar load
- 1 cup (170g) dark chocolate chips Why this? Creates a velvety, bitter sweet layer
- 1/2 cup (85g) mini marshmallows Why this? Adds an internal gooey pocket
- 1.5 cups (120g) mini marshmallows Why this? For that iconic toasted topping
| Original Ingredient | Substitute | Why It Works |
|---|---|---|
| Graham Crumbs | Digestive Biscuits | Similar texture. Note: Slightly saltier, more "biscuity" |
| Dark Chocolate | Semi Sweet Chips | Still melts well. Note: Much sweeter, less depth |
| Honey | Maple Syrup | Similar viscosity. Note: Adds a distinct autumnal flavor |
| Unsalted Butter | Coconut Oil | Same fat content. Note: Adds a tropical hint |
Right then, before we start, a quick tip: if your butter is too hot, it can "cook" the honey and make the crust greasy. Let it cool for 2 minutes after melting.
Tools For Effortless Baking
You don't need a professional kitchen for this, but a few specific tools make it a lot easier. I always use a parchment lined pan because trying to scrub burnt marshmallow off a metal tray is a nightmare I wouldn't wish on anyone.
For the crust, I don't use a spoon. I use a flat bottomed measuring cup or a small glass. This lets you apply even pressure across the whole bottom, ensuring there are no air pockets that could cause the bars to sink in the middle.
A sharp chef's knife is non negotiable for the final step. If you use a dull knife, you'll just drag the melted marshmallow across the chocolate, and you'll lose those clean, gorgeous layers.
Steps For a Velvety Finish
Let's get into the process. Remember, we're looking for specific cues, not just the timer.
- Combine graham cracker crumbs, melted butter, honey, and salt in a bowl. Stir until the mixture resembles wet sand. Note: Don't overmix or the butter will separate.
- Press the mixture firmly into the bottom of a parchment lined 8x8 inch baking pan using a flat bottomed cup to ensure a dense crust.
- Scatter the dark chocolate chips evenly over the crust. Note: Use your fingers to spread them to the very edges.
- Scatter the 1/2 cup of mini marshmallows over the chocolate.
- Top the chocolate with a single, tight layer of 1.5 cups mini marshmallows, ensuring no large gaps remain.
- Bake at 350°F (175°C) for 15–20 minutes until the marshmallows have puffed up and look soft.
- Turn on the broiler for the final 60 90 seconds until the marshmallows are toasted mahogany brown.
- Allow the bars to cool completely for 30 minutes before slicing with a sharp knife.
Chef's Tip: To get those insanely clean edges, dip your knife in hot water and wipe it dry between every single cut. It slices through the sticky marshmallow like a dream.
Fixing Common Baking Blunders
Even with a foolproof plan, things can go sideways. Usually, it's a temperature issue. If your marshmallows are disappearing instead of browning, your oven is likely too hot, causing them to collapse into a liquid state before they can caramelize.
Why Your Marshmallows Melted
When the marshmallows flatten out completely, it's usually because they were over baked before the broiler was turned on. You want them puffed, not dissolved.
| Problem | Root Cause | Solution |
|---|---|---|
| Flat Tops | Over baked in oven | Reduce bake time by 3 mins |
| Burnt Bottom | Pan too thin | Use a light colored metal pan |
| Sticky Slicing | Cut too early | Wait the full 30 mins to cool |
Why Your Crust Crumbled
If your bars are falling apart, you likely didn't press the base firmly enough or skipped the honey. The "wet sand" texture is key here.
Preventive Checklist
- ✓ Pat the graham crumbs with the cup until they feel like a solid brick
- ✓ Ensure butter is melted but not boiling when mixing
- ✓ Line the pan with parchment that hangs over the sides for easy lifting
- ✓ Watch the broiler constantly - 10 seconds can be the difference between brown and black
- ✓ Use a sharp, non serrated knife for the cleanest squares
Swapping Flavors For Variety
Once you've nailed the classic version, you can start playing with the profile. I love adding a pinch of espresso powder to the graham cracker crumbs; it doesn't make them taste like coffee, but it makes the chocolate taste "darker" and more intense.
If you're in the mood for something even more indulgent, you've got to try these Double Decker S'mores. They take the layering concept and crank it up to eleven. For those mornings where you want a treat that feels a bit more balanced, I usually reach for my Chocolate Peanut Butter Bars, which use a similar press in crust but with a different protein profile.
For a more sophisticated twist, try replacing the mini marshmallows with homemade marshmallow fluff infused with a bit of vanilla bean paste. Or, if you want a salty kick, sprinkle a few flakes of Maldon sea salt over the chocolate before adding the marshmallow layer.
It creates a beautiful contrast that keeps you coming back for more.
Adjusting for Crowd Size
| Servings | Ingredient Adjustments | Pan Size | Cook Time |
|---|---|---|---|
| 8 People | 1/2 of all ingredients | 4x8 pan | Reduce time by 20% |
| 16 People | Standard recipe | 8x8 pan | 25 mins total |
| 32 People | 2x ingredients | 9x13 pan | Extend bake by 5-8 mins |
When scaling up, remember that the broiler is the most dangerous part. A larger pan means more surface area, so keep a very close eye on the corners, as they tend to brown faster than the center.
Keeping Your Treats Fresh
These bars are best served within 48 hours, but they do keep well if you store them correctly. The biggest enemy here is humidity, which can make the graham cracker base go soggy and the marshmallows lose their chew.
Fridge and Freezer Store your bars in an airtight container. In the fridge, they'll stay fresh for about 4 days. If you want them to last longer, they freeze surprisingly well. Wrap each bar individually in parchment paper and toss them in a freezer bag for up to 2 months.
The Perfect Reheat To bring back that "just baked" magic, don't use the microwave it makes the marshmallows rubbery. Instead, pop a bar in the toaster oven or a conventional oven at 300°F (150°C) for about 3-5 minutes.
This softens the chocolate and brings back the gooeyness without overcooking the base.
Zero Waste Tips If you have leftover graham cracker crumbs, don't toss them. Mix them with a bit of melted butter and cinnamon to make a quick crumble topping for apples or pears. If you have a few stray marshmallows, melt them down with a splash of milk to create a quick s'mores flavored latte topper.
Plating For Maximum Impact
This is where we focus on the color balance. The mahogany brown of the toasted marshmallow and the deep obsidian of the dark chocolate are a great start, but they need a pop of color to look truly magical on a platter.
- 1. Bright Red
- Add a few fresh raspberries on the side or a single one on top of each bar. The acidity cuts through the sugar.
- 2. Vibrant Green
- A tiny sprig of fresh mint adds a cool, aromatic element and a sharp visual contrast.
- 3. Bright White
- A tiny pinch of flaky sea salt on top doesn't just taste great it looks like tiny crystals against the dark chocolate.
When serving, I like to arrange the bars on a wooden board or a slate platter. This keeps the rustic, campfire vibe while making the dessert look polished. If you're serving these at a party, leave a few whole graham crackers and a bowl of fresh strawberries on the side for guests to graze on.
It turns a simple dessert into a full experience.
- Crust Density
- Should be pressed to roughly 1/4 inch thickness.
- Oven Temp
- Must be exactly 350°F (175°C) to ensure the chocolate melts without burning.
- Cooling Time
- A strict 30 minutes; any less and the chocolate layer will slide off the base.
Recipe FAQs
What exactly are S'mores bars?
A baked dessert bar combining graham cracker, chocolate, and toasted marshmallows. They condense the flavors of a traditional campfire s'more into a portable, single layer slice.
Are S'mores bars healthy?
No, these are a decadent treat. Because they contain honey, dark chocolate chips, and marshmallows, they are high in sugar and intended for indulgence.
What to include in a S'mores bar?
Graham cracker crumbs, melted butter, honey, sea salt, dark chocolate chips, and mini marshmallows. These specific ingredients create the contrast between the salty sweet crust and the melty topping.
How to prevent the crust from crumbling?
Press the mixture firmly into the pan using a flat bottomed cup. This ensures a dense crust that supports the weight of the toppings without breaking.
How to get the marshmallows perfectly toasted?
Turn on the broiler for the final 60 90 seconds of baking. Watch them carefully until they reach a mahogany brown color.
Is it true that these bars can be sliced immediately after baking?
No, this is a common misconception. You must allow the bars to cool completely for 30 minutes to ensure the chocolate and marshmallows set for clean cuts.
How to avoid gaps in the marshmallow topping?
Arrange the mini marshmallows in a single, tight layer. This prevents the dark chocolate chips from over browning and ensures every slice has a toasted top.
Gooey S Mores Bars