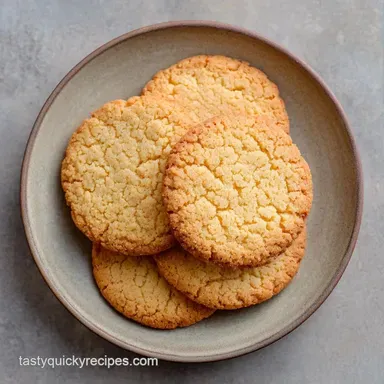
Simple High School Graduation Cookies: Silky and Soft
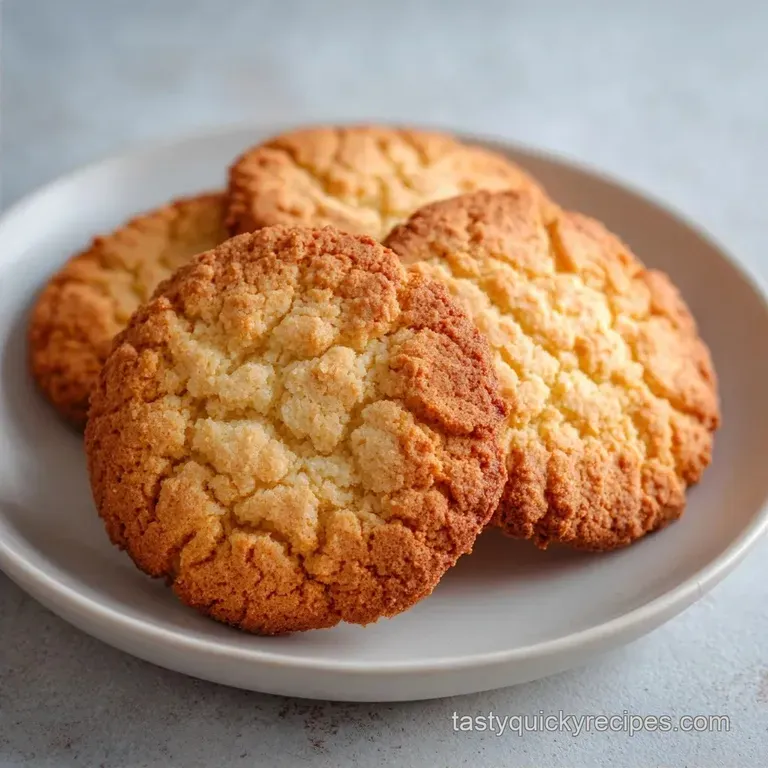
- Time: 20 min active + 30 min chilling
- Flavor/Texture Hook: Buttery, soft bite sugar cookie with a silky smooth glaze
- Perfect for: Graduation open houses, dessert tables, or gift boxes for the grad
The smell of warm vanilla and toasted sugar always takes me back to those chaotic June afternoons. In many neighborhoods, graduation isn't just a ceremony; it's a marathon of open houses and backyard parties.
There is a long standing tradition of "milestone treats", sweets that mark the transition from one life stage to the next. For some, it's a specific family cake, but for most of us, it's the platter of decorated sugar cookies that everyone fights over.
I remember the first time I tried to make these for a cousin. I skipped the chilling step because I was in a rush, and my "graduation caps" ended up looking like amorphous blobs of beige dough. It was a disaster, but it taught me that patience is actually an ingredient.
When you get the temperature right, the cookies hold their edges, giving you a clean surface to paint with icing.
This recipe for Simple High School Graduation Cookies is designed for the home cook who wants a professional look without the professional stress. We aren't doing anything fancy with exotic ingredients; we're just using basic pantry staples and a few specific timing tricks to make sure they look like they came from a bakery. You'll get a soft, buttery base that doesn't crumble when you bite into it, paired with a glaze that sets firmly enough to stack.
How These Cookies Stay Sharp
Air Incorporation: Beating the butter and sugar creates tiny air pockets. These pockets expand in the oven, giving the cookie a light, velvety texture instead of a hard snap.
Temperature Control: Chilling the cutouts for 30 minutes firms up the fat. This stops the butter from melting too quickly, which is why the cookies keep their distinct shapes instead of spreading into circles.
Glaze Stability: Using a high ratio of powdered sugar to milk creates a thick suspension. This prevents the icing from soaking into the cookie, leaving a distinct, raised layer of color.
Classic vs. Fast Track Method
| Feature | Classic Method | Fast Track Method | Best For |
|---|---|---|---|
| Chilling | 30 minutes | Skipped | Shape Retention |
| Rolling | 1/4 inch thick | 1/8 inch thick | Texture Preference |
| Texture | Soft & Pillowy | Crisp & Thin | Decorating Style |
The difference in texture comes down to how the flour hydrates. When you let the dough rest, the starches in the all purpose flour fully absorb the moisture from the egg and butter. This is a concept explored in depth by experts at King Arthur Baking, where they explain how flour protein affects the final crumb. If you're in a massive rush, the fast track works, but your shapes will soften.
Component Analysis
| Ingredient | Science Role | Pro Secret |
|---|---|---|
| Unsalted Butter | Structure & Flavor | Use "cool room temp", should dent but not ooze |
| Baking Powder | Lift | Sift it with flour to avoid bitter clumps |
| Powdered Sugar | Glaze Body | Sift it twice for a mirror smooth finish |
| Gel Food Color | Pigment | Use gels, not liquids, to avoid thinning the icing |
Ingredients and Substitutions
For the cookie base: - 1 cup (225g) unsalted butter, softened Why this? Provides the essential fat for a velvety crumb - 1 cup (200g) granulated sugar - 1 large (50g) egg - 1 tsp (5ml) vanilla extract - 3 cups (375g) all purpose flour Why this? Standard protein level for a soft, holdable shape - 2 tsp (10g) baking powder - 1/2 tsp (3g) salt
For the graduation glaze: - 2 cups (240g) powdered sugar - 2.5 tbsp (37.5ml) milk - 1 tsp (5ml) vanilla extract - Gel food coloring
Substitution Guide
| Original Ingredient | Substitute | Why It Works |
|---|---|---|
| Unsalted Butter | Margarine | Similar fat content. Note: Slightly softer texture |
| All Purpose Flour | gluten-free 1:1 | Mimics wheat structure. Note: More fragile when rolling |
| Milk | Heavy Cream | Adds richness. Note: Glaze becomes more opaque |
| Vanilla Extract | Almond Extract | Nutty, professional flavor. Note: Stronger scent |
I've found that if you're using a substitute for butter, you almost always need an extra 10 minutes of chilling time. Margarine has a lower melting point, which means your Simple High School Graduation Cookies might spread more if the dough is even slightly warm.
Bringing It Together
Preparing the Dough
- Cream the softened butter and granulated sugar on medium speed until the mixture looks pale and fluffy. Note: This takes about 3 minutes; don't rush it.
- Beat in the egg and vanilla extract until fully incorporated.
- Gradually fold in the flour, baking powder, and salt on low speed just until the white streaks of flour disappear. Note: Overmixing makes the cookies tough.
Shaping and Chilling
- Roll the dough out to a 1/4 inch (6mm) thickness on a floured surface and cut into graduation shapes using cookie cutters.
- Transfer the cutouts to a parchment lined tray and chill in the refrigerator for 30 minutes until the dough feels firm to the touch.
Baking to Perfection
- Preheat oven to 350°F (175°C) and bake for 8-10 minutes until edges are set and barely pale gold.
- Allow cookies to cool on the pan for 5 minutes until they firm up before transferring to a wire rack to cool completely.
Decorating the Grads
- Whisk powdered sugar, milk, and vanilla until the glaze is thick but pourable; divide into bowls and stir in gel colors.
- Pipe the base color first, let set for 15 minutes, and then add fine decorative details.
Chef's Tip: To get those super clean edges, use a sharp knife to "trim" the edges of the cookie after they've cooled if any dough bled over the side during baking.
Avoiding Kitchen Disasters
Why Your Cookies Spread
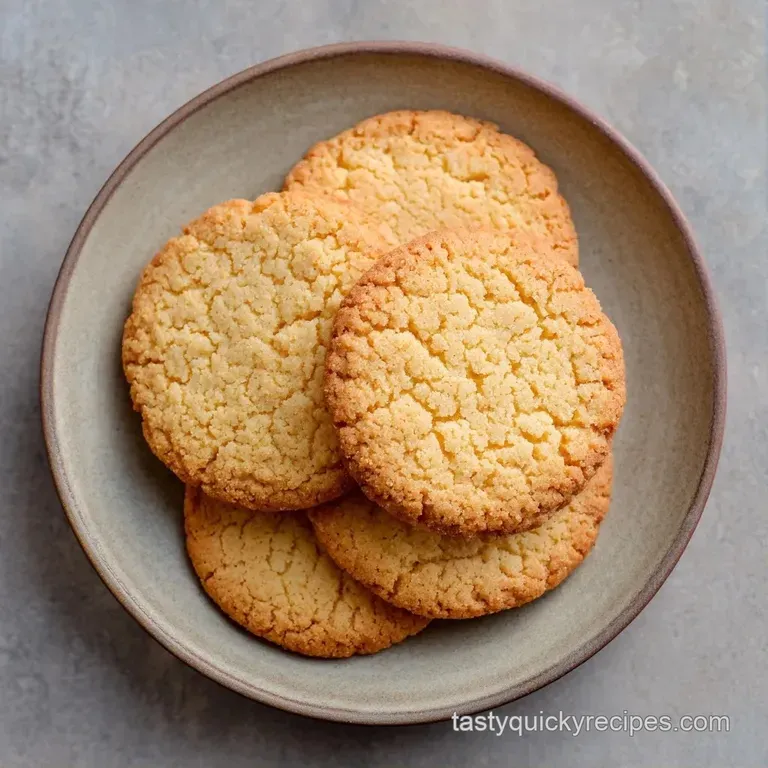
If your cookies lose their shape and merge into one another, it's almost always a temperature issue. Either the butter was too soft when you started, or you skipped the 30 minute chill. When the fat is too warm, it liquefies before the flour structure can set.
Fixing Runny Icing
Runny icing will bleed into the cookie or run off the edges. This happens if you add the milk too quickly. The fix is simple: whisk in more powdered sugar, one tablespoon at a time, until the glaze clings to the spoon without dripping immediately.
Preventing Burnt Bottoms
Some ovens have "hot spots" near the bottom. If your cookies are browning too fast on the underside but look raw on top, slide a second baking sheet underneath the one you're using. This creates an air gap that protects the bottoms.
Troubleshooting Guide
| Problem | Root Cause | Solution |
|---|---|---|
| Cookies are puffy/cakey | Too much baking powder | Measure with a level spoon, no heaping |
| Glaze is grainy | Powdered sugar wasn't sifted | Sift sugar before adding liquids |
| Dough sticks to roller | Not enough flour on surface | Dust the dough and the roller liberally |
Common Mistakes Checklist
- ✓ Did I cream the butter until pale, not just mixed?
- ✓ Did I chill the cutouts for the full 30 minutes?
- ✓ Did I stop mixing the moment the flour vanished?
- ✓ Is the oven actually at 350°F before the tray goes in?
- ✓ Did I let the cookies cool completely before icing?
Adjusting the Batch Size
If you're only baking for a small family gathering, you can easily halve this recipe. To handle the "half egg" problem, crack one egg into a small bowl, beat it with a fork, and then measure out 25g (about 2 tablespoons) for the dough.
Use a smaller baking sheet and reduce the baking time by about 1-2 minutes, as smaller batches often heat up faster in the oven.
For a massive graduation party, doubling or tripling the recipe is fine, but work in batches. Don't try to cream 3 cups of butter in a small mixer; you'll lose the aeration. When doubling the batch, I recommend reducing the salt and baking powder slightly, use 1.5x the amount instead of 2x, to prevent the flavor from becoming too chemical.
If you're making these as part of a larger dessert spread, they pair beautifully with a fruit based treat. For instance, you could serve these alongside some dark chocolate covered strawberries to add a bit of sophistication to the table.
Baking Truths
Myth: You must melt the butter for a softer cookie. Actually, melting butter destroys the air pockets created during creaming. This leads to a denser, flatter cookie. Softened butter (room temperature) is the secret to that velvety, bakery style lift.
Myth: More flour prevents spreading. Adding too much flour might stop the spread, but it makes the cookie taste like cardboard and gives it a dry, crumbly texture. Stick to the measurements and rely on the refrigerator to control the spread.
Myth: You can ice cookies while they are still warm. If the cookie is even slightly warm, the glaze will melt and soak into the dough. This ruins the "canvas" effect. Wait until they are completely cool to the touch.
Storage Guidelines
Store these cookies in an airtight container at room temperature for up to 5 days. If you've iced them, make sure the glaze is fully hardened before stacking them, or use pieces of parchment paper between layers.
For longer storage, these freeze beautifully. Freeze the baked, un iced cookies in a freezer bag for up to 3 months. When you're ready to serve, let them thaw at room temperature for 20 minutes.
I don't recommend freezing the iced cookies, as the glaze can develop tiny cracks due to the moisture change.
To avoid waste, if you have leftover glaze, don't throw it away. You can use it to drizzle over some Cinnamon Applesauce Bread for a quick morning treat. Any leftover dough scraps can be rolled into small balls and baked as "tester" cookies to check the oven temperature.
Presentation Tips
Since these are for a graduation, the look is everything. You can take these from "home baked" to "boutique" just by changing how you plate them.
Plating Levels
- Simple: Stacked on a white ceramic platter with a few fresh mint leaves for a pop of green.
- Polished: Arranged in rows on a wooden board, separated by small bowls of fresh berries.
- Restaurant: Placed individually on small square plates, dusted with a hint of powdered sugar, and served with a side of fresh whipped cream.
Plating Tweaks
| Level | Key Addition | Visual Effect |
|---|---|---|
| Simple | White Platter | Clean and classic |
| Polished | Fresh Berries | Color contrast |
| Restaurant | Whipped Cream | High end dessert feel |
When decorating your Simple High School Graduation Cookies, remember that less is often more. A solid base color with a simple piped "2024" or a small graduation cap silhouette looks much cleaner than over decorating.
If you're struggling with the piping, use a toothpick to drag the icing into a star or heart shape, it's a quick trick that looks intentional and artistic.
Recipe FAQs
Do I really need to chill the dough for 30 minutes?
Yes, chilling is essential. This prevents the butter from melting too quickly in the oven, ensuring the graduation shapes stay defined.
Can I freeze these cookies for later?
Yes, freeze the baked cookies before icing. Store them in a freezer bag for up to 3 months and thaw at room temperature for 20 minutes.
How to make the icing thick enough for detailing?
Whisk powdered sugar, milk, and vanilla until thick but pourable. Add the milk slowly to avoid over-thinning the glaze.
Why did my cookies spread or lose their shape?
You likely skipped the chilling step or rolled the dough too thin. Ensure the dough is exactly 1/4 inch thick and chilled for 30 minutes before baking at 350°F.
Is it true that I can freeze the cookies after icing them?
No, this is a common misconception. Freezing iced cookies often causes the glaze to develop tiny cracks due to moisture changes.
How to prevent the decorative details from bleeding into the base color?
Wait 15 minutes for the base color to set. Only apply the fine decorative details once the first layer of glaze is firm to the touch.
What is the best drink to serve with these cookies?
A refreshing iced tea is the ideal pairing. Try making homemade iced tea to balance the sweetness of the glaze.
High School Graduation Cookies: Silky