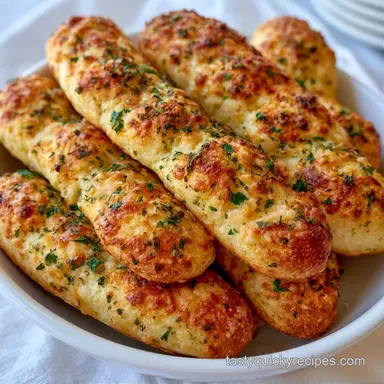
Garlic Witch Finger Breadsticks
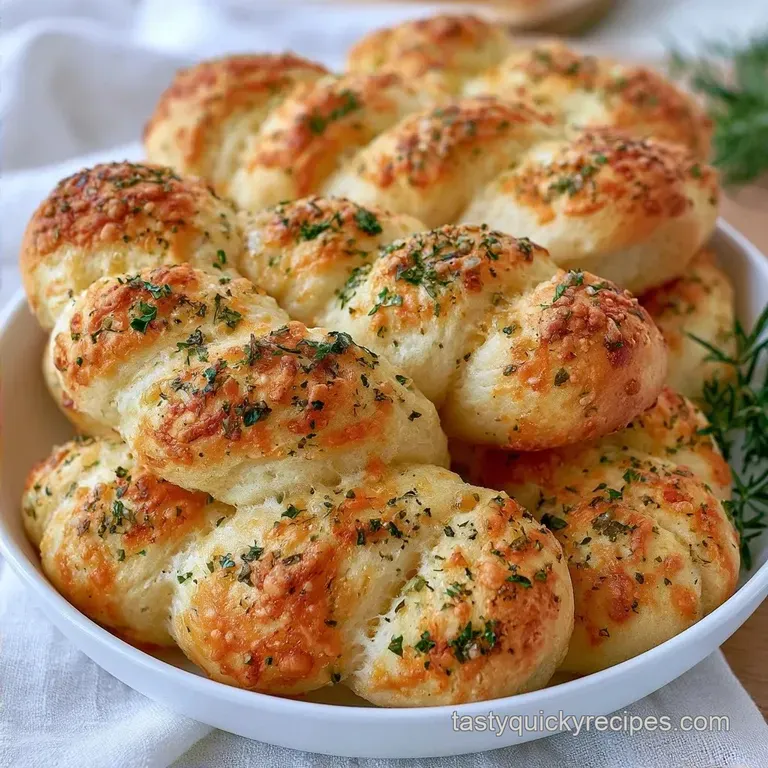
- Time: 20 min active + 15 min bake
- Flavor/Texture Hook: Garlicy, cheesy, and pillowy with a toasted almond crunch
- Perfect for: Savory Halloween party appetizers
The smell of toasted garlic and melted butter is usually a cozy Sunday vibe. But when October hits, I want that scent to feel a bit more sinister. I remember trying to make these with a homemade yeast dough once, and it was a disaster.
The dough kept springing back, and my "fingers" looked more like bloated sausages than creepy appendages.
That's when I realized the real hero here is refrigerated crescent dough. It’s the ultimate fuel for a party because it doesn't fight you. It stays where you put it, it rises predictably, and it lets you spend your time on the sculpting rather than worrying about whether your yeast is still alive.
You can expect a hearty snack that banishes those sad, store-bought veggie trays. These Witch Finger Breadsticks provide a satisfying chew and a salty punch that makes them a hit with both kids and adults.
How to Make Witch Finger Breadsticks
Looking at these, you might think they require a sculpture degree. They don't. The trick is using the natural pliability of the dough to mimic human anatomy.
The Dough Choice: Using chilled crescent rolls ensures the shapes hold their form. According to King Arthur Baking, keeping dough cool prevents the fats from melting too quickly, which keeps your "knuckles" from smoothing over in the oven.
The Nail Anchor: Blanched almonds work because they have a flat side that grips the dough. Once they toast in the oven, they turn a deep tan that looks disturbingly like a real fingernail.
The Texture Layer: Parmesan isn't just for flavor. When you sprinkle it only in the knuckle creases, it browns faster and creates a "crusty" look that mimics weathered skin.
| Method | Time | Texture | Best For |
|---|---|---|---|
| Crescent Dough (Fast) | 35 mins | Pillowy & Soft | Quick parties |
| Yeast Dough (Classic) | 3+ hours | Chewy & Airy | Traditional bread lovers |
Recipe Specifications
Here are the key details. This recipe is scaled for a crowd, producing about 30 fingers.
- - Oven Temp
- Exactly 190°C (375°F). A lower setting will cause the dough to spread, while a higher one may burn the almonds.
- - Bake Time
- 12-15 minutes. Start checking them at the 12-minute mark.
- - Spacing
- Leave 2.5 cm (1 inch) between each finger to allow for proper air circulation.
Ingredients Deep Dive
I've found that sticking to high fat butter makes these feel much more satisfying. Don't bother with low-fat alternatives here; you want that rich, savory coating.
| Ingredient | Role | If You Don't Have It |
|---|---|---|
| Crescent Roll Dough | Structural base | Pizza dough (requires proofing) |
| Blanched Almonds | Fingernails | Sliced almonds (less realistic) |
| Parmesan Cheese | "Skin" texture | Pecorino Romano (saltier) |
| Melted Butter | Flavor carrier | Olive oil (less rich) |
The Full Ingredient List
- 2 cans (8 oz each) refrigerated crescent roll dough
- 2 tbsp melted butter
- 1 tsp garlic powder
- 1/2 cup grated parmesan cheese Why this? Adds a salty, gritty texture for realism
- 1/2 tsp dried oregano
- 30 whole blanched almonds Why this? The shape and color mimic nails perfectly
For the butter, I suggest a salted variety to deepen the flavor profile. If you're using unsalted, add a pinch of sea salt to the garlic mixture.
Equipment You'll Need
This recipe only requires a few common kitchen tools.
- Baking Sheet: A standard rimmed sheet is recommended.
- Parchment Paper: This prevents the butter and cheese from sticking to the pan.
- Pizza Cutter: Useful for quickly trimming the strips of dough.
- Small Bowl: For prepping the garlic butter.
- Pastry Brush: To ensure butter reaches every single crease.
Step-by-step Instructions
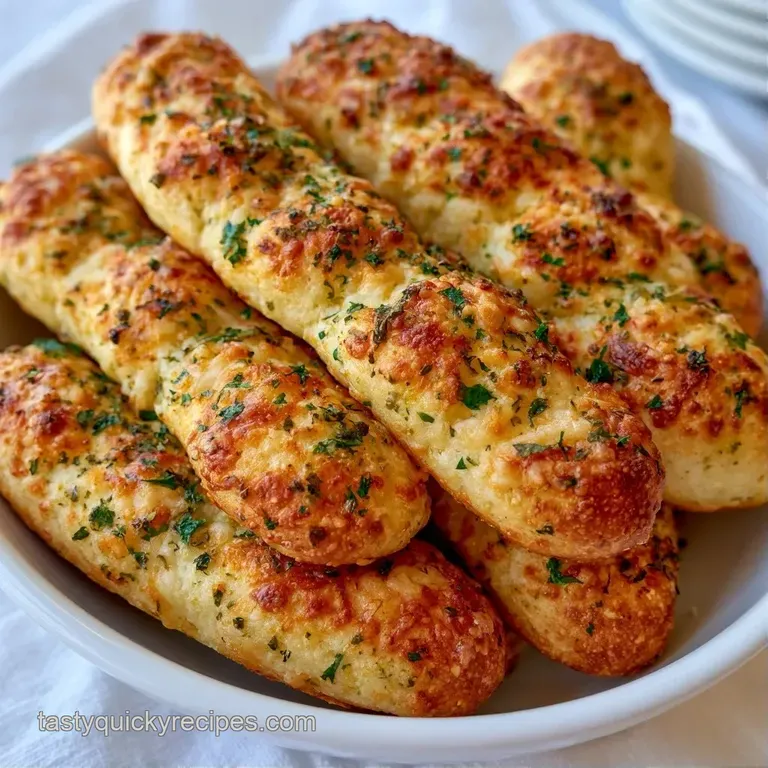
Let's crack on with the sculpting. The goal is to make these look a bit asymmetrical, real fingers aren't perfect, so don't overthink it.
Phase 1: Prepping the Base
- Preheat your oven to 190°C (375°F) and line a baking sheet with parchment paper.
- Unroll the crescent dough and separate it into triangles.
- Trim the wide end of each triangle with a knife or pizza cutter. Note: This creates a rectangular strip so the finger isn't too fat at the bottom.
Phase 2: Sculpting the Spooky Shape
- Roll each strip into a rope shape. Taper one end slightly to create the fingertip.
- Press your knuckle into the dough at two points along the length. Do this gently to create realistic joints without flattening the finger.
- Press one whole almond firmly into the tip of each finger.
- Mix the melted butter, garlic powder, and oregano in a small bowl. Brush this generously over each finger.
- Sprinkle the parmesan specifically over the knuckle indentations. Note: This builds the "weathered" look.
Phase 3: Baking to Golden Brown
- Place the fingers on the baking sheet, leaving 1 inch of space between them.
- Bake for 12–15 minutes until the dough is golden brown and the almonds are a deep tan.
Chef's Note: If you want these to look extra creepy, use a toothpick to poke a few "pores" or small holes into the dough before brushing on the butter.
Pro Tips & Pitfalls
Not every batch goes perfectly. Here are some tips for troubleshooting the most common issues I've seen with these Witch Finger Breadsticks.
Almonds Coming Loose
This typically occurs when the dough is too dry or the nut isn't pressed in far enough. To prevent this, dip the end of the almond in melted butter before inserting it into the dough. The butter serves as a glue that sets during the baking process.
Stopping Flat Fingers
If your breadsticks flatten out, you may have over-rolled the dough or left it at room temperature for too long. Ensure the dough stays cold until the moment you start shaping. In a warm kitchen, place the tray in the refrigerator for 10 minutes before it goes into the oven.
Avoiding Scorched Almonds
Because they are small and exposed, the almonds can brown faster than the bread. If you notice the "nails" getting too dark while the base is still pale, loosely cover the tray with foil for the final 3 minutes of baking.
Managing Sticky Dough
If the crescent dough clings to your hands, apply a tiny bit of oil to your palms. Avoid using flour, as it will dull the buttery sheen and leave the fingers looking powdery rather than creepy.
Presentation Tips
To really lean into the theme, don't just put these on a plate. I like to arrange them in a circle, pointing inward, or spilling out of a rustic wooden bowl.
For a real "wow" factor, serve these with a dip. A marinara sauce works as a "blood" dip, or you can go for a creamy garlic aioli for something more sophisticated. If you're building a larger spread, these pair great with cranberry brie bites to add a sweet and savory contrast to the table.
Decision Shortcut
- For a crustier finish: bake 2 minutes longer.
- For a saltier kick: use Pecorino Romano.
- For extra creepiness: add a drop of red food color to the butter.
Keeping Them Fresh
These are best served warm, but you'll likely have leftovers. Store any remaining breadsticks in a sealed container in the cooler for up to 2 days.
To reheat, avoid the microwave, it makes them rubbery. Instead, pop them back in the oven at 175°C (350°F) for 5 minutes. This brings back the crispiness of the parmesan and the crunch of the almond.
Zero Waste Tip: If you have leftover almond slivers or crushed almonds, toss them into a autumn salad with apple slices and goat cheese. Don't let those toasted bits go to waste.
Different Twist Ideas
While the garlic parmesan combo is a classic, you can easily pivot the flavor to suit your mood.
The Spicy Finger: Swap the oregano for red pepper flakes and add a pinch of cayenne to the butter. This gives the Witch Finger Breadsticks a "burn" that fits the theme.
The Cheesy Core: Before rolling the dough into a rope, place a small sliver of mozzarella in the center. Roll the dough around it. When you bite in, you get a molten cheese center that's incredibly satisfying.
The Meat Lover's Spread: If you want something even heartier for your party, these go well alongside pork belly bites for a high protein appetizer layout.
Common Misconceptions
The "Professional Tool" Myth: Some people think you need sculpting tools to get the joints right. You don't. Your own knuckles are the best tool for the job, they're the exact shape you're trying to mimic.
The "Homemade is Better" Myth: In most cases, yes. But for these specific shapes, the stability of refrigerated dough is superior. Homemade dough often proofs too much, causing the "fingers" to lose their definition and merge together on the pan.
Recipe FAQs
How do I shape the dough into fingers?
Roll each crescent dough strip into a rope and taper one end. Press your knuckle into the dough at two points to create realistic joints.
Does this recipe require a 400°F oven?
No, and here's why. The oven must be set to 375°F to ensure the dough browns perfectly without burning the almond nails.
Which ingredient creates the knuckle look?
Grated parmesan cheese provides the weathered texture. Sprinkle it specifically over the knuckle indentations before baking.
Where should the almond be placed?
Press one whole almond firmly into the tip of each finger. This makes the breadstick look like it has a realistic fingernail.
Why use parchment paper on the sheet?
Parchment paper prevents the dough from sticking to the baking sheet. This keeps the finger shapes intact and makes cleanup easier.
What is the total time for this recipe?
Total time is 35 minutes. This includes 20 minutes of prep and 15 minutes of baking.
Is it true any nut works for the nail?
Surprisingly, no. Blanched almonds are used specifically to achieve the correct smooth look and deep tan color during baking.
Witch Finger Breadsticks in 35 Minutes