Valentine Strawberries
- Time: Active 20 minutes, Passive 10 minutes, Total 30 minutes
- Flavor/Texture Hook: Snappy dark chocolate meets a juicy, fragrant berry core.
- Perfect for: Romantic dessert spreads, beginner friendly gifting, or a stunning Galentine's party.
- Create Flawless Valentine Strawberries
- Essential Kitchen Performance Statistics
- Selecting Your Premium Components
- Professional Gear Requirements
- Precise Execution Instructions
- Solving Common Preparation Issues
- Personalizing Your Flavor Profiles
- Longevity and Storage Guidelines
- Complimentary Serving Selections
- Kitchen Myths Debunked
- Valentine Strawberries FAQs
- 📝 Recipe Card
Honestly, nothing beats the sound of that first bite when the chocolate shell gives way to a cold, succulent strawberry. I used to struggle with the chocolate sliding off or, even worse, turning grainy and dull before I could even plate them.
After many ruined batches, I realized the secret isn't just the chocolate, but how you treat the fruit before it even touches the bowl.
We are going for that irresistible boutique look today, something that looks like it cost a fortune but actually came together in your own kitchen in about half an hour. We've all seen those sad, weeping strawberries in the store, but yours are going to be vibrant, glossy, and decorated with a thoughtful color balance that pops on any plate.
Forget the fussy double boilers if you're in a hurry; I’m going to show you how to get that professional sheen using a few simple tricks. Whether you are pairing these with a Valentines Charcuterie Board recipe or serving them solo, the result is going to be magical. Let's crack on and get these berries looking gorgeous.
Create Flawless Valentine Strawberries
The magic here lies in the interaction between the fruit's surface and the molten coating. Most people skip the vinegar wash, but that's what gives the berries their incredible luster and removes any lingering wax that prevents the chocolate from sticking.
The Science of Why it Works: This recipe relies on lipid stabilization and surface tension. Adding refined coconut oil to the dark chocolate lowers the melting point slightly while ensuring a high gloss finish through the alignment of fat crystals.
Chef's Tip: Freeze your chocolate dipped berries for exactly three minutes if you want an ultra thick "double dip" layer. This flash chills the first coat so the second one clings heavily without melting the base.
Another trick I learned the hard way is the "toothpick anchor." If your stems are short, insert a toothpick into the green top to give yourself a handle. This keeps your fingers clean and ensures the velvety chocolate covers every curve of the berry without any messy fingerprints.
Essential Kitchen Performance Statistics
Before we start dipping, let's look at how the quick melt method compares to the classic tempering process. Most of us don't have time to calibrate a thermometer to 88°F on a Tuesday night, so we use techniques that mimic that result with less effort.
| Method | Texture Finish | Skill Level | Time Requirement |
|---|---|---|---|
| Quick Melt (Wafers) | Snappy and Glossy | Beginner | 15 minutes |
| Classic (Couverture) | Hard and Mirror like | Advanced | 45 minutes |
| Microwave (Chips) | Soft and Matte | Novice | 10 minutes |
While the classic method provides the most "snap," using high-quality dark chocolate melting wafers gives you about 90% of that quality with 10% of the stress. If you’re looking for more inspiration, you might enjoy my Valentines Chocolate Covered Strawberry recipe which dives deeper into the aesthetic side of these treats.
Selecting Your Premium Components
The quality of your ingredients dictates the final result here. Since we only have a few elements, each one needs to shine. I always look for "long stemmed" berries because they act as natural handles and look much more elegant on a platter.
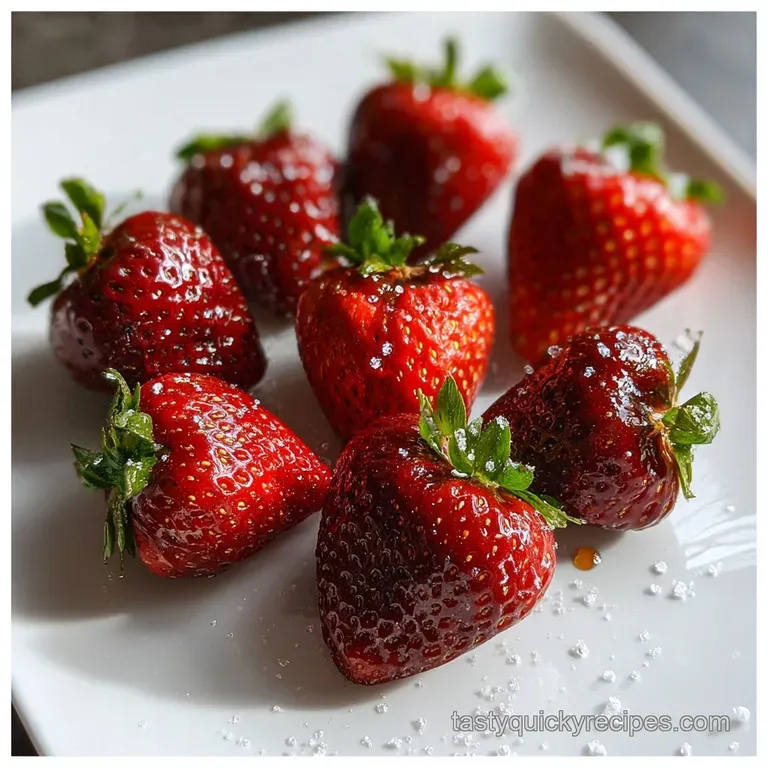
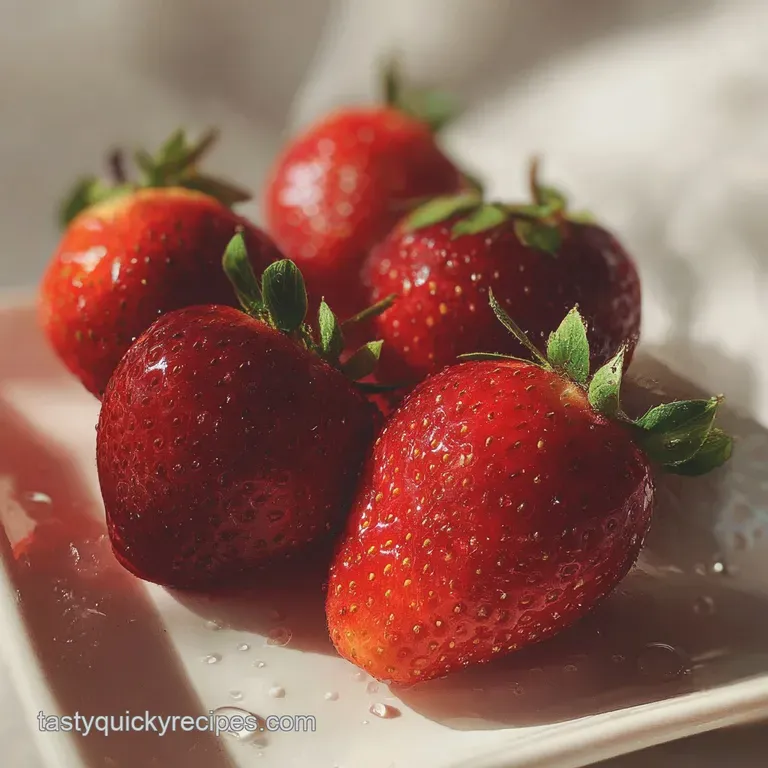
- 1 lb long stemmed organic strawberries: Large, firm berries hold up better under the weight of the chocolate. Why this? Organic berries often have a more concentrated sugar content and deeper red color.
- 1 tsp white vinegar: This cleans the skin and tightens the fruit's exterior. Why this? It removes biofilms that cause chocolate to slip off the fruit.
- 10 oz dark chocolate melting wafers: Look for brands with high cocoa butter content. Why this? Wafers are pre tempered to ensure a professional, snappy shell without extra work.
- 1 tsp refined coconut oil: This adds a beautiful sheen and helps the chocolate flow smoothly.
- 4 oz white chocolate chips: Used for the contrast drizzle.
- 2 tbsp festive heart sprinkles: Adds texture and a playful Valentine's touch.
- 1 tbsp freeze dried raspberry dust: Provides a tart, bright red accent.
| Ingredient | Science Role | Pro Secret |
|---|---|---|
| Dark Wafers | Structural Coating | Sift the wafers to remove dust for a smoother melt. |
| Coconut Oil | Viscosity Modifier | Use refined oil to avoid a coconut flavor profile. |
| White Vinegar | Surface Tension | Dry the berries for 20 minutes after the wash. |
Using the raspberry dust is my favorite secret weapon. It provides a natural, vibrant red color that contrasts beautifully with the dark chocolate and adds a punch of acidity that cuts through the sugar.
Professional Gear Requirements
You don't need a professional pastry kitchen, but a few specific tools make this much easier. A heavy bottomed glass bowl is better for the microwave than plastic, as glass holds residual heat longer, keeping your chocolate fluid while you work through the whole pound of berries.
- Glass Mixing Bowls: Ideal for even heat distribution during melting.
- Parchment Paper: Essential for a non stick surface that allows the berries to release cleanly.
- Small Piping Bag: For that thin, professional white chocolate drizzle (a Ziploc bag with a tiny corner cut off works too).
- Wire Cooling Rack: Useful for the initial drying phase after the vinegar wash.
Trust me on the parchment paper silicone mats work, but parchment is thinner and allows the chocolate to set with a flatter, cleaner "foot" (the little pool of chocolate at the bottom). If you’re preparing a larger spread, these tools also come in handy for making a Valentines Brunch recipe.
Precise Execution Instructions
Success with this recipe is all about the "dry and dip" rhythm. Moisture is the absolute enemy of chocolate; even one drop of water can cause the whole bowl to seize into a clumpy, gritty mess.
- Clean the fruit. Submerge the berries in a bowl of cold water with 1 tsp white vinegar for 5 minutes.
- Dry thoroughly. Lay the berries on a clean kitchen towel and pat them dry individually. Note: They must be bone dry or the chocolate will slide off.
- Prepare the base. Melt the 10 oz dark chocolate wafers with 1 tsp coconut oil in 30 second bursts, stirring between each.
- Achieve smoothness. Stir the chocolate until it is silky and flows like ribbons from your spoon.
- Perform the dip. Hold a berry by the stem, dip it into the chocolate, and swirl gently to cover.
- Remove excess. Lift the berry and shake it gently over the bowl to let the excess chocolate drip off.
- Place and set. Set the berry on parchment paper and repeat with the remaining fruit.
- Melt the accent. Melt the 4 oz white chocolate chips in 15 second intervals until fluid.
- Drizzle and decorate. Pipe the white chocolate over the berries and immediately top with sprinkles and raspberry dust until the chocolate is still tacky.
- Final set. Let the berries sit at room temperature for 15 minutes or fridge for 5 minutes until the shells are firm and matte.
The raspberry dust should be applied while the drizzle is still wet so it "glues" to the surface. It creates a stunning color balance: deep brown, bright white, and vivid pinkish red.
Solving Common Preparation Issues
If things go wrong, it's usually a temperature or moisture issue. Don't panic; most chocolate mistakes are fixable if you catch them early.
Thick and Grainy Chocolate
This usually happens if the chocolate was overheated or if a drop of water fell into the bowl. The sugars and fats separate, creating a paste instead of a liquid. To fix this, add a tiny bit more coconut oil and stir vigorously, but if it has truly seized, you may need to start over.
Berries Weeping Solutions
If you see liquid pooling under your berries after they've set, it's because the fruit was too cold when dipped or the room is too warm. This is called "sweating." Always bring your berries to room temperature before dipping to minimize the temperature shock.
| Problem | Root Cause | Solution |
|---|---|---|
| Chocolate is clumpy | Moisture contamination | Add 1/2 tsp coconut oil and stir rapidly. |
| Shell is dull/grey | Temperature fluctuation | Avoid the freezer; set at room temperature instead. |
| Sprinkles falling off | Chocolate set too fast | Drizzle and sprinkle in small batches of three. |
One mistake I once made was washing the berries and dipping them immediately. The chocolate literally slid off the fruit in one big piece because of the microscopic layer of water on the skin. Always give them at least 20 minutes of air drying time.
Personalizing Your Flavor Profiles
Once you have the basic technique down, you can start playing with the "color balance" angle. For Valentine's Day, I love using three specific color accents: bright white (white chocolate), soft pink (raspberry dust), and metallic gold (edible leaf or gold sprinkles).
- Accents to add during the set: Add the gold leaf while the dark chocolate is still 50% wet for a "cracked earth" effect.
- Accents to add after the drizzle: Save the heart sprinkles for the white chocolate lines so they stand out against the dark background.
Alcohol Infused Variations
If you want to make these boozy, you can use a small pipette filled with Grand Marnier or Prosecco and stick it directly into the berry through the chocolate shell. It’s a fun, interactive way to serve them at an adult party.
Crunch Factor Options
Honestly, don't even bother with low quality nuts. If you want crunch, use toasted pistachios or crushed honeycomb. The green of the pistachio against the dark chocolate and red berry is a sophisticated color palette that looks incredibly high end.
Longevity and Storage Guidelines
Strawberries are mostly water, so once they are dipped, they have a very short shelf life. The sugar in the berry starts to break down as soon as it's handled, which is why these are best eaten within 12 hours.
Storage: Store in a single layer in a cool, dry place. If you must refrigerate them, place a paper towel at the bottom of the container to absorb any moisture. They will stay fresh for about 24 hours in the fridge, but the chocolate may lose its shine.
Freezing: I don't recommend freezing whole chocolate covered strawberries. When they thaw, the cell walls of the berry collapse, leaving you with a mushy fruit inside a hard shell. However, you can eat them while they are still frozen for a "truffle" like experience.
Zero Waste Tip: If you have leftover melted chocolate, don't throw it out! Stir in some pretzels, nuts, or dried fruit to make a quick "bark," or pour it onto parchment and let it set for later use in baking.
Complimentary Serving Selections
These berries are the "jewels" of the dessert table. To make them stand out, serve them on a white marble slab or a dark slate platter. The contrast in textures between the stone and the glossy chocolate is very professional.
If you are hosting a full evening, these pair perfectly with a glass of dry Rosé or a creamy espresso martini. The acidity of the wine cuts through the richness of the dark chocolate, while the coffee notes in a martini deepen the cocoa flavors.
For a complete Valentine's experience, you can also serve these alongside a Valentines Food Idea recipe. The vibrant red of the beet pasta followed by these dark chocolate strawberries creates a cohesive, romantic theme that flows beautifully from dinner to dessert.
Kitchen Myths Debunked
Many people think you have to use a double boiler for "real" chocolate. That is simply not true. Modern microwaves, used in short bursts with frequent stirring, provide excellent control and actually reduce the risk of steam (moisture) getting into your bowl.
Another myth is that chocolate "seals" the berry to keep it fresh. In reality, the chocolate traps the berry's natural gases, which actually accelerates the softening process. This is why "fresh is best" is the golden rule for any dipped fruit.
Finally, adding butter to chocolate does not make it glossier. Butter contains water, which can cause seizing. Always use a pure fat like coconut oil or cocoa butter for that mirror like finish we are looking for today. Stick to these rules, and your treats will be the highlight of the holiday.

Valentine Strawberries FAQs
Why are strawberries a symbol of love?
Yes, they are traditionally. Their heart like shape and vibrant red color are associated with passion and romance, while their sweet, juicy flavor symbolizes indulgence and pleasure.
Why do people give strawberries on Valentine's Day?
It's a classic romantic gesture. Strawberries are often given because they are considered an aphrodisiac and their association with love makes them a perfect treat to share with a partner.
Why can't you put chocolate covered strawberries in the fridge?
It can cause condensation and dull the chocolate. Refrigeration can lead to moisture on the chocolate's surface, causing it to bloom (turn white and dull) and potentially making the strawberry weep.
How should I store chocolate covered strawberries?
Store them at cool room temperature. Place them in a single layer on parchment paper in a cool, dry place, ideally within 12 hours of making them for the best texture and shine.
Can I freeze chocolate covered strawberries?
No, this is generally not recommended for quality. Freezing causes the strawberry's cell walls to collapse upon thawing, resulting in a mushy texture inside a hard chocolate shell.
What is the most unpopular Valentine's Day candy?
Likely anything artificially flavored or chalky. Many people prefer decadent, high-quality chocolates or fresh fruit over candies with questionable ingredients or texture, especially for a special occasion.
Do chocolate covered strawberries need to be tempered?
Not necessarily, especially with melting wafers. Using high-quality chocolate melting wafers and adding a small amount of coconut oil can create a glossy, snappy shell without the traditional tempering process.
Valentine Strawberries

Ingredients:
Instructions:
Nutrition Facts:
| Calories | 122 kcal |
|---|---|
| Protein | 1.2 g |
| Fat | 6.5 g |
| Carbs | 14.9 g |
| Fiber | 1.1 g |
| Sugar | 12.1 g |
| Sodium | 7.5 mg |
