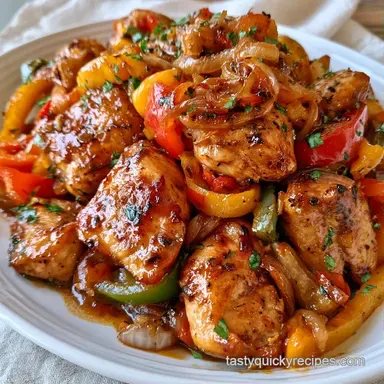
One-Pot Chicken Bell Pepper Skillet
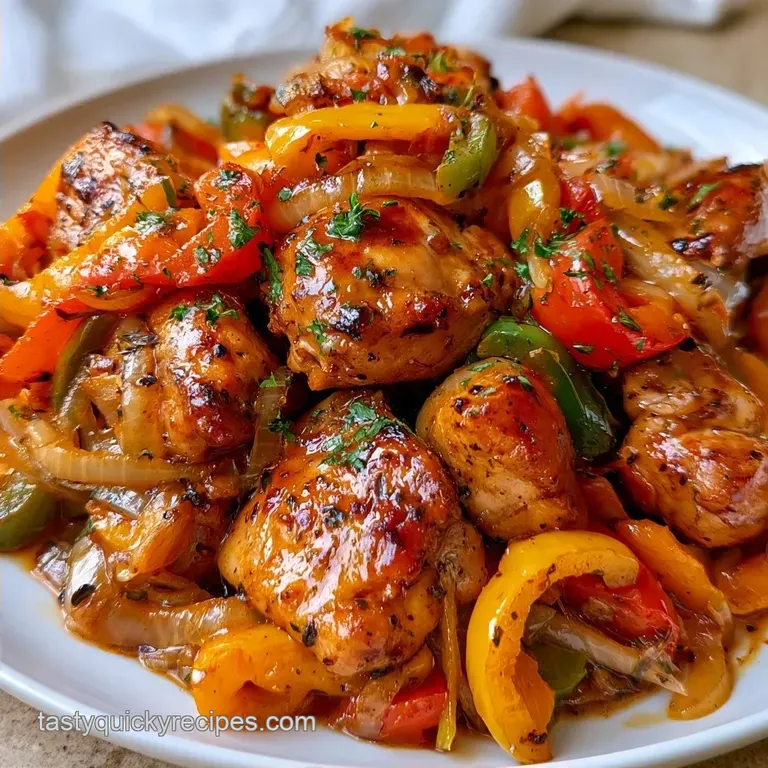
- Timing: 15 minutes prep + 20 minutes on the stove
- The highlight: Charred peppers coated in a lustrous, savory glaze
- Ideal for: Hectic weeknights or nutritious meal prep
Chicken Bell Pepper Skillet
Hear that sizzle? That's the signal that the oil is hot enough for the chicken. In the beginning, I made the mistake of adding all the ingredients at once, which was a total fail. Instead of searing, the meat steamed, and the peppers became a limp, colorless heap. Now, I let the peppers shine.
I stick with red, yellow, and orange for their inherent sweetness. While green peppers can taste too bitter alongside the honey, these brighter colors caramelize beautifully under high heat.
This Chicken Bell Pepper Skillet is perfect for those nights when energy is low but you still crave a proper dinner. It requires minimal work, yet the vibrant colors make the final plate look sophisticated.
You get a charred, smoky depth on both the chicken and vegetables that mimics a restaurant dish, all achieved in one pan in about 35 minutes.
The secret is all in the contrast. We're aiming for chicken with a golden, crisp crust and peppers that are "blistered" meaning they've charred on the outside while retaining a fresh snap. Sticking to the timing ensures you won't end up with that unappealing, soggy takeout consistency.
Why This Method Works
- Separate Searing: Cooking the chicken and vegetables in different stages prevents the pan from crowding. This keeps the temperature high so the meat browns instead of boiling in its own juices.
- over High heat Char: Stir frying the peppers for a short window triggers a quick caramelization. This creates a smoky flavor that balances the saltiness of the soy sauce.
Gear You Actually Need
Basic equipment is all you need. A 12 inch skillet is the ideal size for this dish; using a smaller pan often crowds the chicken, which can lead to an unappealing grey color. Opt for a heavy bottomed stainless steel or cast iron skillet, as these retain heat far better than thin non-stick pans.
During prep, a sharp chef's knife is essential. Cut your chicken and peppers into uniform 1 inch pieces. Ensuring the sizes are consistent allows them to cook at the same rate, so you avoid having some chicken pieces stay raw while others become dry.
The Ingredient List
| Component | Purpose | Substitute Notes |
|---|---|---|
| Avocado Oil | High temperature searing | Canola oil: Similar smoke point and neutral taste |
| Honey | Sweetness and glaze viscosity | Maple syrup: Offers a slightly more earthy profile |
| Soy Sauce | Savory umami and salt | Tamari: A great gluten-free alternative |
| Bell Peppers | Bright color and crisp texture | Carrots: Slice thinly for a similar crunch |
The Full List: 1 lb (450g) skinless, boneless chicken breasts, diced into 1 inch chunks Why this? A lean protein that browns quickly 3 large (approx.
500g) bell peppers (red, yellow, and orange), cut into 1 inch pieces Why this? Adds natural sweetness and vibrant color 1 medium (110g) yellow onion, sliced into strips 2 tbsp (30ml) avocado oil ½ tsp (3g) kosher salt ¼ tsp (1g) black pepper ¼ cup (60ml) soy sauce 1 tbsp (21g) honey 3 cloves (9g) garlic, minced 1 tsp (2g) fresh ginger, grated 1 tsp (5ml) toasted sesame oil
Prep and Cooking Specs
This is a fast moving recipe. Once the sauce hits the pan, things happen quickly, so have your ingredients prepped and ready.
- Prep time:15 minutes
- Cook time:20 minutes
- Total time:35 minutes
- Yield: 4 servings
Fast vs. Classic Approach
| Feature | Fast Method (This Recipe) | Classic Simmer |
|---|---|---|
| Cook Time | 35 minutes | 60+ minutes |
| Texture | Crisp tender vegetables | Soft, stewed vegetables |
| Heat Level | Medium High | Low and Slow |
Step by step Process
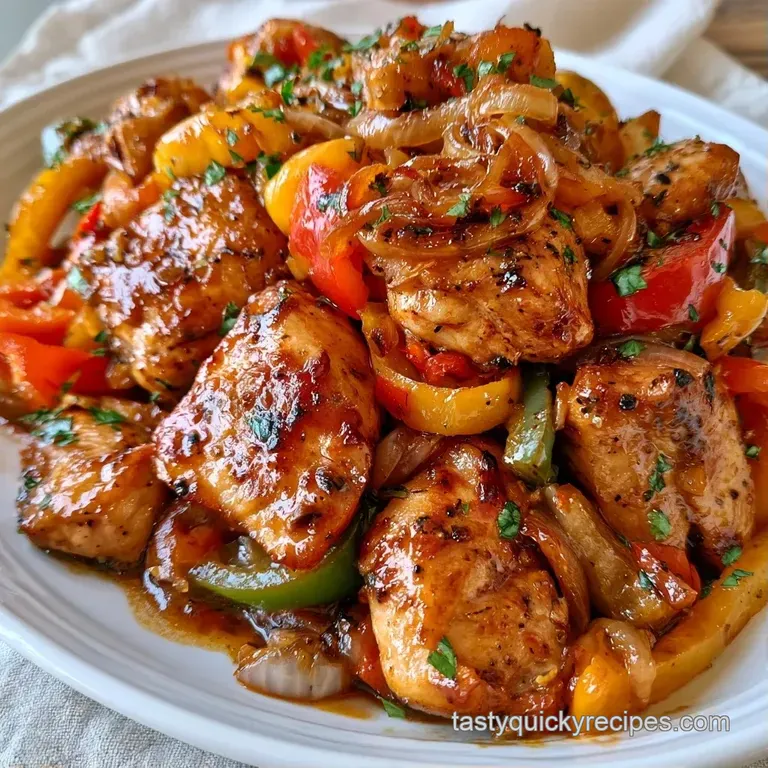
Phase 1: Prepping the Components
Cut the chicken into consistent 1 inch cubes. Chop the bell peppers into matching 1 inch chunks. Note: Uniform sizes prevent some pieces from overcooking while others stay raw.
Phase 2: Searing the Protein
Heat 1 tbsp (15ml) of oil in a 12 inch skillet over medium high heat until shimmering. Add chicken in a single layer. Cook for 3–5 minutes without moving until a golden brown crust forms, then flip and cook until just done. Remove chicken from the pan and set aside on a plate.
Phase 3: Sautéing the Aromatics
Add the remaining 1 tbsp (15ml) of oil to the same skillet. Toss in the sliced onions and bell peppers. Stir fry for 3–4 minutes until the skins are blistered and slightly charred.
Phase 4: Glazing and Finishing
Lower the heat to medium. Return the cooked chicken to the pan. Pour in the mixture of soy sauce, honey, garlic, ginger, and sesame oil. Stir constantly for 2 minutes as the sauce reduces into a velvety coating that glazes the chicken and peppers. Remove from heat immediately.
Chef's Tip: To get an even deeper flavor, grate your ginger directly into the sauce mixture rather than chopping it. This releases more oils and distributes the heat more evenly throughout the glaze.
Solving Common Problems
When things go sideways in a skillet, it's usually a temperature issue. If your pan isn't hot enough, the chicken will release moisture and boil in its own liquid, leaving you with a dull, grey color instead of a rich brown.
Preventing Grey Chicken
This happens when the pan is too crowded or the heat is too low. The meat steams instead of searing.
Stopping Pepper Mush
If you stir the peppers too often or cook them too long, they lose their structure. They should be charred on the outside but still have a "snap" in the middle.
Fixing a Thin Sauce
If the sauce is too watery, you likely didn't let it reduce for the full 2 minutes. Keep the heat on medium and stir until the liquid clings to the food.
| Problem | Fix |
|---|---|
| Grey, wet chicken | Use higher heat and cook in two batches |
| Mushy vegetables | Reduce stir fry time to 3 minutes |
| Sauce won't thicken | Stir for an extra 60 seconds on medium heat |
Adjusting the Portion Size
Whether you are cooking for yourself or a group, you cannot simply multiply the ingredients without adjusting your approach.
Scaling Down (½ Batch) Opt for a smaller 8 inch or 10 inch skillet. With less moisture present, the sauce will thicken more rapidly, so watch the glaze carefully to ensure it doesn't burn. Trim the total cooking time by approximately 20%.
Scaling Up (2x Batch) Avoid crowding the pan with double the chicken; otherwise, the pan temperature will plummet, leaving you with grey meat. Work in stages instead. Sear the chicken in two separate batches and remove them before sautéing the vegetables.
Combine all ingredients only at the end when adding the sauce. To avoid over salting, use 1.5x the salt and spices rather than doubling them.
Decision Shortcut Extra heat? → fold in 1 tsp sriracha. More zing? → squeeze half a lime over the finished dish. Nutty finish? → toss in toasted sesame seeds.
Keeping Leftovers Fresh
Keep any remaining portions in an airtight glass jar or dish, chilled for up to 3 days. I recommend glass because the honey and soy can discolor plastic or leave a persistent odor.
Reheating for Freshness Try to avoid the microwave, as it tends to make the peppers soggy. Instead, reheat the leftovers in a hot skillet for 2-3 minutes with a bit of water or soy sauce. This restores the char and refreshes the flavor.
Zero Waste Tip Save the bell pepper seeds and stems. Toss them in a freezer safe bag with various vegetable trimmings (like carrot ends and onion skins). Once the bag is full, simmer them in water for an hour to create a basic vegetable stock for your next soup.
Other Ways to Make It
If you're bored of chicken breast, you can easily swap the protein. Using chicken thighs makes the dish richer and more forgiving since they don't dry out as easily. For a different twist, try using pre cooked chicken sausage. Just brown the sausage slices first, then follow the rest of the recipe. If you love these savory, salty profiles, you might enjoy my soy sauce chicken which uses a similar base of aromatics.
Low Carb Adjustment This recipe is already quite lean. To keep it strictly low carb, swap the honey for a monk fruit sweetener or a small amount of stevia. The texture will be slightly less glossy, but the flavor remains similar.
Plant Based Twist Replace the chicken with extra firm tofu. Press the tofu for 20 minutes to remove excess water, cut into cubes, and sear until golden before adding the vegetables. Use tamari instead of soy sauce for a gluten-free version.
What to Serve With
While this dish is satisfying by itself, pairing it with a base makes the meal feel more filling. Steamed jasmine rice is the traditional choice since it absorbs the extra glaze. For a lighter alternative, try cauliflower rice or quinoa.
To accompany the hot, savory skillet, a simple smashed cucumber salad with rice vinegar and sesame oil adds a refreshing, crisp contrast. If you're craving a different kind of chicken dish, my Cajun chicken pasta is a fantastic, heartier option.
- Searing
- 3-5 mins for a golden brown crust on the chicken.
- Veggies
- 3-4 mins for blistered skins on the peppers.
- Glazing
- 2 mins for the sauce to thicken and coat the food.
A Final Note on Myths It is commonly claimed that searing meat "locks in the juices," but this is actually a misconception. Searing doesn't form a waterproof seal; moisture loss occurs regardless of the cooking method. However, that brown crust is key to the flavor.
This browning creates a richness that you simply cannot achieve through steaming or boiling. Use high heat to get the best results.
Recipe FAQs
Do I cook bell peppers or chicken first?
Brown the chicken first and remove it from the skillet before sautéing the vegetables.
Tip: removing the meat prevents it from overcooking while you blister the peppers.
Is it true you can't cook raw chicken and peppers in the same pan?
This one's false: you use the same skillet for both, just in separate stages.
Tip: use the browned chicken bits left in the pan to add depth to the peppers.
How to prevent the chicken from sticking?
Heat the avocado oil until shimmering before adding the meat in a single layer.
Tip: leave the chicken undisturbed for 3 5 minutes to develop a golden brown crust.
What side dishes complement these flavors?
Serve this over white rice or alongside pan-fried noodles for a complete meal.
Tip: use a wide skillet to ensure the chicken sears instead of steaming.
Chicken Bell Pepper Skillet