Garlic Parmesan Chicken: Crispy & Flavorful
- Time: Active 15 minutes, Passive 20 minutes, Total 35 minutes
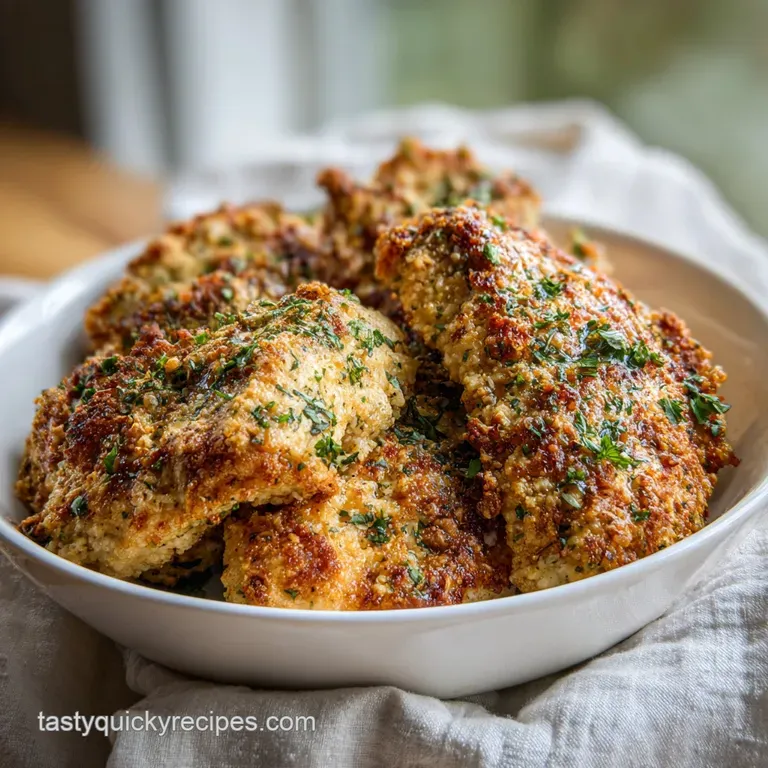
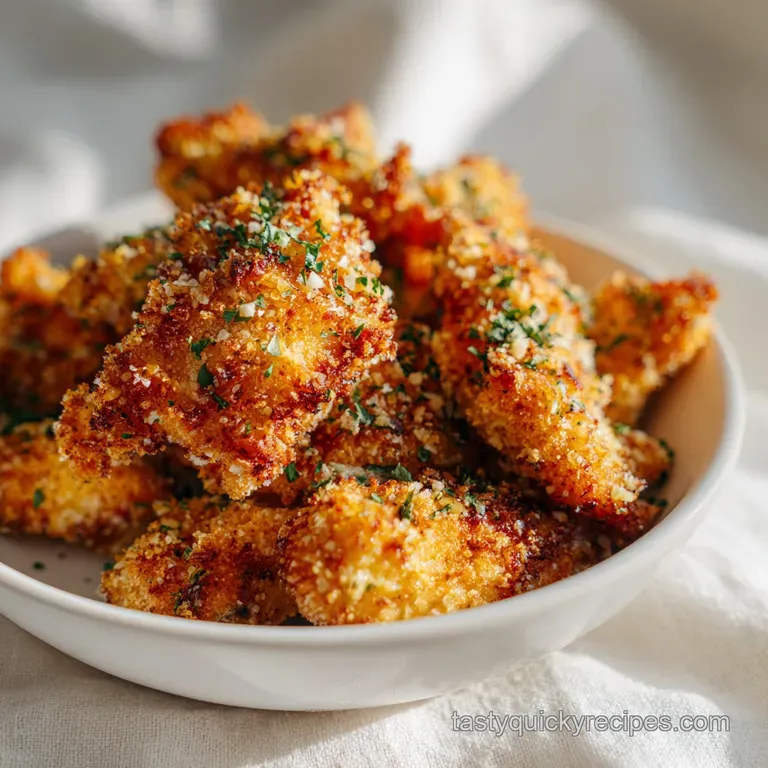
- Flavor/Texture Hook: Shatteringly crisp Panko crust with a velvety garlic butter finish.
- Perfect for: High energy weeknights or a low stress dinner party.
- Make-ahead: Dredge and bread the chicken up to 4 hours before frying.
- Secrets to the Best Garlic Parmesan Chicken
- Why This Recipe Works
- Essential Stats for Weeknight Success
- Elements for a Shattering Coating
- Minimal Tools for Simple Cooking
- Bringing Everything Together Stepwise
- Navigating Obstacles for Better Results
- Modifying Recipe for Dietary Needs
- Storing and Reheating for Freshness
- Finding the Best Side Pairings
- Recipe FAQs
- 📝 Recipe Card
Secrets to the Best Garlic Parmesan Chicken
Picture this. You've had a day that felt like a marathon, and the last thing you want is a complicated sink full of dishes. I used to think a crust like this required a deep fryer and a prayer, but then I realized the magic is actually in the pan sear.
The first time I got it right, the kitchen smelled like a high end Italian steakhouse, and that initial "shatter" when my knife hit the crust was pure music.
We've all been there, staring at a pack of chicken breasts, wondering how to make them not boring. This Garlic Parmesan Chicken is the answer because it leans into the heavy lifting done by the cheese and the heat.
It's not just about adding flavor; it's about building layers of texture that stay together even when you're slicing into it. Trust me, once you hear that sizzle in the butter, you'll know you've moved past basic weeknight cooking.
But why does this version win? Most recipes skip the pounding step or use standard breadcrumbs that turn into a soggy paste. We're using Panko for its jagged edges and a hit of hot sauce in the egg wash to cut through the richness. It’s a small tweak that makes a massive difference in how the flavors pop.
Let’s get into the "how" so you can get this on the table.
Why This Recipe Works
- Surface Area Optimization: Pounding the meat thin increases the ratio of crispy crust to succulent meat, ensuring every bite is balanced.
- Cheese Proteolysis: Grated Parmesan contains aged proteins that brown rapidly, creating a deep umami profile that flour alone cannot achieve.
- The Panko Aeration: Unlike fine crumbs, Panko is "baked" via electrical current, creating large air pockets that resist absorbing excess oil.
- Acid Heat Balance: The subtle heat from the hot sauce in the egg wash acts as a bridge, helping the garlic and cheese flavors meld together.
| Method | Time | Texture | Best For |
|---|---|---|---|
| Stovetop Pan Fry | 12 minutes | Shatteringly crisp, buttery | Maximum flavor and traditional crunch |
| Air Fryer | 15 minutes | Dry crisp, less oily | Health conscious weeknight prep |
| Oven Baked | 20 minutes | Firm, consistent | Cooking for a large group at once |
Getting the temperature right is the difference between a golden masterpiece and a greasy mess. If the oil is too cold, the breading drinks it up. If it's too hot, the garlic in the crust burns before the chicken is safe to eat. A cast iron skillet or a heavy bottomed stainless steel pan is your best friend here because it holds onto heat like a champ. It's similar to the heat management needed for a solid Chicken Tenders Recipe where consistency is everything.
Essential Stats for Weeknight Success
| Component | Science Role | Pro Secret |
|---|---|---|
| All Purpose Flour | Moisture Barrier | Season it heavily to prevent a bland "inner layer" beneath the crust. |
| Panko Breadcrumbs | Structural Integrity | Press them firmly into the meat to ensure they don't flake off in the pan. |
| Parmesan Cheese | Maillard Catalyst | Use finely grated "dust" consistency so it weaves into the breadcrumb gaps. |
| Unsalted Butter | Flavor Emulsifier | Adding it at the end prevents the milk solids from burning during the initial sear. |
The interaction between the eggs and the flour creates a biological glue. Without that first dusting of flour, the egg wash would just slide off the slick surface of the chicken. We're essentially building a three story house of flavor, and that flour is the foundation. It's the same logic I use when I'm prepping my Chicken Dinner Idea recipe, where the prep work dictates the final success.
Elements for a Shattering Coating
- 2 large (500g) chicken breasts: Halved horizontally and pounded to 1/4 inch. Why this? Ensures fast, even cooking without drying out the exterior.
- 1/2 cup (65g) all purpose flour: The essential first coating. Why this? Dries the surface so the egg wash adheres perfectly.
- 2 large eggs: Beaten until no streaks remain. Why this? Acts as the binding agent for the heavy breadcrumbs.
- 1 tsp (5ml) hot sauce: Any vinegar based brand works. Why this? Provides a subtle tang that wakes up the savory Parmesan.
- 1 cup (60g) Panko breadcrumbs: The Japanese style flaky crumb. Why this? Creates the signature "shatter" texture that regular crumbs lack.
- 1/2 cup (45g) Parmesan cheese: Freshly and finely grated. Why this? Melts into the crust for a nutty, salty punch.
- 1 tbsp (8g) garlic powder: For deep, infused garlic flavor. Why this? Won't burn at high temperatures like fresh garlic would in the crust.
- 1 tsp (2g) smoked paprika: For color and depth. Why this? Adds a subtle earthiness that rounds out the sharp cheese.
- 1/2 tsp (3g) kosher salt: To season every layer.
- 1/2 tsp (1g) black pepper: Freshly cracked is best.
- 3 tbsp (42g) unsalted butter: For the finishing sauce.
- 4 cloves garlic: Minced finely.
- 1 tbsp (4g) fresh Italian parsley: Chopped for brightness.
- 2 tbsp (10g) extra Parmesan: For the final garnish.
Chef Tip: Freeze your block of Parmesan for 10 minutes before grating. It makes it firmer and easier to grate into those tiny "snow" particles that stick best to the chicken.
Minimal Tools for Simple Cooking
You don't need a kitchen full of gadgets for this Garlic Parmesan Chicken. A heavy skillet is non negotiable I prefer a 12 inch stainless steel pan or cast iron. You'll also need three shallow bowls for your dredging station.
Using wide, flat plates actually works better than deep bowls because it gives you more room to press the breadcrumbs into the meat without cramping your style.
A meat mallet is helpful, but if you're like me and have a cluttered drawer, a heavy rolling pin or even the bottom of a small saucepan works just as well. The goal is even thickness, not total destruction.
Finally, a pair of tongs is safer than a fork; you don't want to pierce the meat and let those succulent juices escape into the pan.
Bringing Everything Together Stepwise
Building the Flavor Foundation
- Place chicken breasts on a sturdy cutting board and slice them horizontally to create four thinner cutlets. Note: This allows for a higher crust to meat ratio.
- Cover the cutlets with plastic wrap and pound them to a uniform 1/4 inch thickness. Note: Uniformity ensures every piece finishes cooking at the exact same moment.
- Set up three shallow dishes: one with flour, salt, and pepper; one with beaten eggs and hot sauce; and one with Panko, Parmesan, garlic powder, and paprika.
The Triple Dredge Process
- Dredge each cutlet in the flour, shaking off every bit of excess. Wait until the surface looks dusty but not caked.
- Dip the floured chicken into the egg wash, ensuring total coverage. Let the extra egg drip off for a second.
- Press the chicken firmly into the Panko Parmesan mixture. Firmly push the crumbs into the meat with the palm of your hand to ensure they stick.
Achieving the Golden Sear
- Heat a large skillet over medium heat with a splash of neutral oil. Wait until the oil shimmers and swirls easily.
- Place the chicken in the pan and cook for 4-5 minutes per side until the crust is a deep mahogany gold.
- Remove the chicken to a warm plate. Let it rest for 3 minutes to allow the juices to redistribute through the fibers.
The Garlic Butter Glaze
- Wipe out the pan and melt the butter over low heat. Add the minced garlic and sauté until fragrant (about 60 seconds).
- Stir in the parsley, then pour this velvety sauce over the rested chicken. Garnish with the extra Parmesan immediately so it softens slightly against the heat.
Navigating Obstacles for Better Results
Bready Coating Falling Off
This is usually a moisture issue. If the chicken is too wet before it hits the flour, the flour turns into a slippery paste that won't grab the egg. Always pat your chicken bone dry with paper towels before you start. Another culprit is "fiddling." Once the chicken hits the pan, leave it alone!
Moving it too early breaks the bond between the crust and the protein before the heat has a chance to set it.
Managing Heat to Avoid Bitter Garlic
Fresh garlic is delicate. If you add it to the pan while you're frying the chicken, it will turn black and bitter within minutes. That’s why we use garlic powder in the breading and save the fresh cloves for a quick butter bath at the very end. This keeps the garlic flavor vibrant and sweet rather than burnt.
| Problem | Root Cause | Solution |
|---|---|---|
| Soggy Crust | Pan was overcrowded | Cook in batches to allow steam to escape around the edges. |
| Raw Center | Chicken was too thick | Pound the meat to a consistent 1/4 inch before breading. |
| Burnt Breading | Heat was too high | Keep the stove at medium; the cheese in the crust browns fast. |
One mistake I once made was trying to be "healthy" and using a non stick spray instead of oil or butter. Honestly, don't even bother. You need that fat to conduct the heat into the nooks and crannies of the Panko. Without it, you get a dry, sandy texture that just isn't worth the effort.
Common Mistakes Checklist: ✓ Pat the chicken completely dry before the first flour dredge to ensure a tight bond. ✓ Don't skip the pounding step; thick breasts will burn on the outside before the middle is safe.
✓ Use a neutral oil with a high smoke point (like avocado or canola) for the initial fry. ✓ Let the pan get hot for 3 minutes before adding the chicken listen for that immediate sizzle.
✓ Grate your own Parmesan; pre shredded cheese has anti clumping agents that ruin the crust's texture.
Modifying Recipe for Dietary Needs
Making it Keto Friendly
To keep this low carb, swap the flour for coconut flour and the Panko for crushed pork rinds or almond flour. Almond flour provides a moisture rich but denser crumb than AP flour, but the flavor is surprisingly close when combined with the heavy Parmesan.
You'll get a slightly softer crust, but the umami levels remain off the charts.
gluten-free Substitution Guide
For a gluten-free version, use a 1 to-1 gluten-free flour blend and gluten-free Panko. Most major grocery stores carry these now. The texture is nearly identical. Just be sure your smoked paprika and garlic powder are certified gluten-free, as some brands use grain based anti caking agents.
Air Fryer Cooking Method
If you want to use the air fryer, spray the breaded cutlets generously with oil on both sides. Cook at 400°F (200°C) for 6 minutes per side. It won't have that same velvety butter soaked finish as the pan-fried version, but it’s a solid shortcut for a Tuesday night. It’s a similar vibe to a quick Chicken Stroganoff Recipe when you're juggling a busy schedule.
| Original Ingredient | Substitute | Why It Works |
|---|---|---|
| Panko Breadcrumbs | Crushed Pork Rinds | Zero carbs and extremely high fat content for a crispy finish. |
| All Purpose Flour | Almond Flour | Adds a nutty depth. Note: Results in a slightly thicker, less "crisp" coating. |
| Unsalted Butter | Ghee | Higher smoke point and provides a rich, toasted flavor. |
Storing and Reheating for Freshness
Fridge Life: This Garlic Parmesan Chicken stays good in an airtight container for up to 3 days. However, the crust will lose its signature shatter. To bring it back to life, avoid the microwave at all costs it will turn your beautiful crust into a rubbery mess.
Instead, use a toaster oven or a dry skillet over medium heat for 2-3 minutes per side.
Freezer Instructions: You can freeze the breaded (but uncooked) cutlets for up to 2 months. Place them on a baking sheet to flash freeze for an hour, then transfer to a freezer bag.
When you're ready to eat, you can fry them straight from frozen; just add 2-3 minutes per side to the cooking time.
Zero Waste Tip: Don't toss the leftover garlic butter in the pan! Toss some steamed broccoli or leftover pasta in it for an instant side dish. Those browned bits of Parmesan left in the skillet are flavor gold.
Finding the Best Side Pairings
Classical Pasta Side Pairings
The most natural partner for this chicken is a simple pasta. A thin spaghetti tossed in olive oil, lemon zest, and more fresh parsley complements the richness of the Garlic Parmesan Chicken without competing for attention.
If you're feeling indulgent, a light fettuccine alfredo works, though it can be a bit heavy on the cheese on-cheese action.
Lighter Vegetable Side Options
To balance the fried element, I love a crisp arugula salad with a sharp lemon vinaigrette. The peppery bite of the greens cuts right through the buttery garlic sauce. Roasted asparagus or green beans with a squeeze of lemon are also fantastic choices that keep the meal feeling vibrant rather than weighed down.
- If you want a classic meal, serve over buttery noodles with a side of garlic bread.
- If you want it low carb, pair with zoodles or a massive Caesar salad (minus the croutons).
- If you want a "bistro" vibe, serve alongside roasted fingerling potatoes and a glass of chilled Sauvignon Blanc.
There’s a common myth that you need to deep fry chicken to get it truly crispy. That's just not true. The combination of Panko and the protein in the Parmesan creates a structural lattice that crisps up beautifully with just a thin layer of oil. Another myth is that you should salt the meat long before breading.
In reality, salting too early can draw out moisture, which interferes with the breading's ability to stay attached. Salt the flour instead for the best results.
Right then, you’ve got the science, the steps, and the shortcuts. This dish is all about that contrast between the golden, noisy crust and the tender, juicy interior. Don't be afraid of the heat, keep an eye on that garlic, and you'll have a dinner that everyone will swear came from a professional kitchen.
Let’s crack on!

Recipe FAQs
Can I use frozen chicken breasts instead of fresh for this recipe?
No, thawing and pounding is essential. Frozen chicken releases too much surface moisture during cooking, which will steam the breading instead of frying it, leading to a soggy crust.
How to ensure the Panko Parmesan crust stays crispy when serving?
Rest the chicken on a wire rack over a baking sheet immediately after frying. This keeps the bottom from sitting in residual steam or oil, preserving the shatteringly crisp texture. This principle of air circulation is also key when you are looking for a perfect crust on dishes like our Chicken Enchilada Casserole recipe.
How do I keep the garlic flavor strong without burning the coating?
Use garlic powder in the breading mix and reserve fresh minced garlic for the final butter glaze. Garlic powder withstands the high heat of the sear, while adding fresh garlic at the end provides bright, non-bitter aromatics.
What is the ideal thickness to pound the chicken cutlets to?
Pound the chicken to a uniform 1/4 inch thickness. This maximizes the crust-to-meat ratio and ensures the chicken cooks through rapidly before the breading burns.
Is it true that using pre-grated Parmesan works just as well as fresh grated?
No, pre-grated cheese is inferior for this crust. Pre-shredded cheese contains starches and anti caking agents that prevent it from melting properly into the breading, resulting in a granular, rather than integrated, flavor.
What is the best way to reheat leftovers without ruining the crust?
Use a toaster oven or a dry skillet over medium heat. Avoid the microwave entirely, as it will steam the crust, turning it soggy. If you prefer a wetter finish, you can briefly toss the reheated chicken in a light version of the Creamy Garlic Sauce recipe.
What temperature should the oil be before adding the breaded chicken?
The oil should be hot enough to immediately sizzle the chicken upon contact, typically around 350°F (175°C). If the oil isn't shimmering, the breading will absorb too much fat before it sets, resulting in an oily final product.
Crispy Garlic Parmesan Chicken
Ingredients:
Instructions:
Nutrition Facts:
| Calories | 438 kcal |
|---|---|
| Protein | 41.8g |
| Fat | 18.2g |
| Carbs | 25.6g |
| Fiber | 1.4g |
| Sugar | 0.8g |
| Sodium | 745mg |
